From initial idea to final execution, here’s a look at the workflow behind character creation in video games, told through the making of one of Handmancers’ iconic enemies: The Living Corpse.
Finding the right balance between gameplay and art direction
One of the key elements shaping Handmancers’ identity, alongside its dynamic gameplay, is the quality of its art direction, which helped build a consistent and recognizable visual world.
Creating a good game isn’t just about strong mechanics; it’s also about designing characters that stand out and capture the player’s attention, like The Living Corpse, our undead foe.
But how did we bring this character, and all the others, to life.
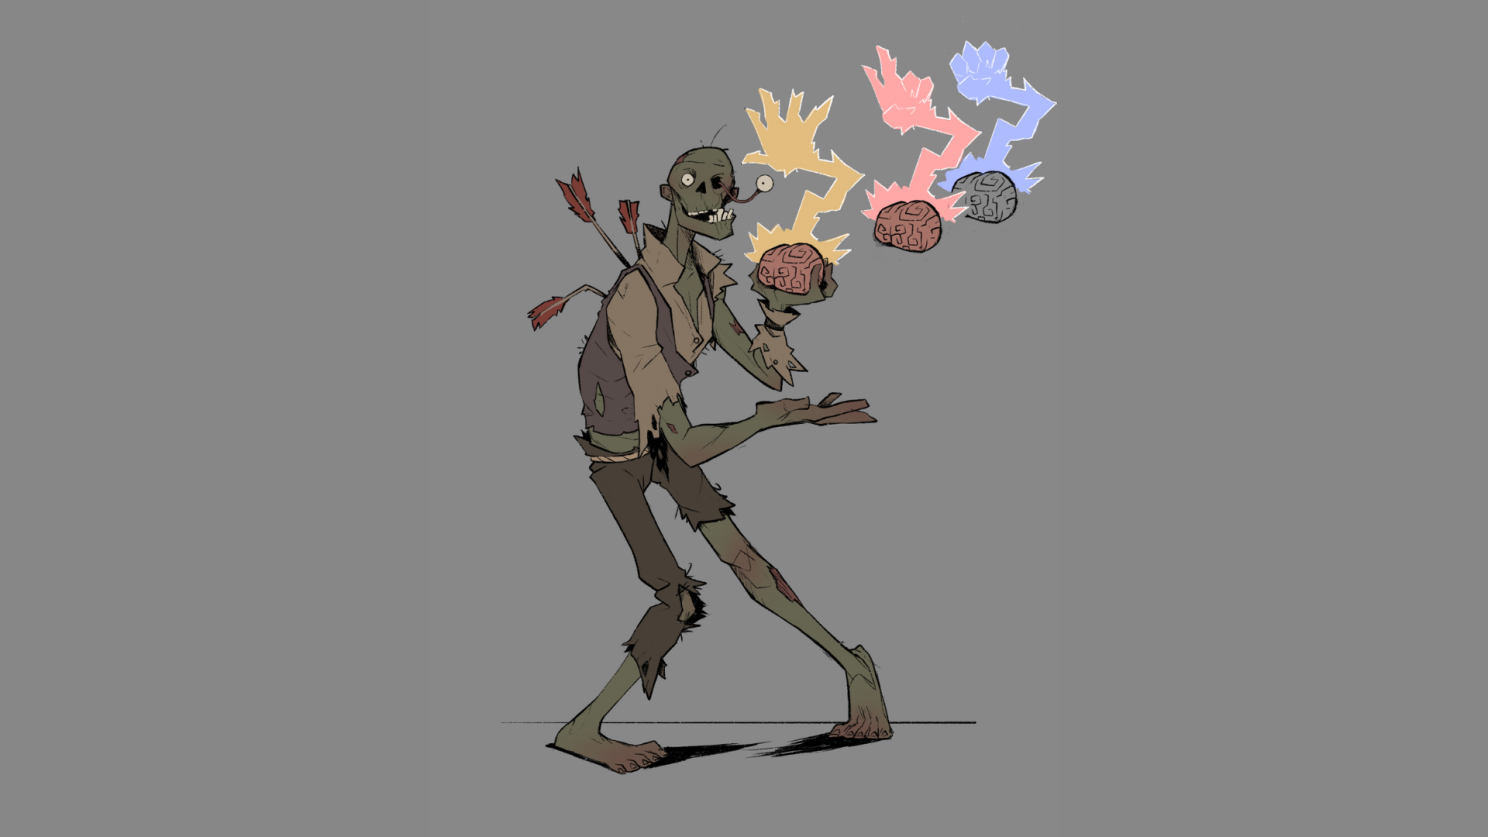
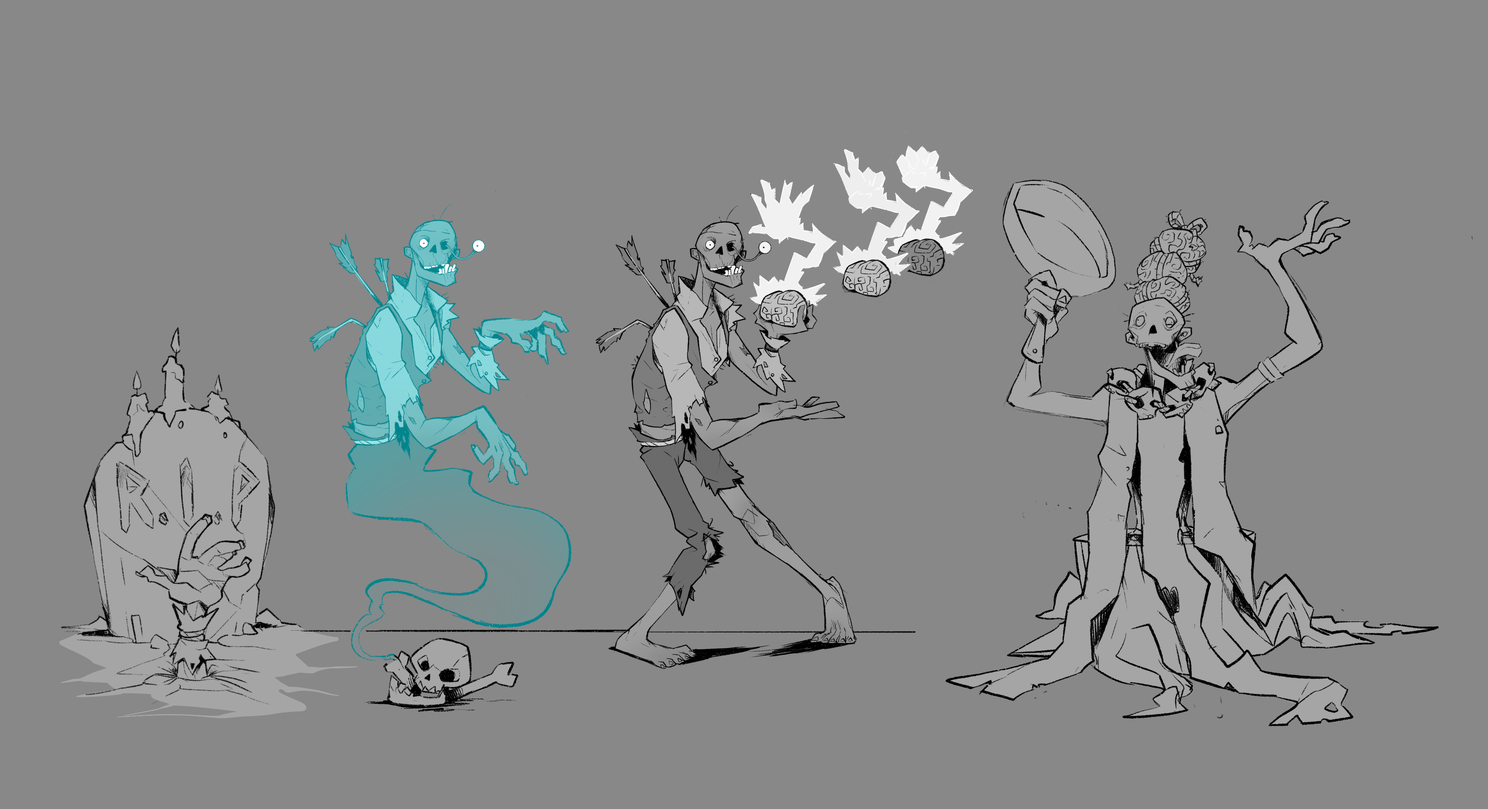
Step 1: concept art. It all starts with the idea.
The first step was developing the concept, a character design that felt original while seamlessly fitting the game’s mechanics and overall style.
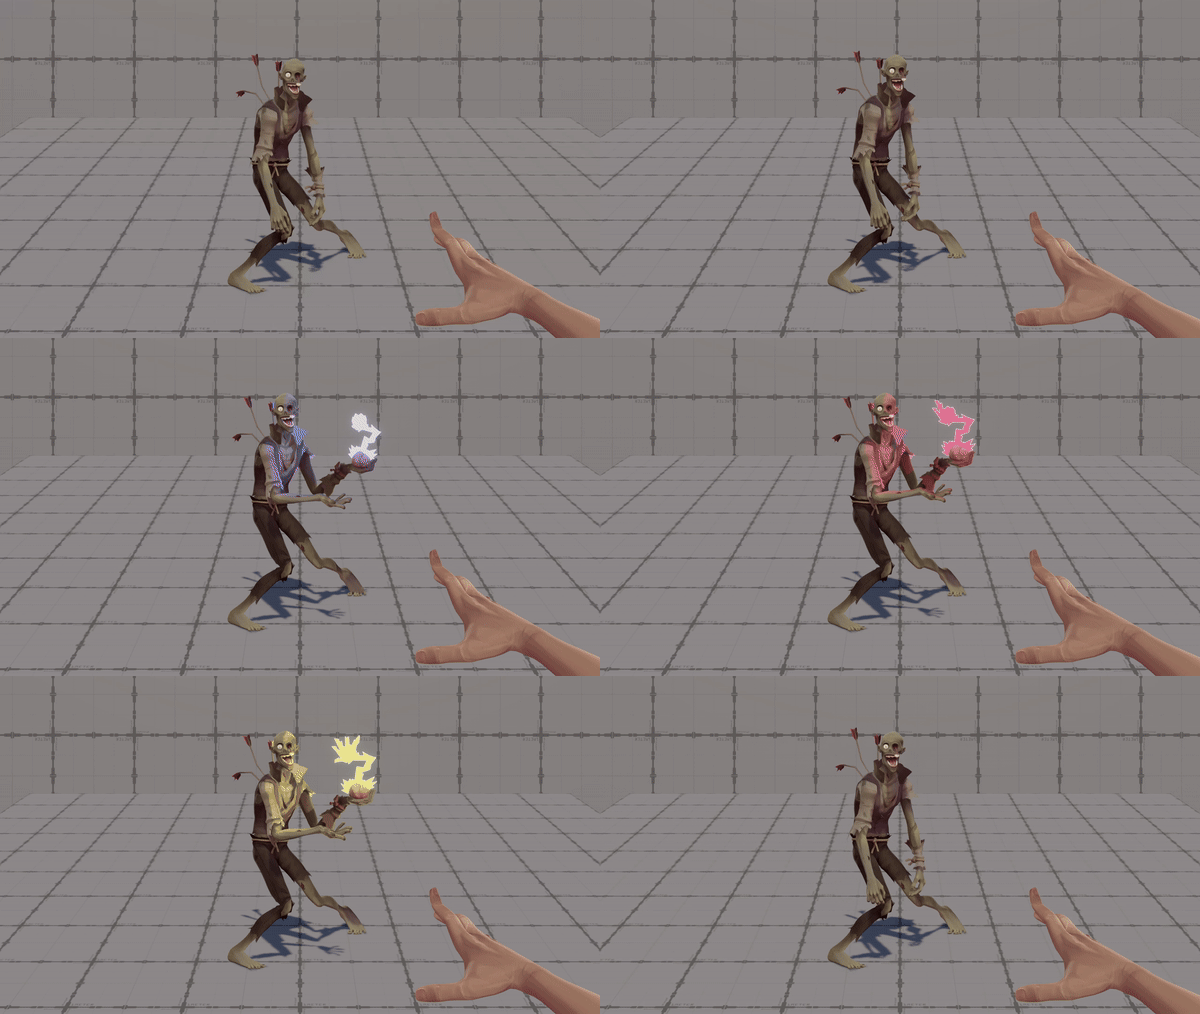
The Living Corpse is a zombie who, after stealing an Handmancer’s brain, uses it as an external intelligence, since he has none of his own: it’s the brain that plays, generating a magical hand-shaped aura to perform moves.
This 2D concept phase is the most creative part of the process, but every proposal goes through team feedback and is adjusted to fit production needs.
We used Procreate to sketch the first concepts, but pen and paper or other drawing tools would’ve worked just as well.
Step 2: low-poly modeling. The first step into 3D.
With the concept locked in, we moved into 3D modeling, to give our character depth. Our first version was built in Maya as a low-poly model, meaning it had a low polygon count.
What does “low-poly” mean? Polygons are the surface units that make up a 3D model: more polygons means more detail.
At this stage, though, the goal is to create a basic structure optimized for different platforms (PC and console) before adding complexity later on.
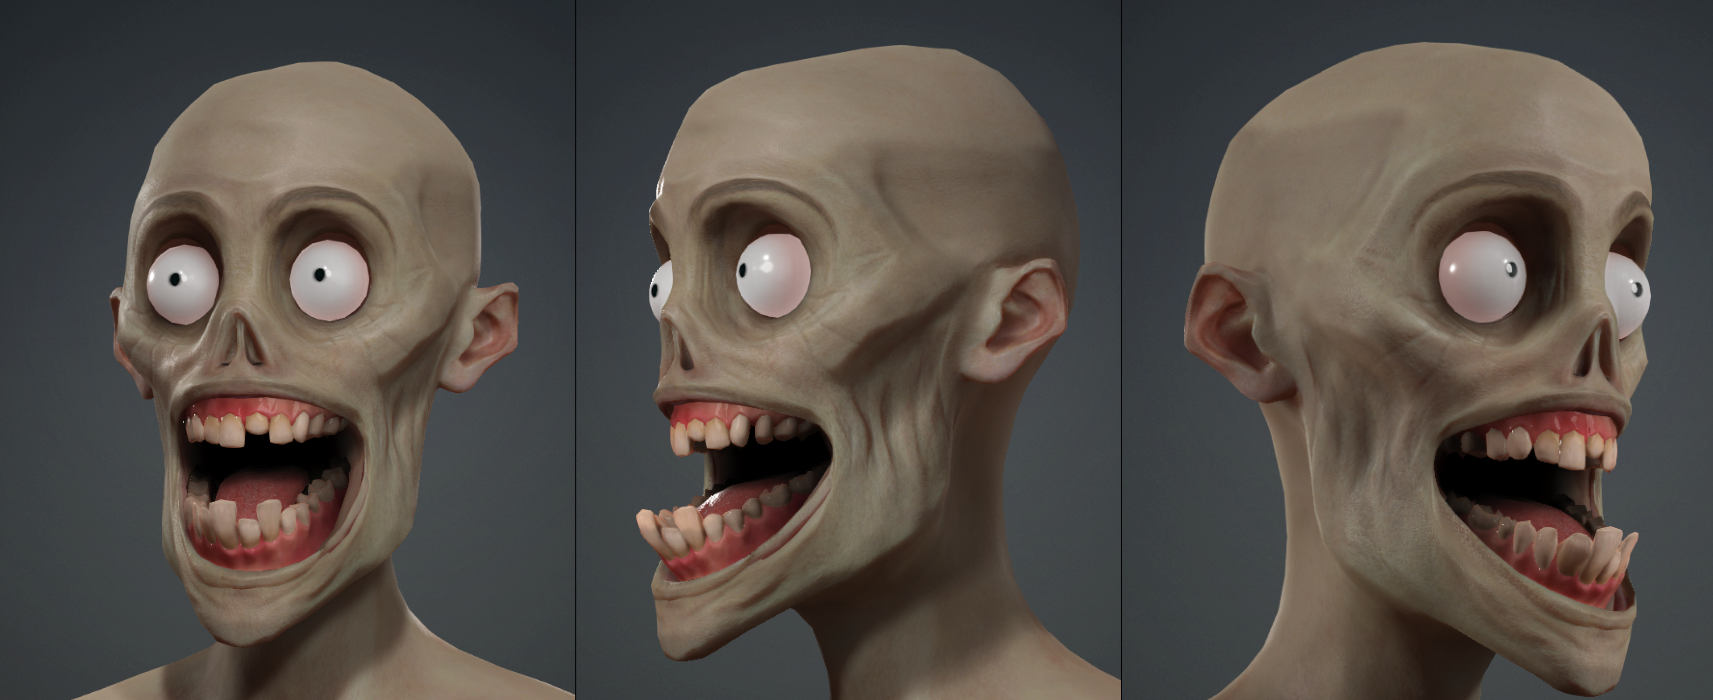
Steps 3 and 4: high-poly modeling & texturing. Adding depth and definition.
To transition from a low-poly model to one rich in details, we went through two closely connected phases: high-poly modeling and texturing.
In ZBrush, we added more polygons to the initial model, introducing additional details. Then in Substance Painter, we used baking to project these details onto the low-poly model.
What’s baking? It means capturing the visual details from the high-poly model - such as wrinkles, teeth shapes, and skin texture - and transferring them onto the low-poly version as textures. This creates greater visual fidelity without compromising performance.
Finally, we hand-painted the model to finalize its look and colors, drawing inspiration from the distinctive visual style of Arcane: this was the most detailed and time-consuming phase of the entire workflow!
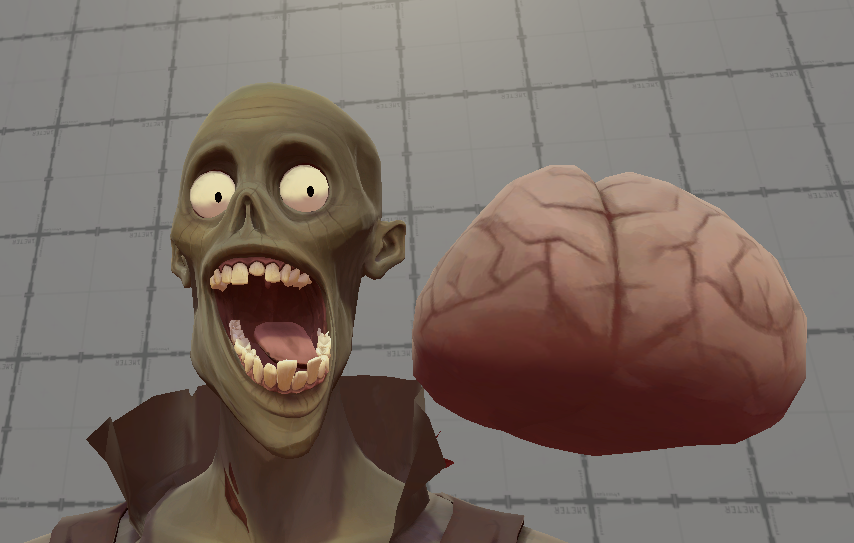
Step 5: rigging. Laying the foundation for animation.
But the process wasn’t over yet: once the model was complete, it needed to be animated and brought into the game. The first essential step was rigging, which we handled in Maya.
What is rigging? Rigging means creating a virtual skeleton made of “bones” that allow the model to move, like a digital puppet. These bones form the control structure used to animate the character.
In essence, rigging defines how a character can move, its range of motion and flexibility: since The Living Corpse is humanoid, we built a skeleton based on the human body. However, we added extra bones - like in the face and shirt collar - to enhance expressiveness and enable more nuanced animations.
Steps 6 and 7: animation & implementation. Bringing the character to life.
The final steps - animating the model and integrating it into the game - were carried out in Unity, the engine we used to develop Handmancers.
Using the skeleton created during rigging, we animated the model by rotating the bones and setting a sequence of keyframes. These keyframes defined both the movements and their timing, allowing us to craft fluid and intentional animations.
Working directly inside the engine gave us immediate visual feedback, helping us fine-tune the animations quickly and efficiently.
With visual and sound effects added, the model was nearly ready for the game: we created prefabs, which were implemented alongside ongoing development. This allowed the programmers to align the character’s behavior and logic in real time with the gameplay mechanics of Handmancers.
At last, The Living Corpse was ready to make his debut.
Many characters, a single workflow.
Character creation is a careful blend of creativity, artistic skill, and technical execution.
Every character in Handmancers goes through this same detailed process, helping turn the game into a fully immersive experience.