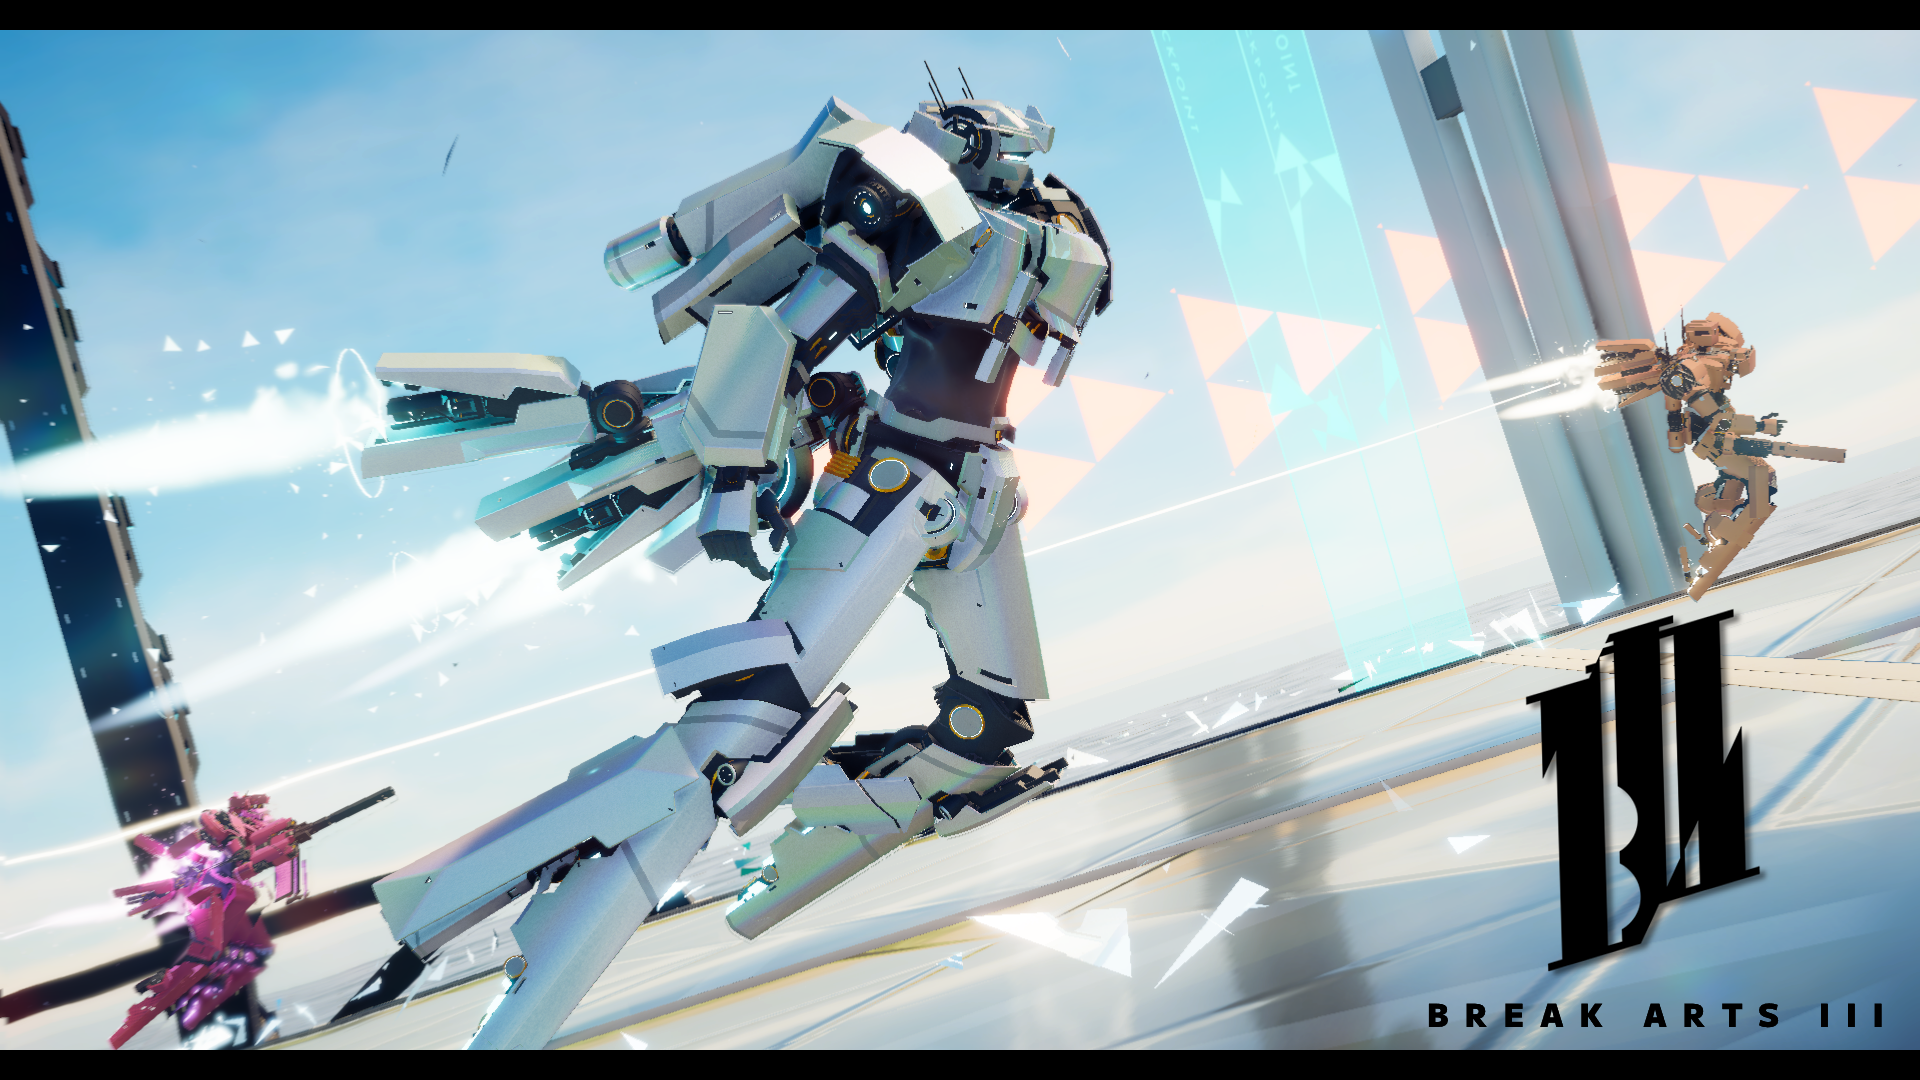
Welcome Artists!
Last time, we introduced you to the news team and mentioned some of the ways you’ll be able to use your Architectures in BREAK ARTS III. Today, we'll be showcasing the customization elements, which are the main focus of the game!
Basics of Architecture Customization
BREAK ARTS III offers a unique approach to customization. Unlike traditional Mecha games, where you can only select parts like arms, legs, and torso, this game feels more like a sandbox game, allowing you to connect a wide variety of modules to the unit’s connection points. Modules have various parameters and functions that will be explained in detail later, but for now, let’s begin the demonstration by placing some on the base frame.
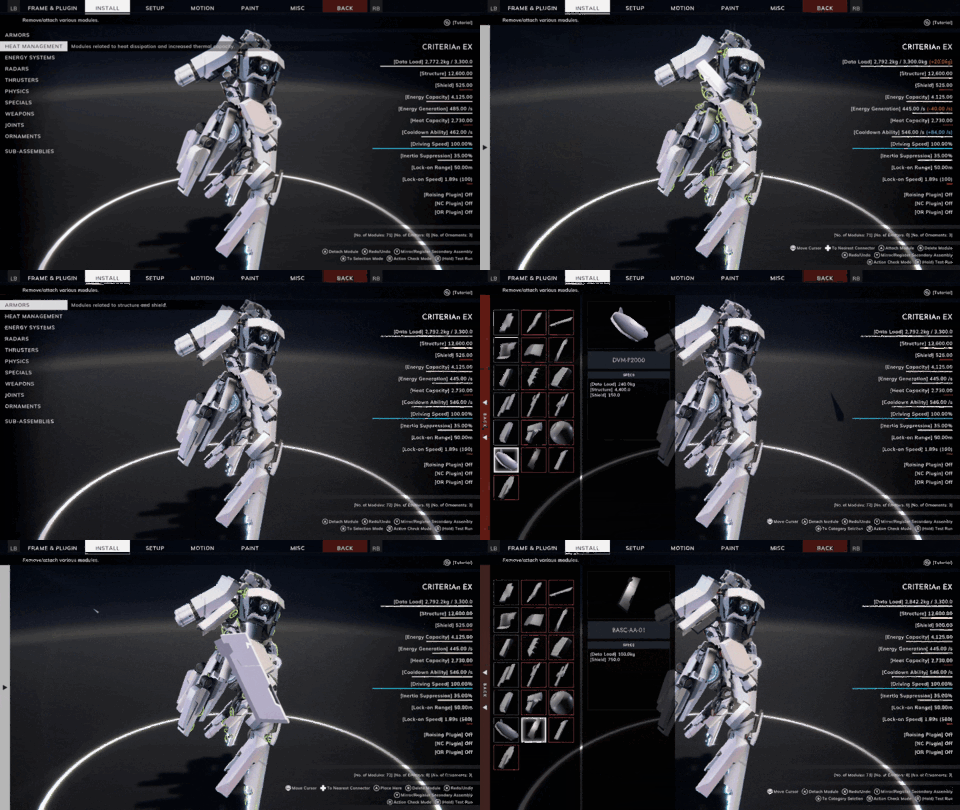
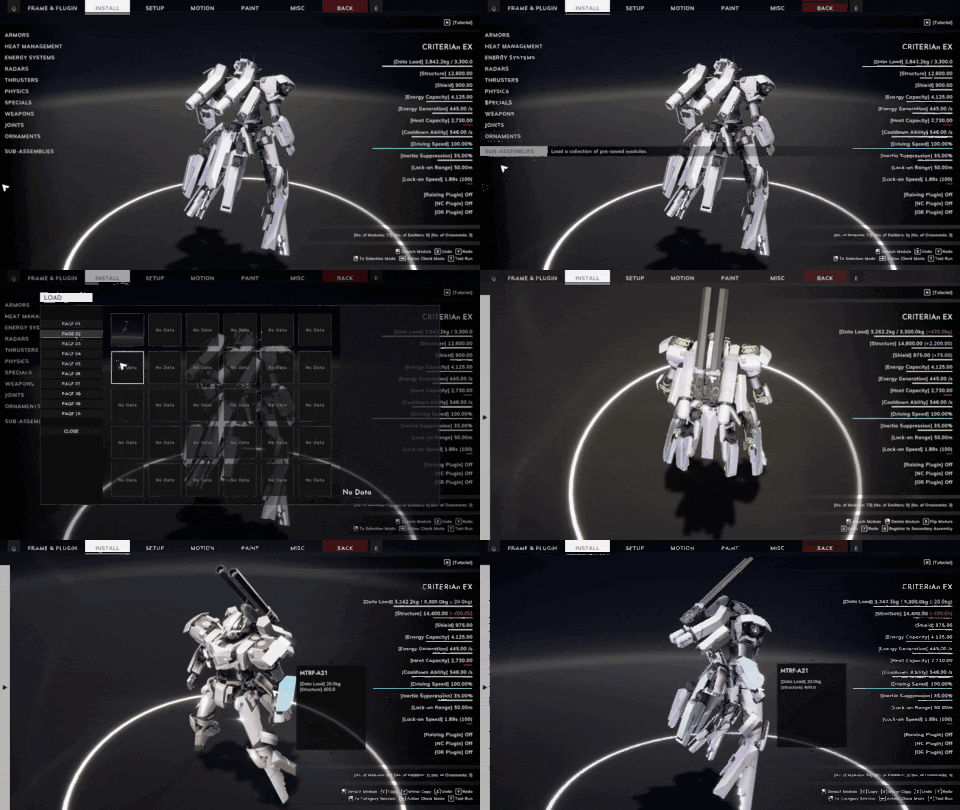
You can freely move, rotate, mirror and delete modules as long as they are placed on one of the available connectors. When selecting a module, all of the modules attached to it will be moved together as a block, or “Sub-Assembly”. Sub-Assemblies can be freely manipulated like individual modules. Additionally, subassemblies can be saved separately from the Architecture, allowing them to be used in multiple designs.
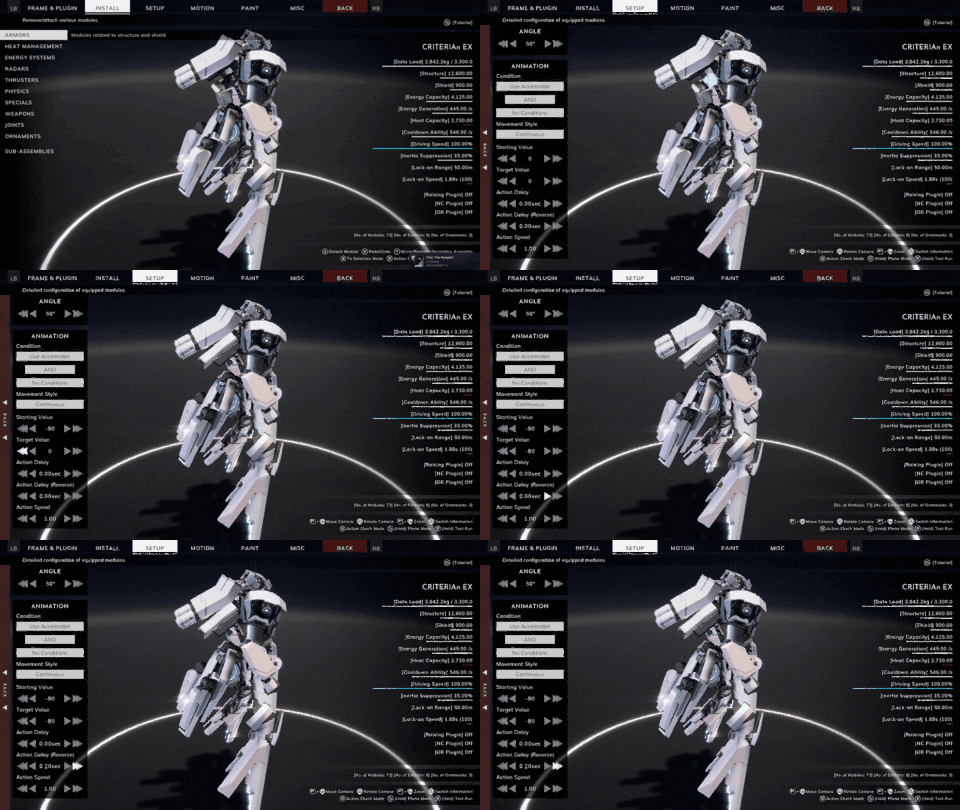
Once the design is to your liking, you can move on to module configuration. Modules can be configured using various settings. For example, movable joints have different settings for their movement angles and deployment speed, while thrusters contain settings about their firing conditions. Entering a race before configuring these settings might lead to inconsistencies with your unit’s intended operation, so configuring your modules is an important skill to master.
To familiarize yourself with module configuration, you can start by using one of the many available preset Architectures, tweaking the settings, and checking the changes in a Shakedown Test.
Unit Parameters
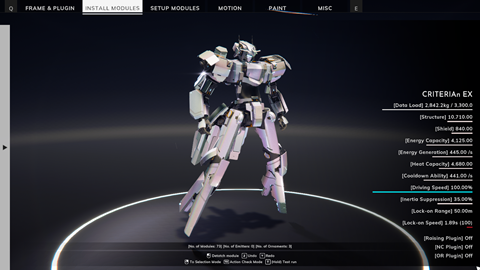
Each module has its own set of parameters which affect performance. You can see the unit’s current performance parameters on the right hand side of the design menu.
Here's a brief explanation of each:
- Data Load: The total weight of the unit. Exceeding the maximum value will lower your Driving Speed. You can increase your maximum data load by using heavier lower frames.
- Structure: Your total HP.
- Shield: A defensive system that reduces structural damage. By default, shield reduces all damage taken to 20%, but if the incoming damage exceeds the shield's value, it will be destroyed and the unit will be directly exposed to enemy attacks.
- Energy Capacity: The total energy pool of the unit. Your thrusters and weapons draw energy from here.
- Energy Generation: The amount of energy the unit can regenerate per second.
- Heat Capacity: The maximum amount of heat the unit can accumulate before it overheats.
- Cooldown Ability: The amount of heat dissipated per second.
- Driving Speed: Modifies the speed of the unit’s movement and animations as well as the strength of its thrusters.
- Inertia Suppression: Determines how well the unit can control inertial movement in directions other than its current direction of movement.
- Lock-on Range: Determines the unit’s FCS’s maximum range.
- Lock-On Speed: Determines how fast the FCS locks on to enemies.
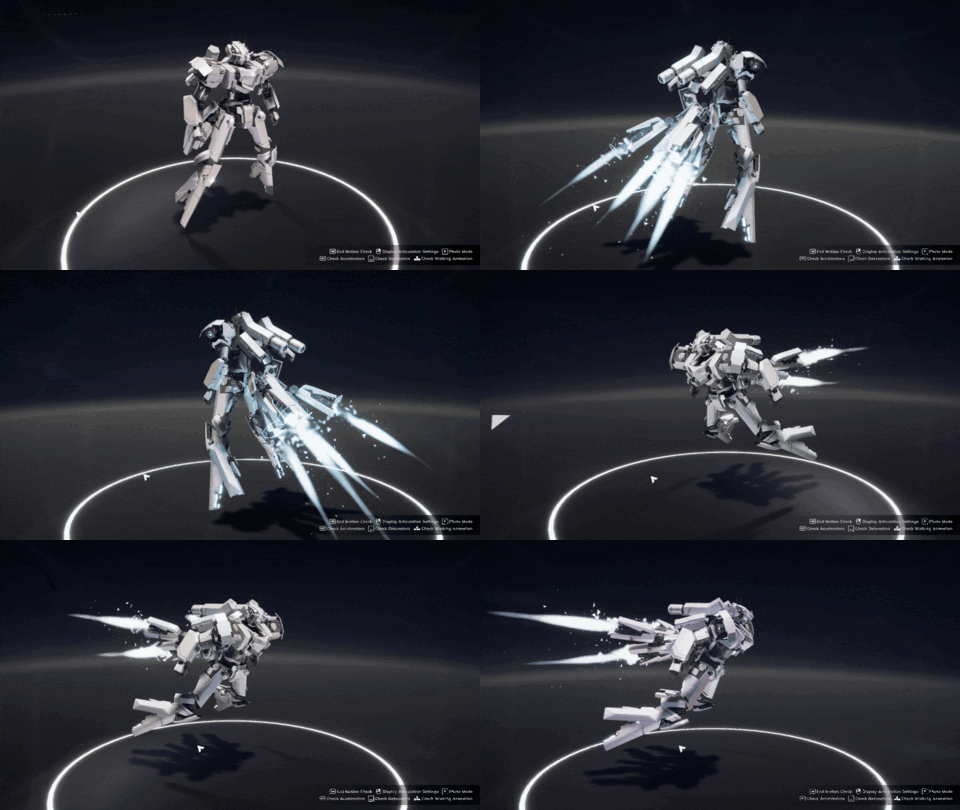
The Architecture used in the demonstration was designed for racing, favoring speed and maneuverability. More specifically:
【Unit Configuration】
- Large number of accelerators (thrusters which provide coasting thrust) to increase top speed
- Several detonators (thrusters which provide a burst of thrust) to rapidly accelerate to top speed
- Enough energy and heat capacity to fully utilize the thrusters
- Adequate cooling to keep the unit from overheating
- No weapons since it won’t be participating in combat
- Minimal structure and shield to keep data load low
You can treat this configuration as a guideline for designing your own racing Architecture! If you need more details, feel free to read the in-game tutorials in the Help section.
Motion and Paint
All of the unit’s actions can be configured from the MOTION tab.
Since this unit is built for racing, there is no need for a kick action. Kicks are commonly used to displace enemies and break shields, but since this unit will be participating in pure racing modes where damage is disabled, kicking will only slow it down. We can disable kicking by selecting ATTACK → Kick → NONE.
Things like using weapons, jumping, walking and landing can all be configured with different motions - Including the unit’s victory pose! Once you've finished adjusting the actions, use the PAINT tab to adjust the colors to your liking.
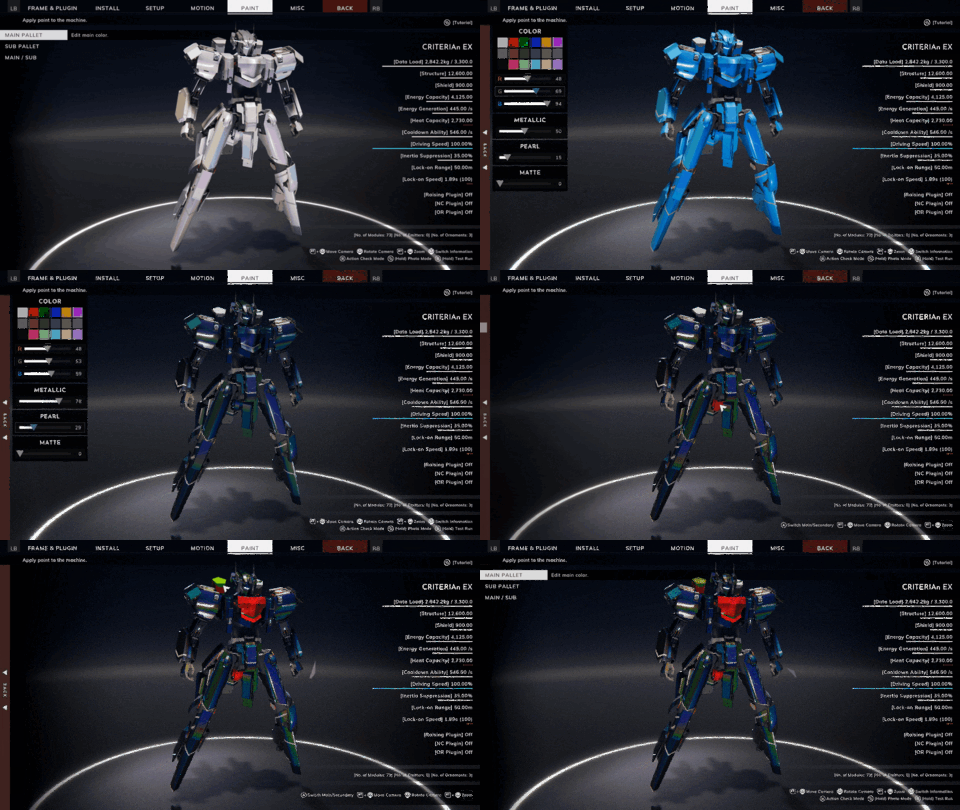
That's all for now! We’ll leave you with a timelapse of the production process for the CRITERIAn EX we built for this demonstration. For the next article, we’ll be using our new Architecture to race, showing off movement, flight, and everything you need to know to boost your way to victory.
Stay tuned!
PLAYISM
Visit the PLAYISM Website
PLAYISM Publisher Page
Follow us on X
Follow us on Bluesky
Follow us on Facebook
Join our Discord