Building is one of the core mechanics of the game, and much of your success depends on what - and how - you construct your settlement. Each building serves a unique purpose, with distinct properties and behaviors that can function as separate mechanics. Strategic decisions on which buildings to use will be key to adapting to different in-game challenges. In this weekly report, we’re highlighting several key structures. We hope you enjoy it!
Key Constructions
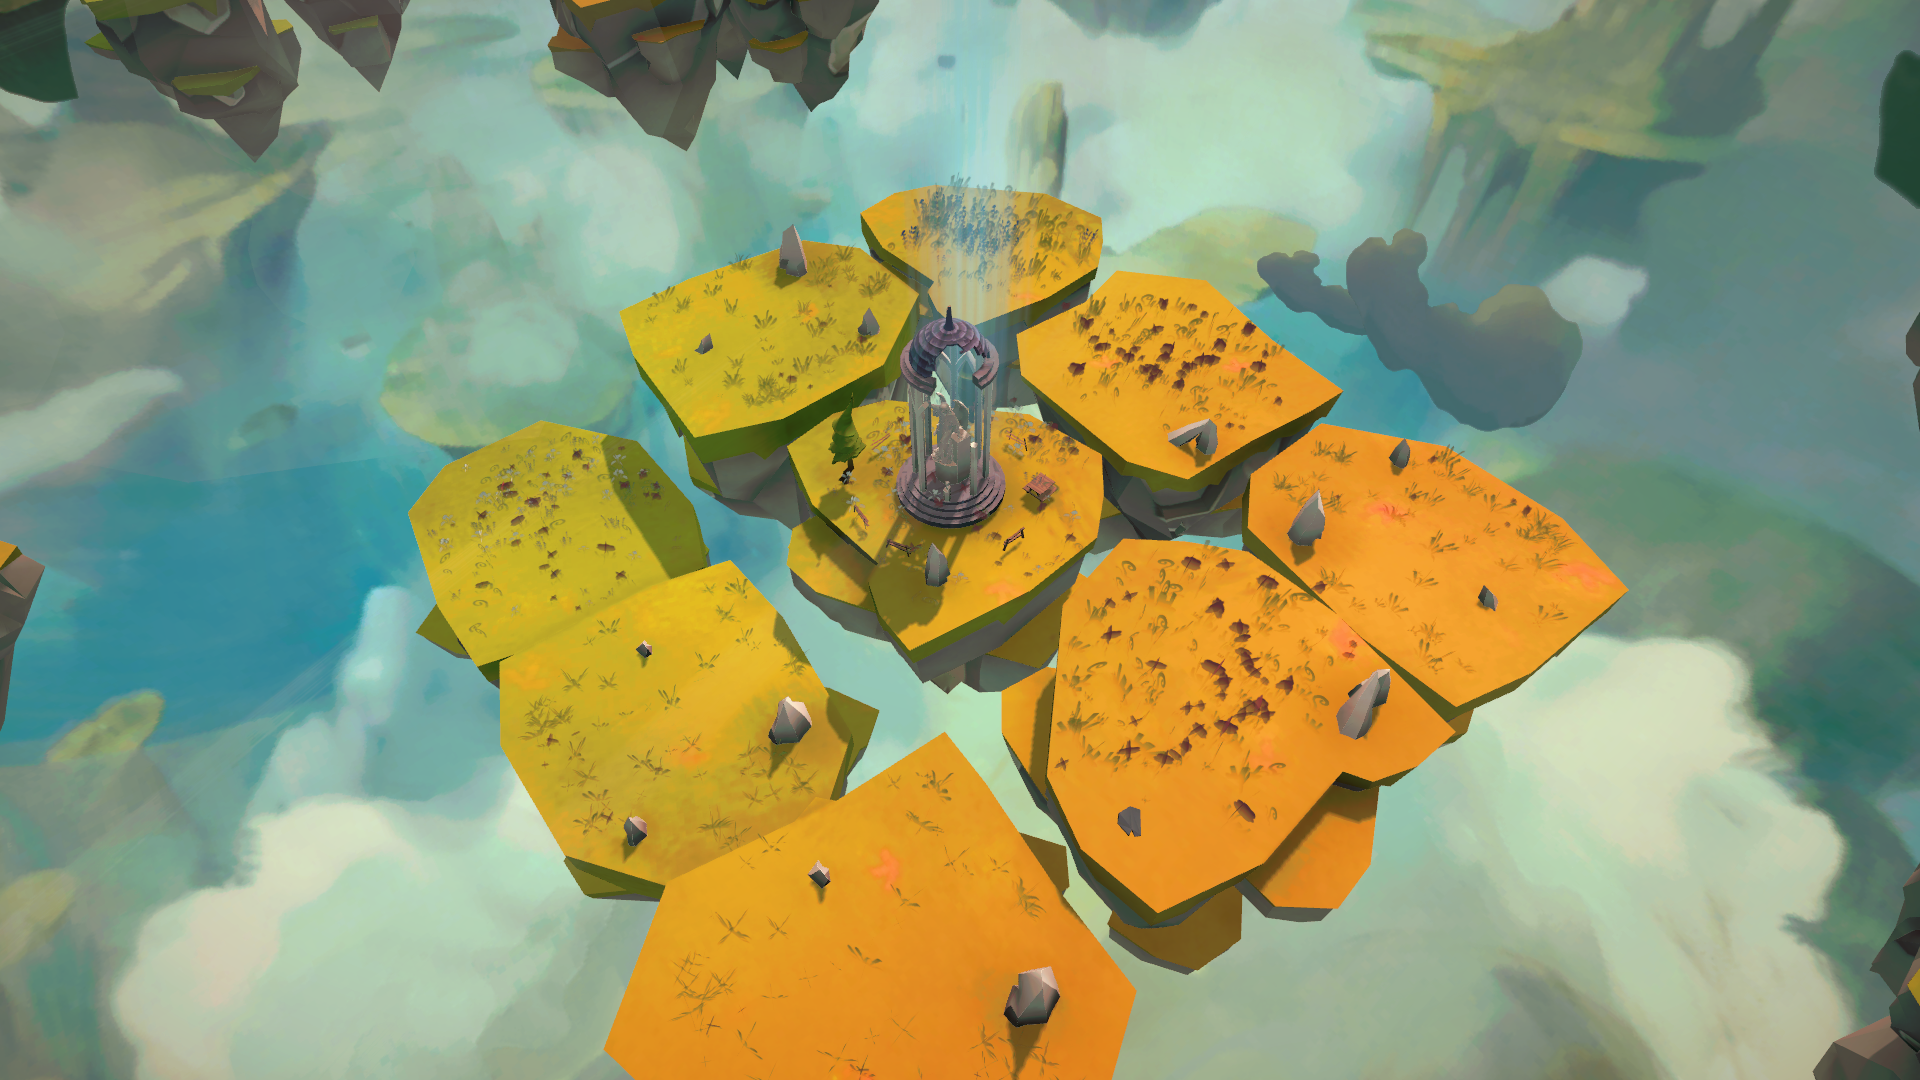
Main Shrine
The Main Shrine is a central, pivotal structure placed at the heart of the map. It anchors all surrounding islands, and if it runs out of energy or is destroyed, the game is lost. Your primary objective is to protect and sustain this structure throughout the game.
Economy Buildings
Managing resources and currency is essential to keeping the Main Shrine active. Resources are also needed to purchase defenses, islands, attack cards, and other critical assets.
There are two main types of resource-focused buildings:
Providers – These buildings generate resources and distribute them to nearby constructions. Examples include gardens, fields, farms, and forests.
Collectors – These buildings gather resources from Providers and may also generate currency and experience. Common Collector buildings include Windmills, Houses, Taverns, and Woodcutters' Camps.

Defense Buildings
Defense constructions play a crucial role in protecting your settlement by damaging incoming enemies. Each defense structure offers unique abilities and can be further enhanced by supplying them with specific resources.
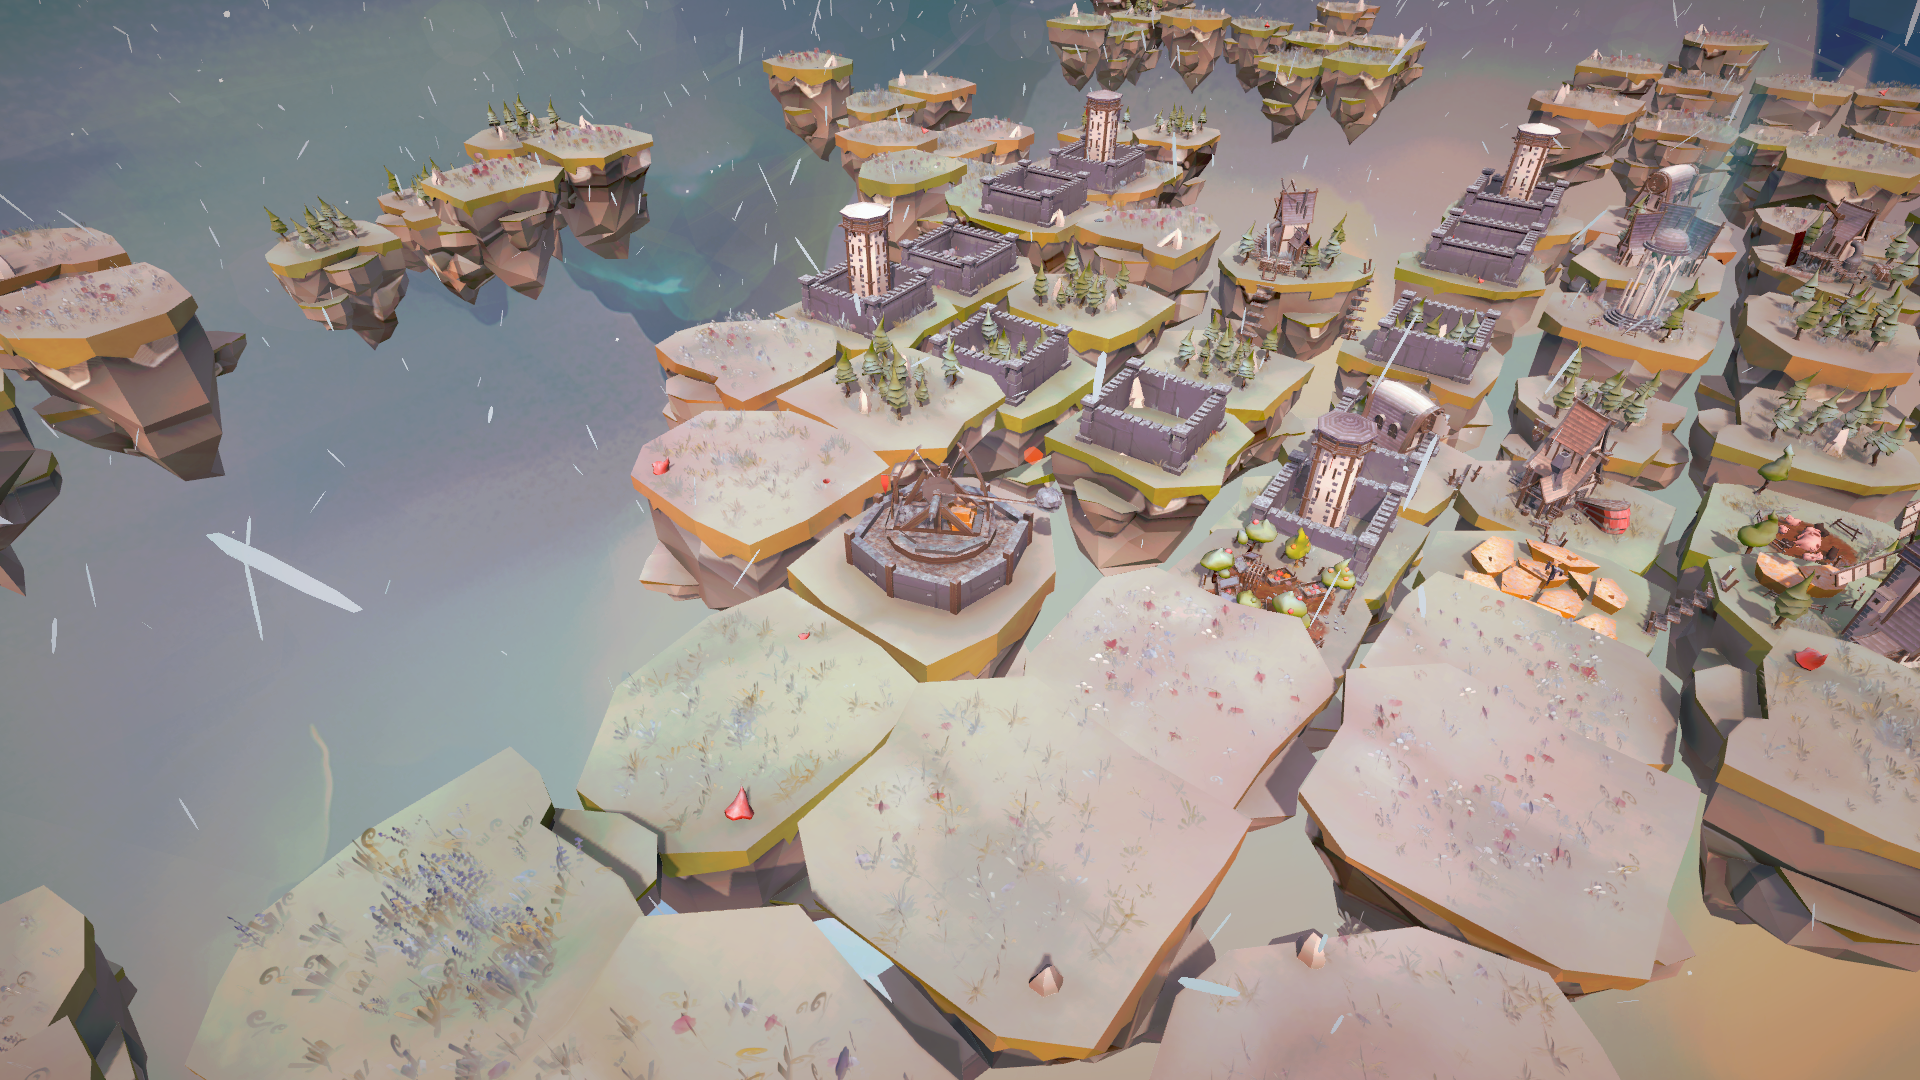
Catapult
Launches projectiles at enemies on nearby tiles. It deals significant damage but has a long cooldown, making it most effective against ground units.
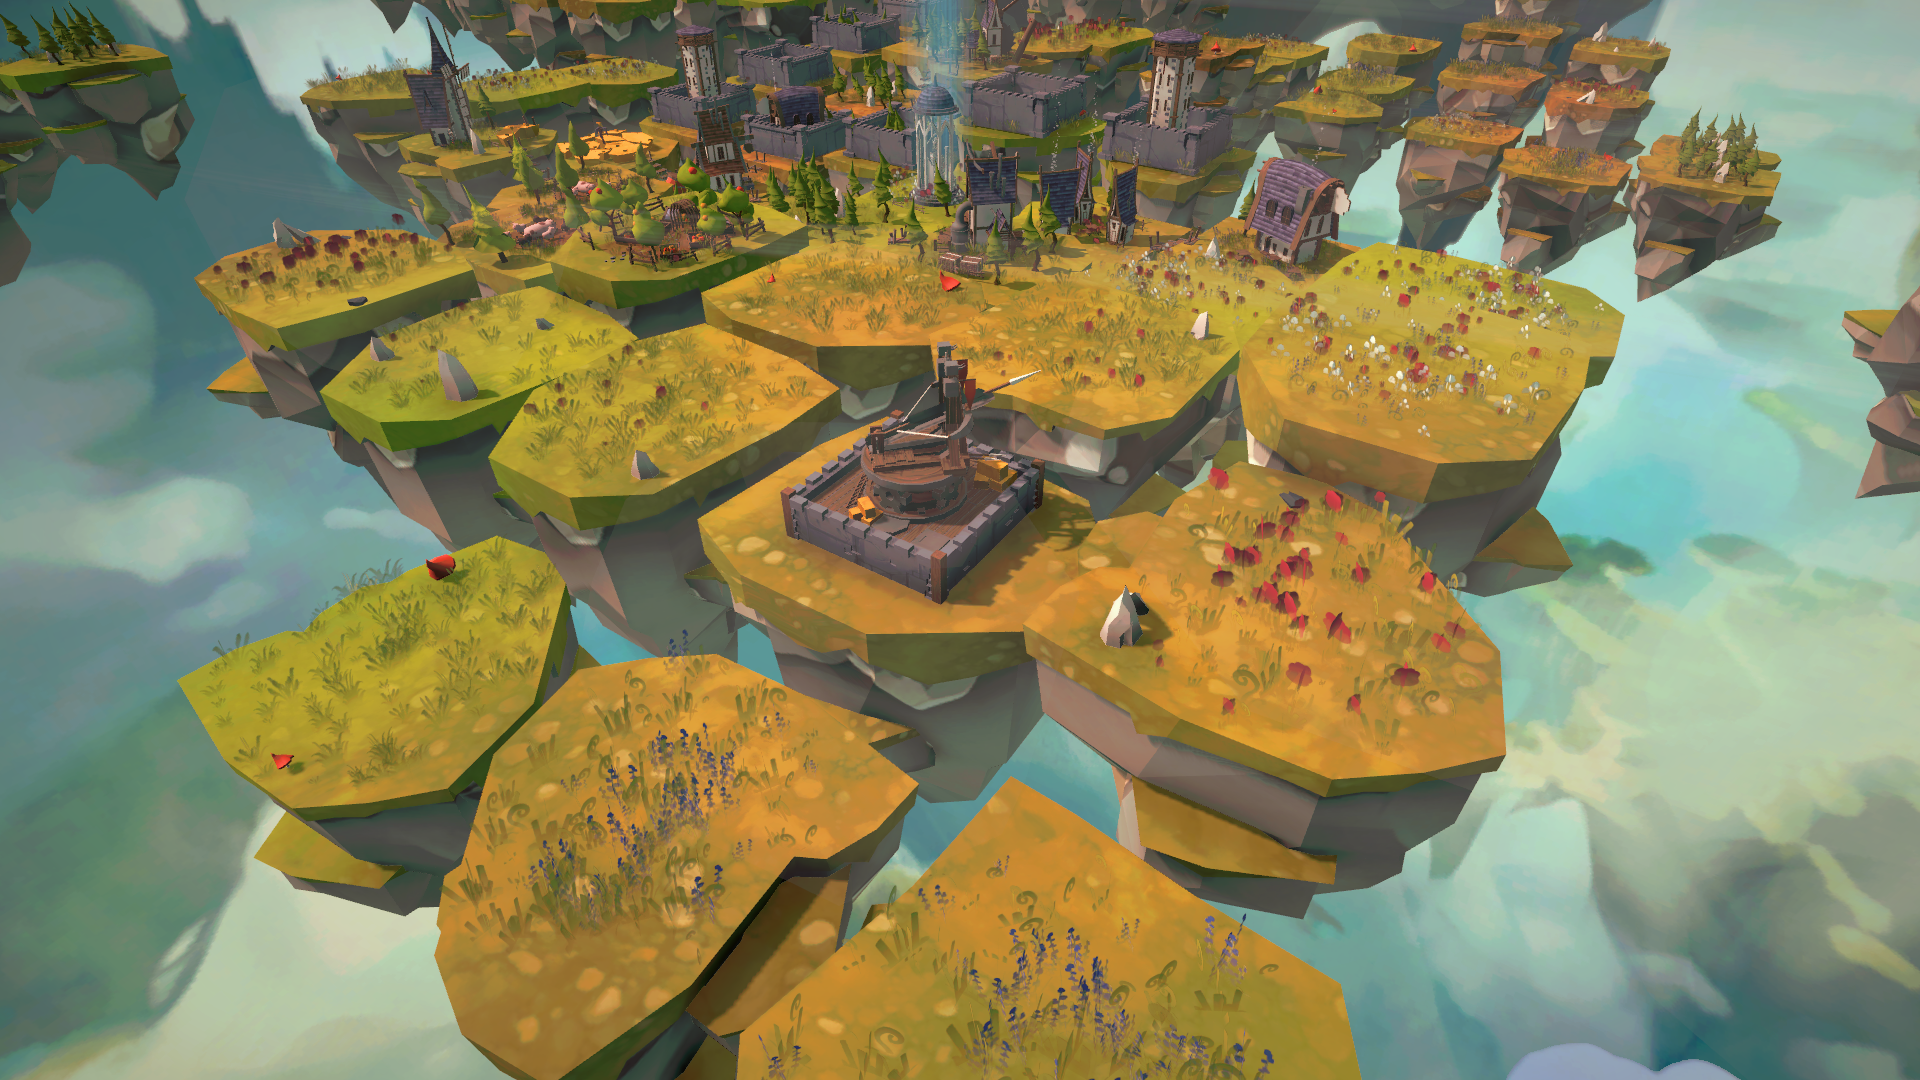
Ballista
Similar to the Catapult but with a wider range, less damage, and shorter cooldown. It excels against flying enemies.
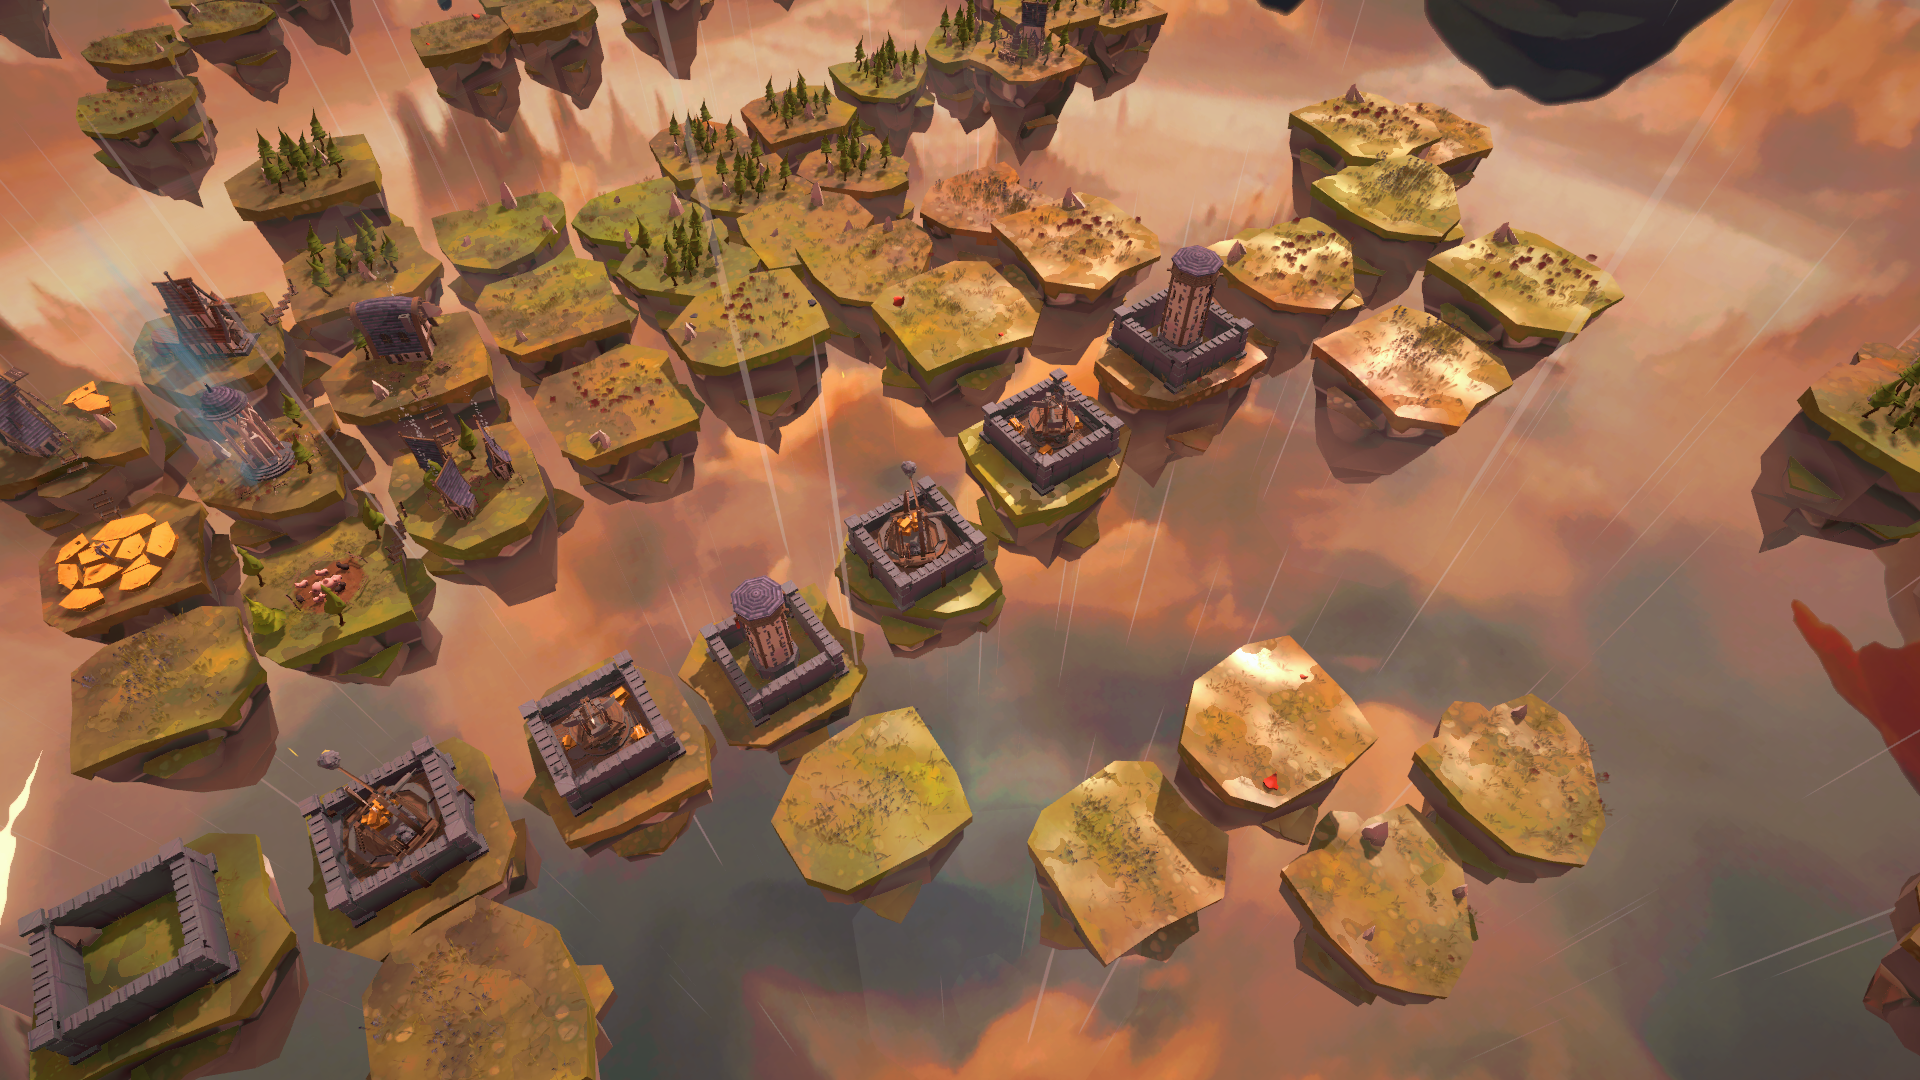
Defense Tower
Shoots at enemies within its range and can form a defensive wall when connected to multiple towers. This wall blocks enemy paths and offers additional protection. Buildings can be placed inside the wall for extra defense - especially effective when combined with Ballistas and Catapults.
Bomb Trap
A deceptive structure packed with explosives. When attacked, it detonates, dealing significant damage to nearby tiles. It can also be manually triggered by targeting it with your Shrine's attack, maximizing its strategic potential.
Main Shrine Attack
The Shrine itself can launch attacks on any map tile, with a cooldown of one turn. While its damage is minimal, it serves as a last-resort defense option.

Special Constructions
These buildings don’t fit neatly into typical categories but have powerful, unique effects:
Town Hall
Doubles currency and experience generation for surrounding Collector buildings. However, it increases chaos gain, requiring careful consideration before deployment.
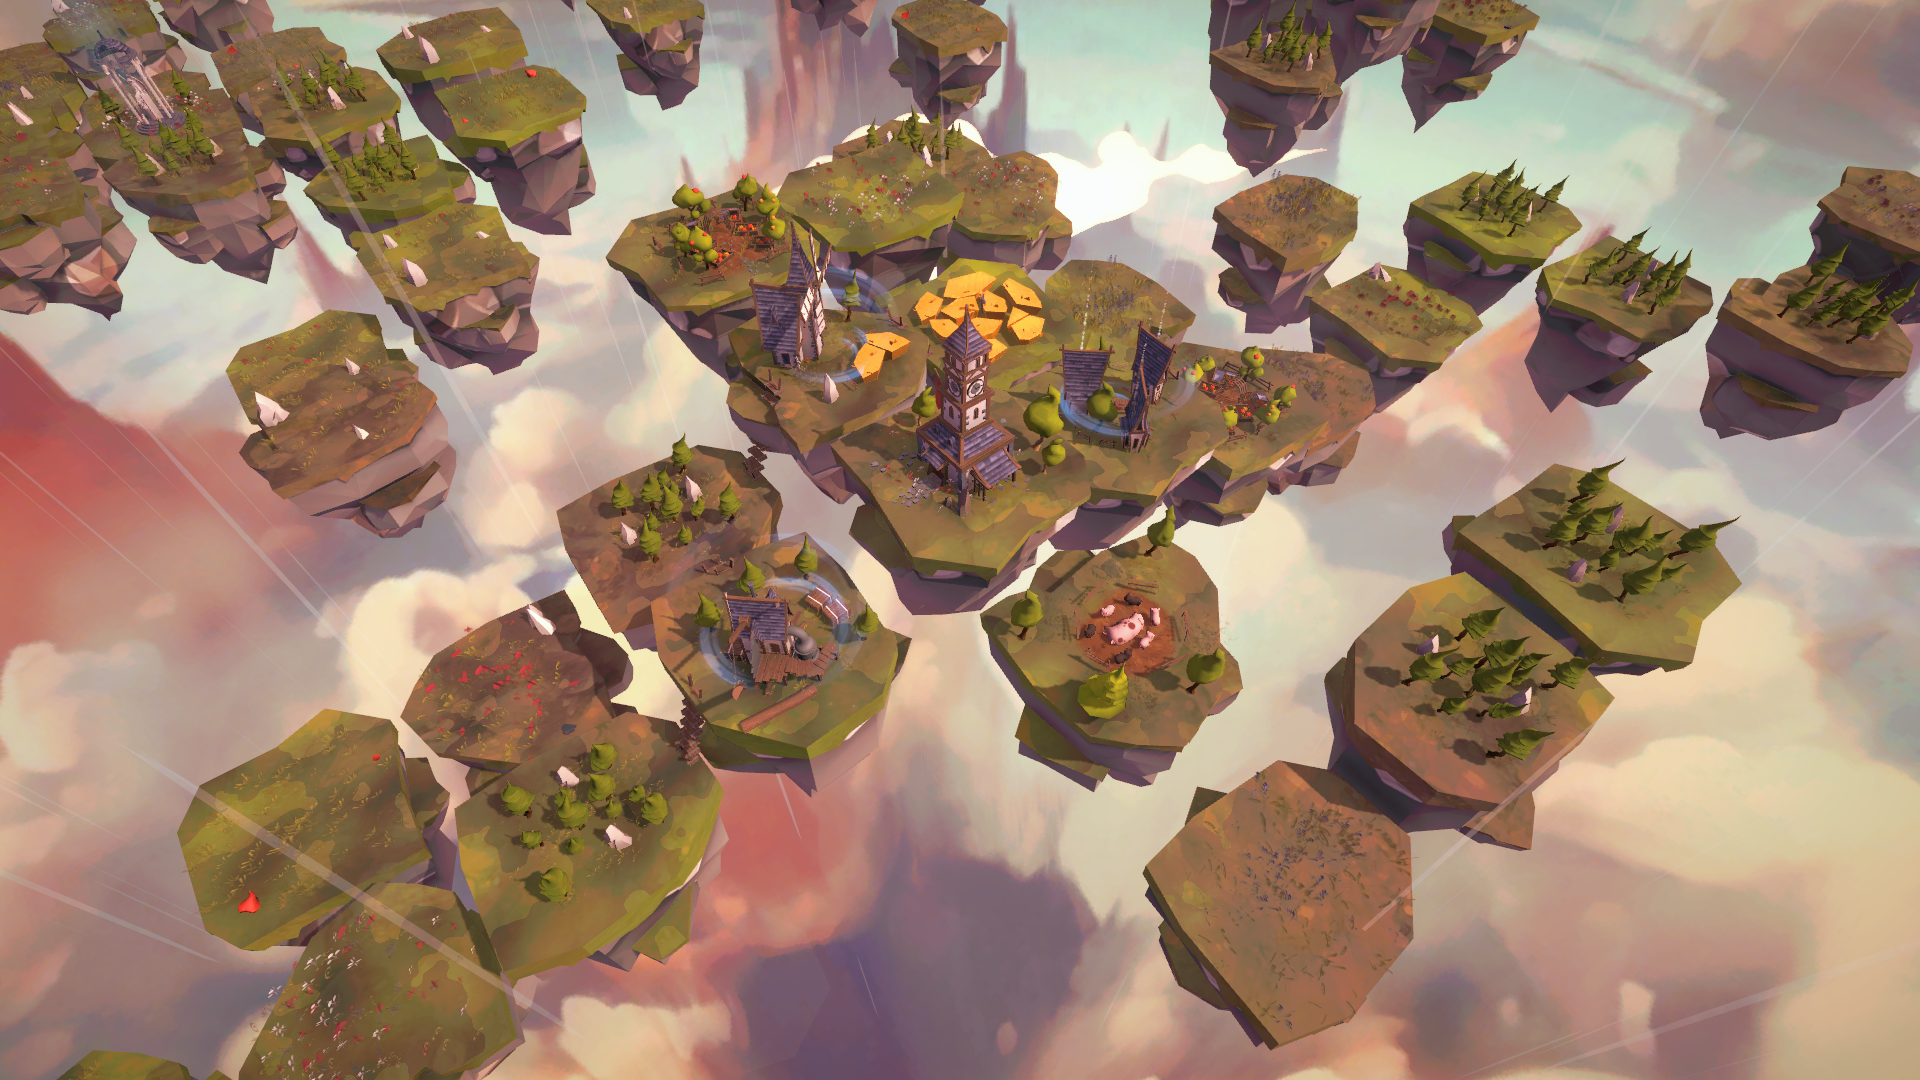
Blacksmith
A specialized Collector that produces combat points instead of currency. These points are essential for supplying defense buildings and purchasing combat cards.
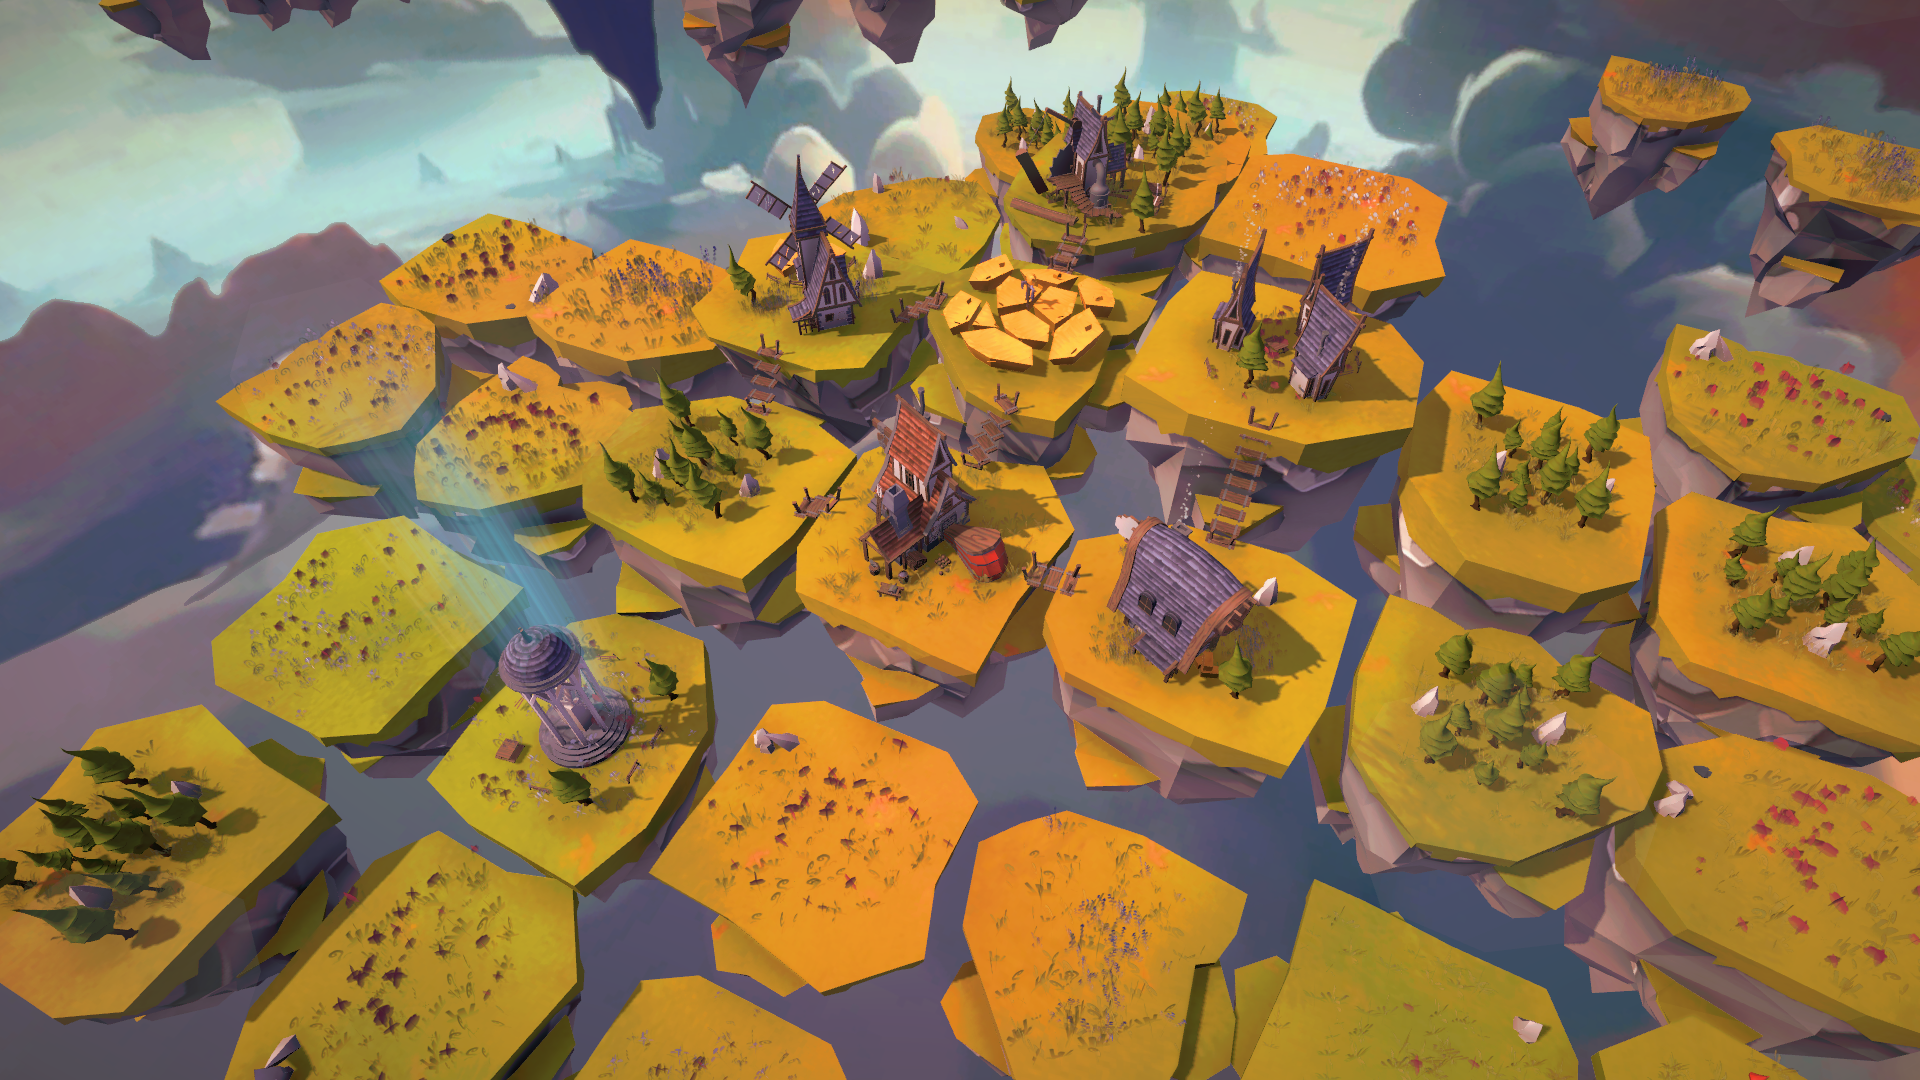
Church
Converts incoming resources to reduce chaos levels. This powerful building is only available once your settlement reaches a high level.
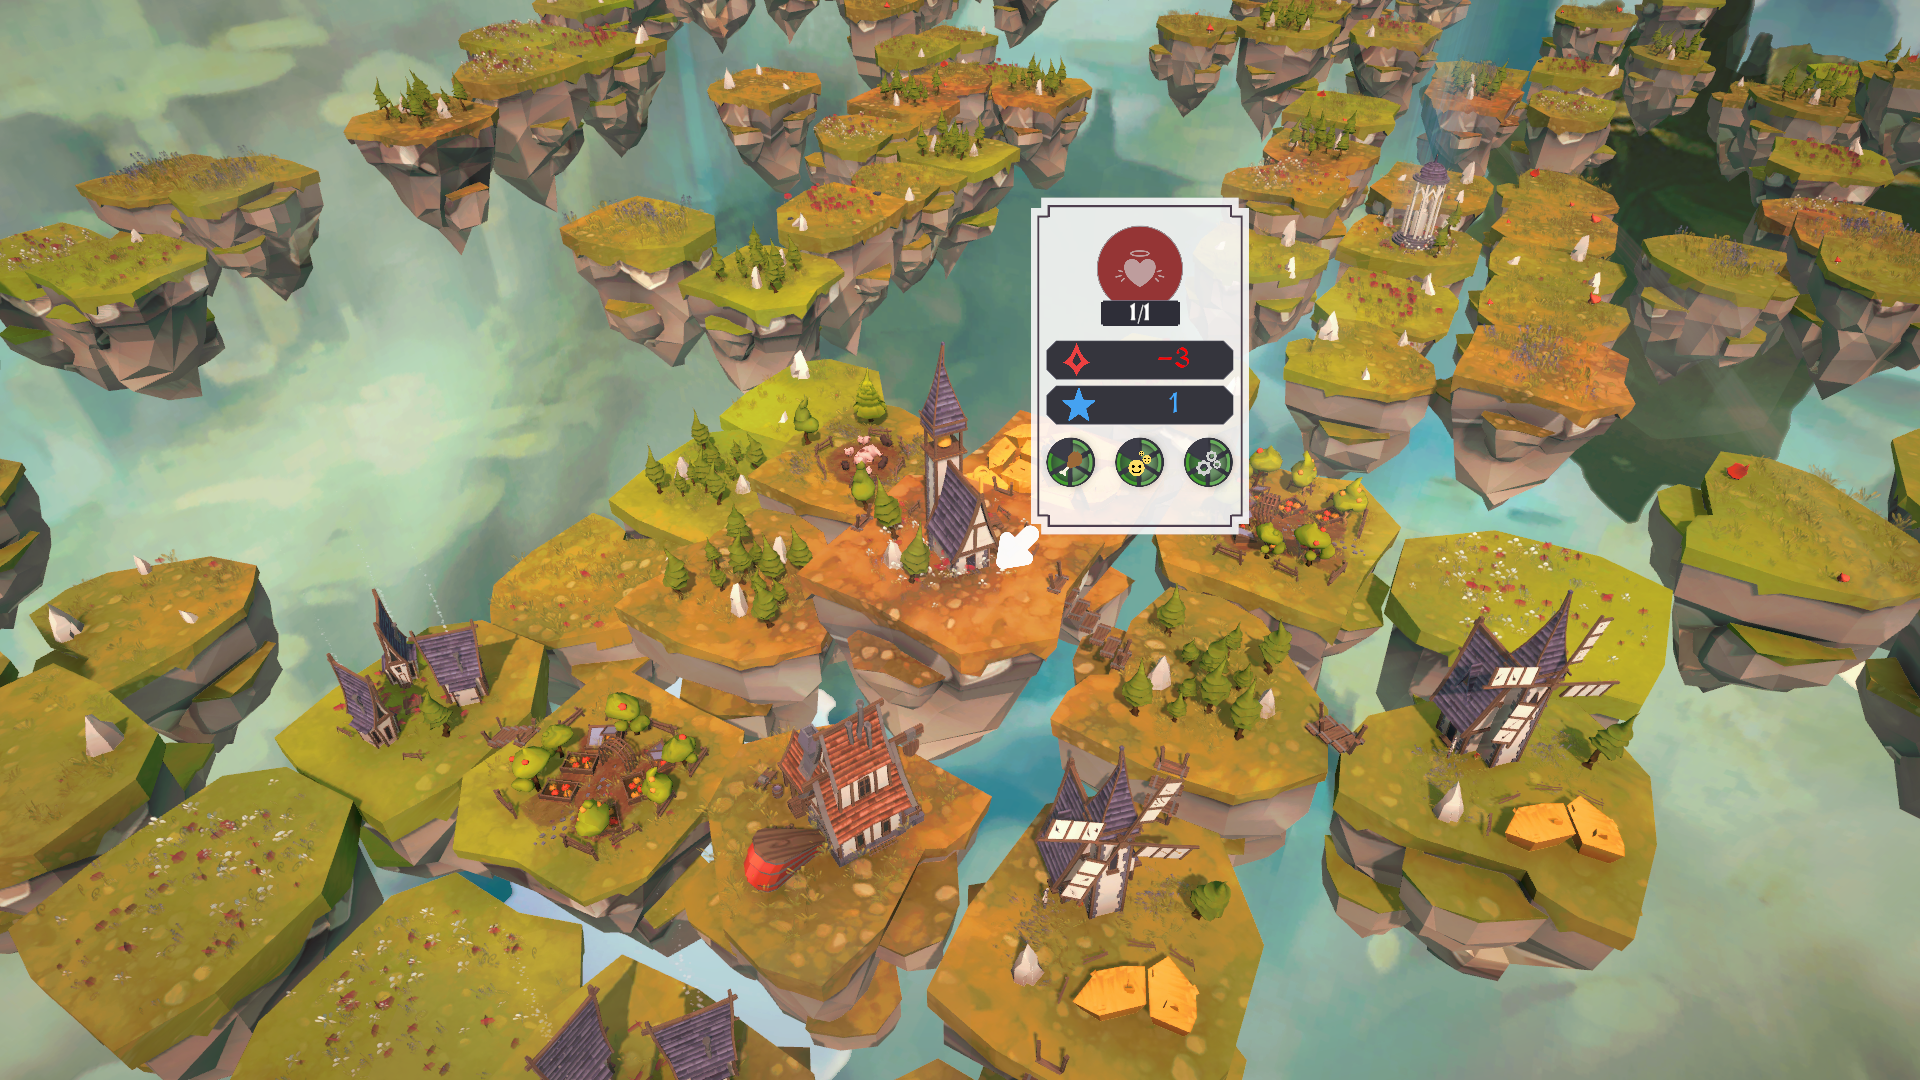
More to Come
We’ve only scratched the surface of the buildings and mechanics in this update. There are plenty of important buildings with unique roles that play a big part in your settlement’s success. Plus, we’re continuously developing and refining new buildings to expand gameplay possibilities. Stay updated by joining our Discord community, where we post weekly progress updates, host playtests, and answer your questions. We’re excited to have you with us on this journey—see you there!