In the following article, I will show you how to create a new level and how to share it with others.
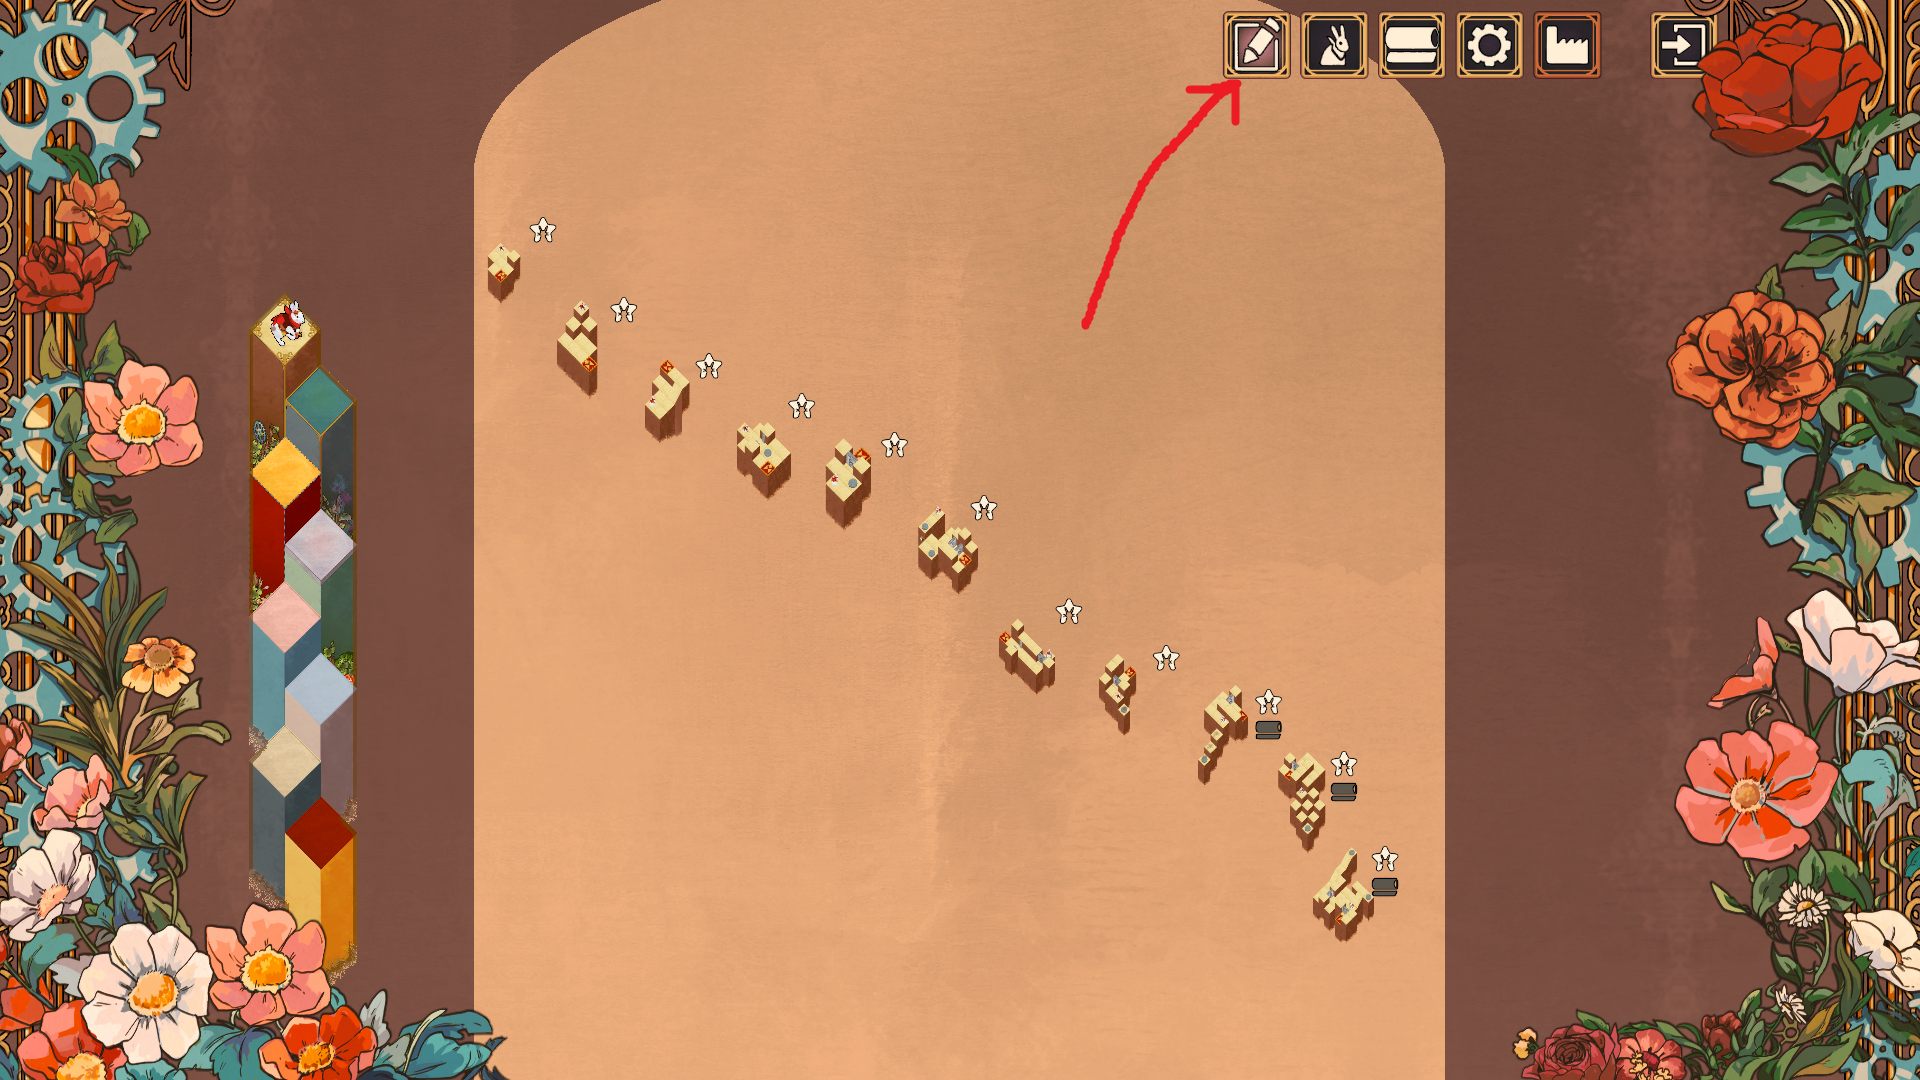
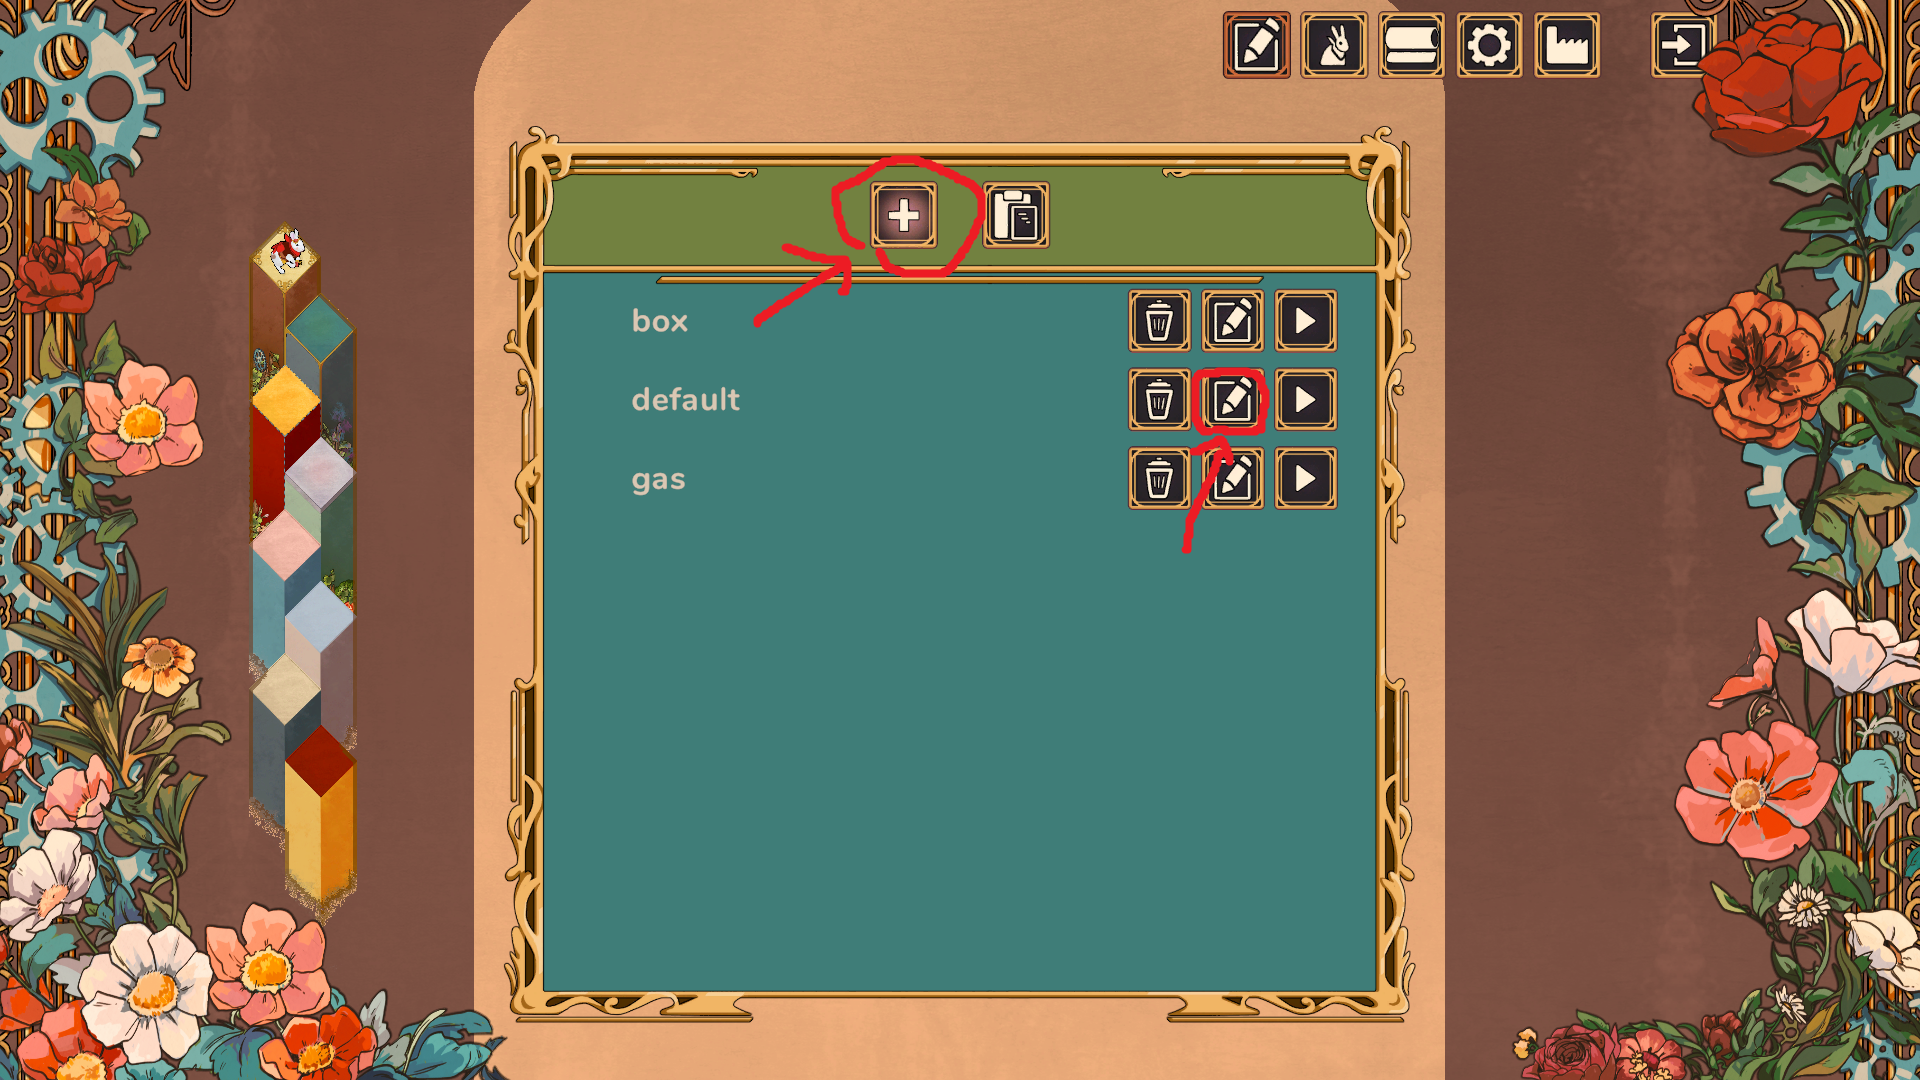
The level list from the editor is activated by the pencil icon in the main menu.
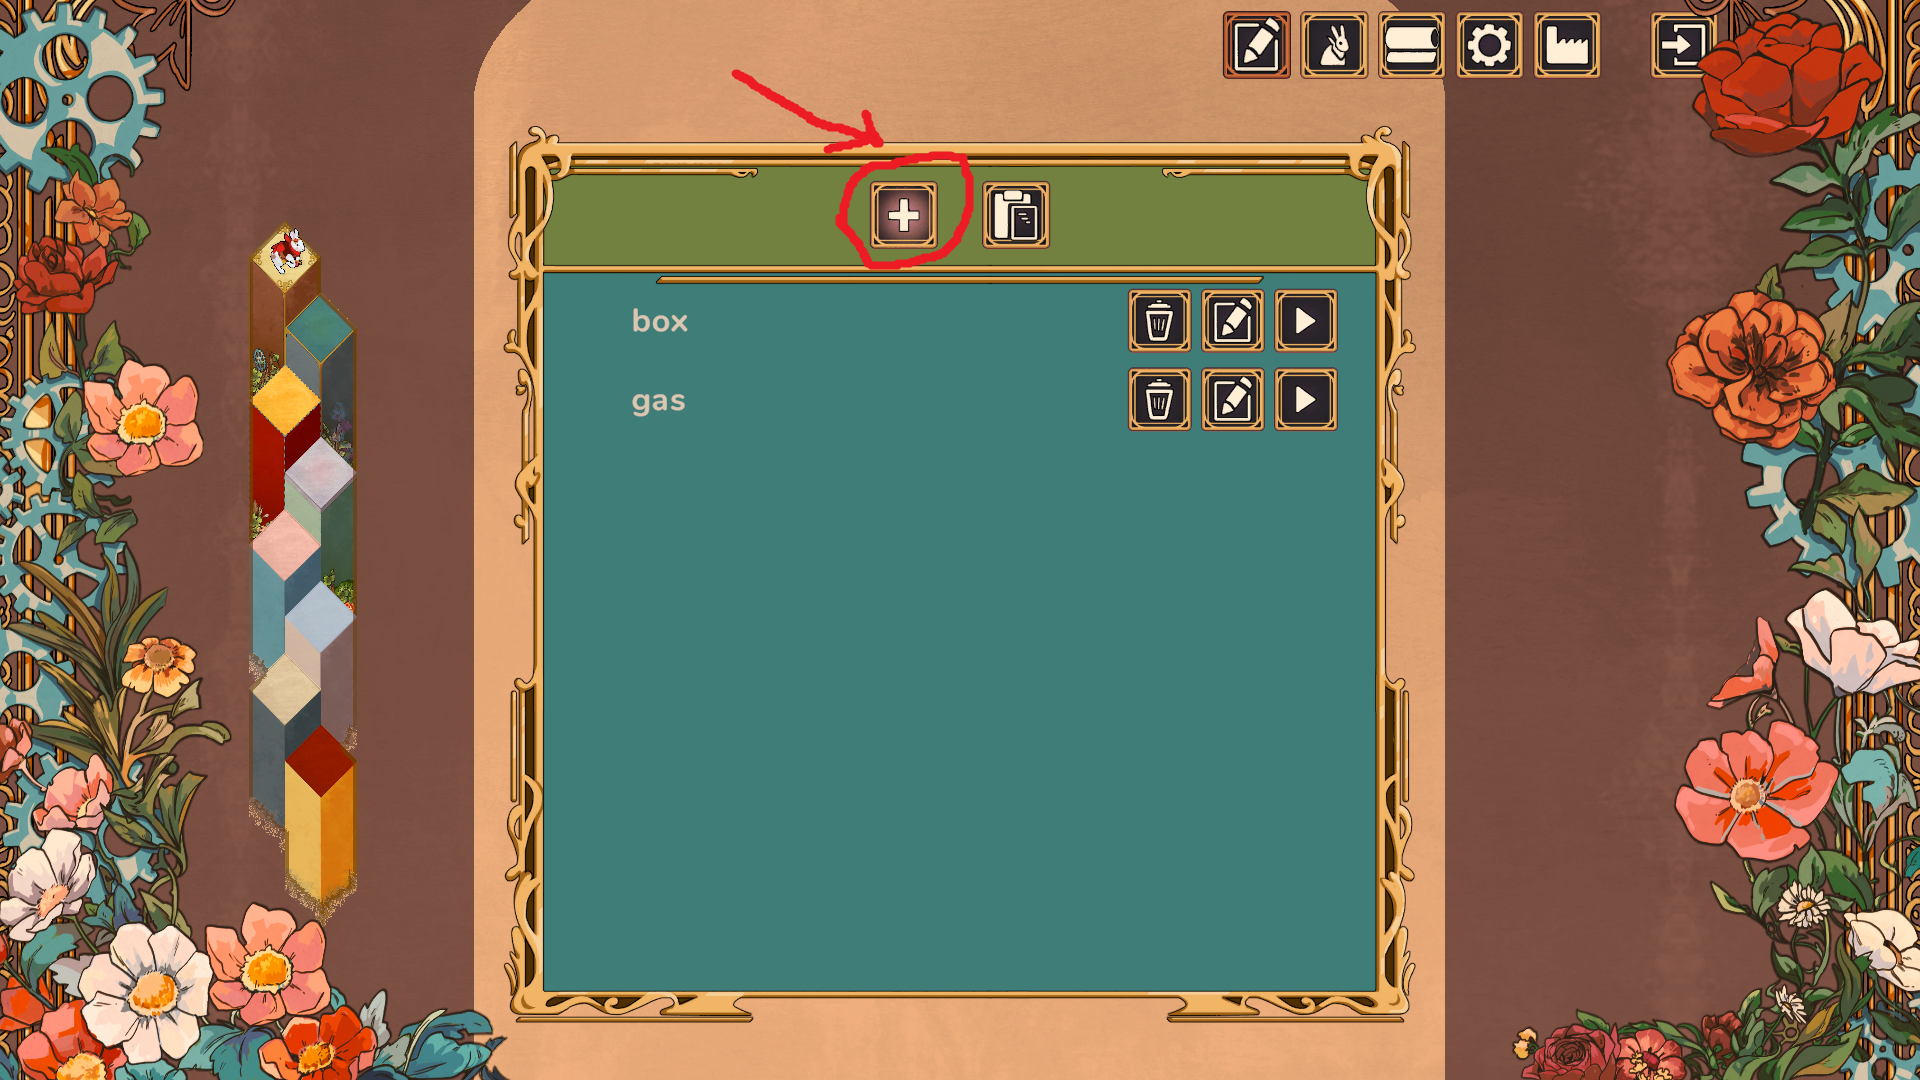
Then click on the icon with a + to create a new default level.
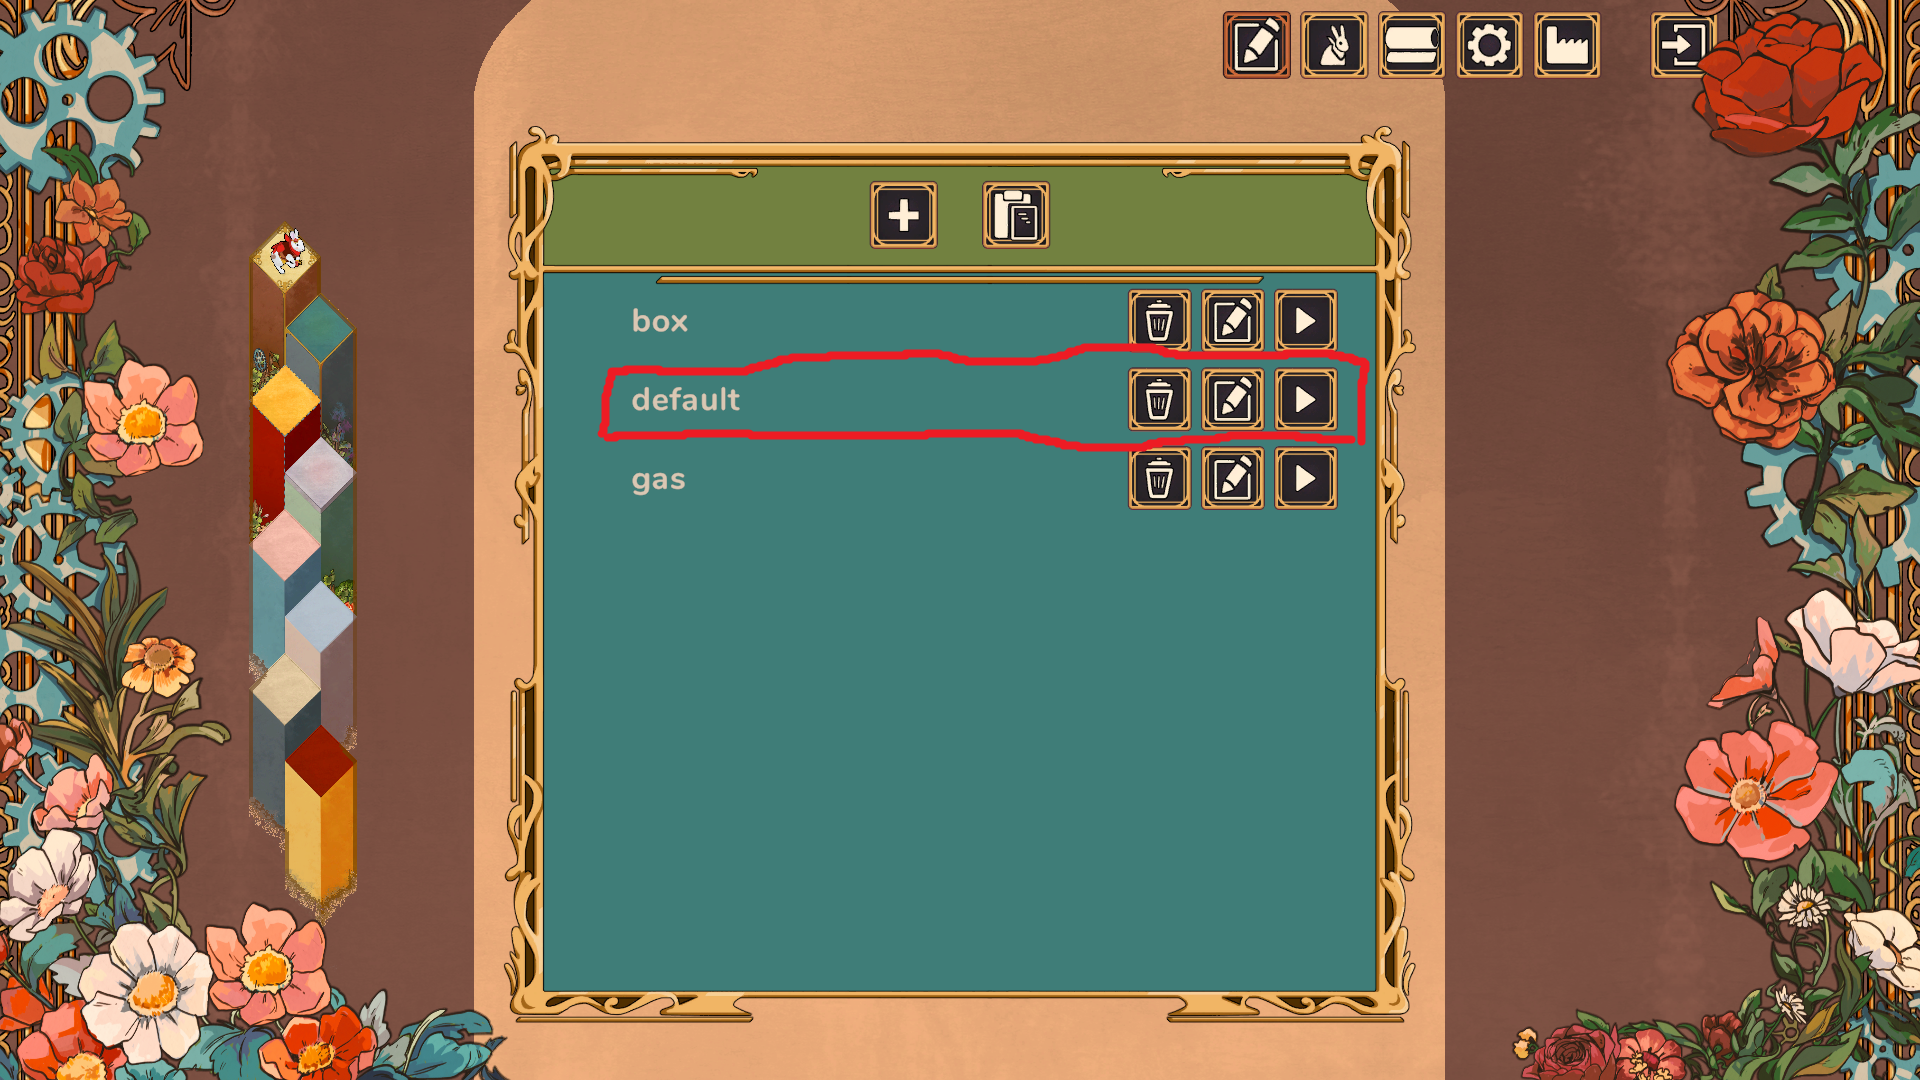
Each level has 3 buttons. From left: delete, edit, play.
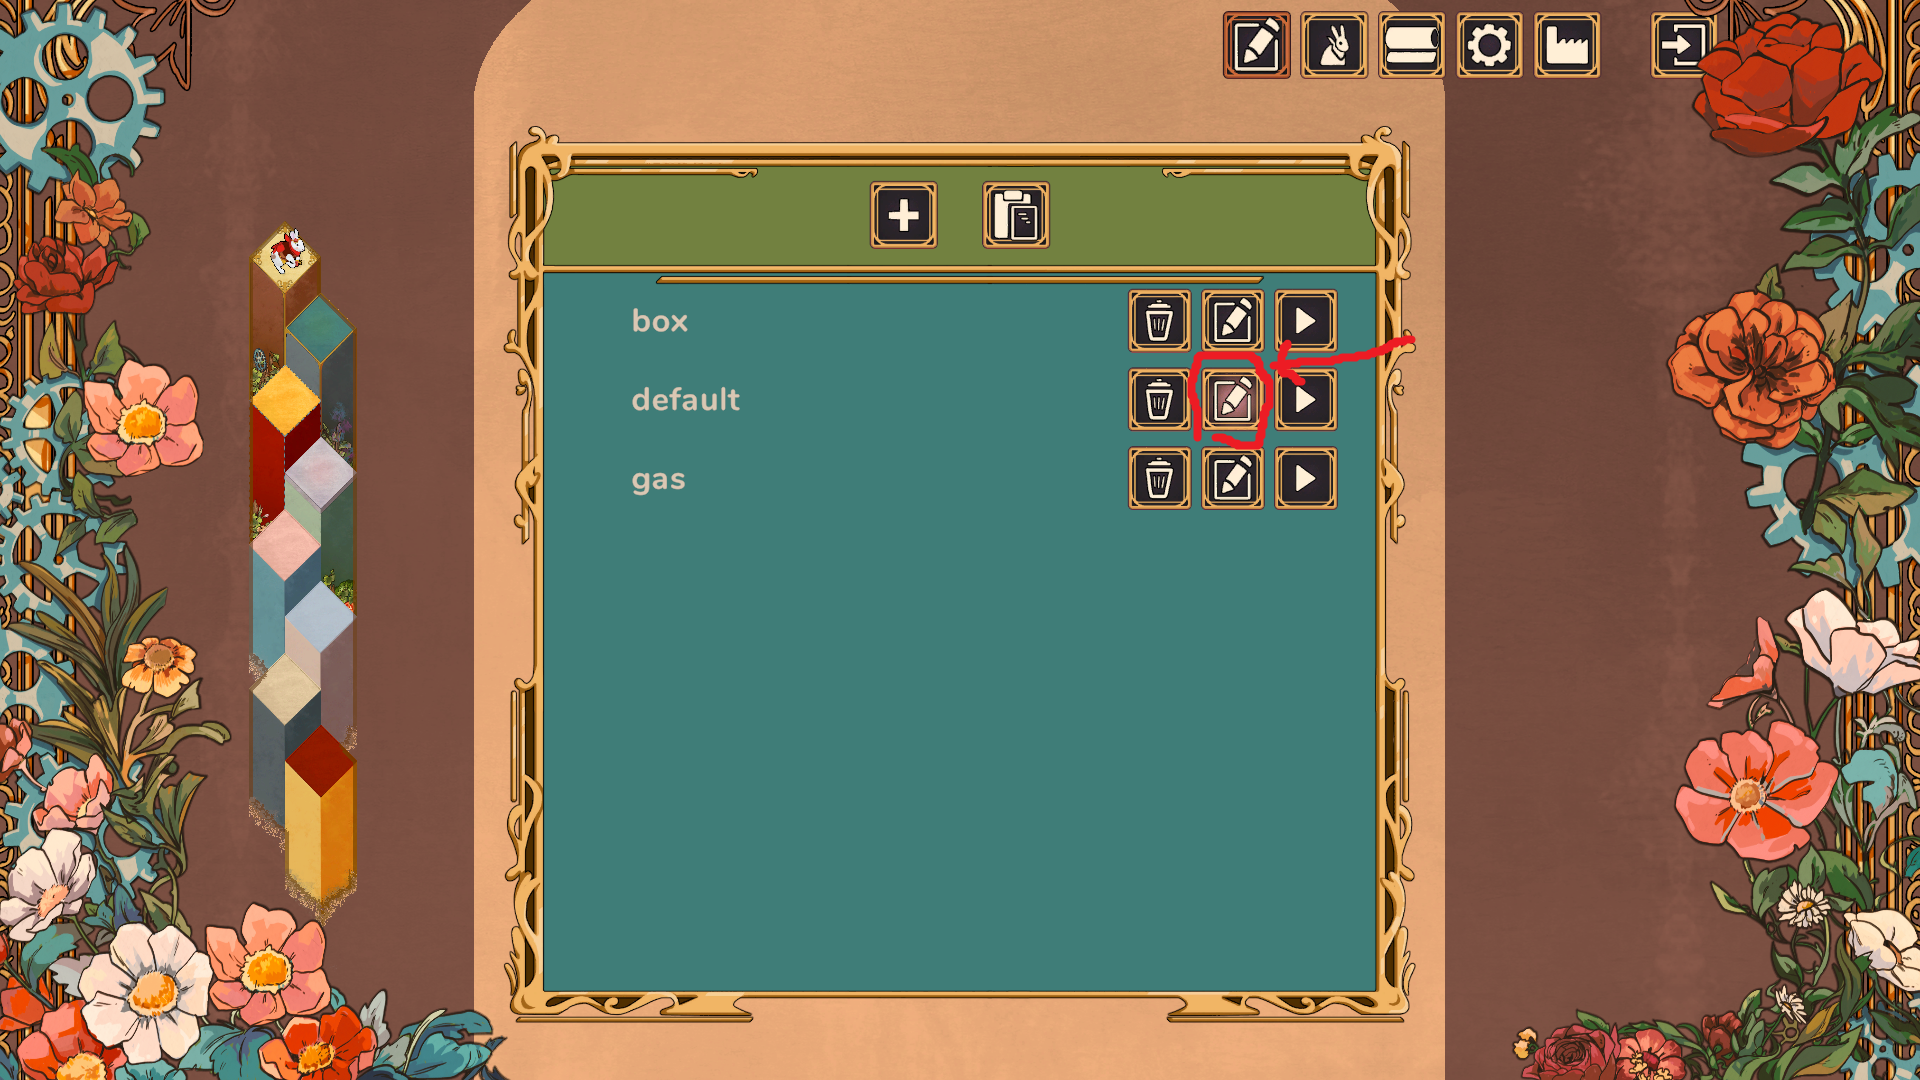
Click the edit icon.
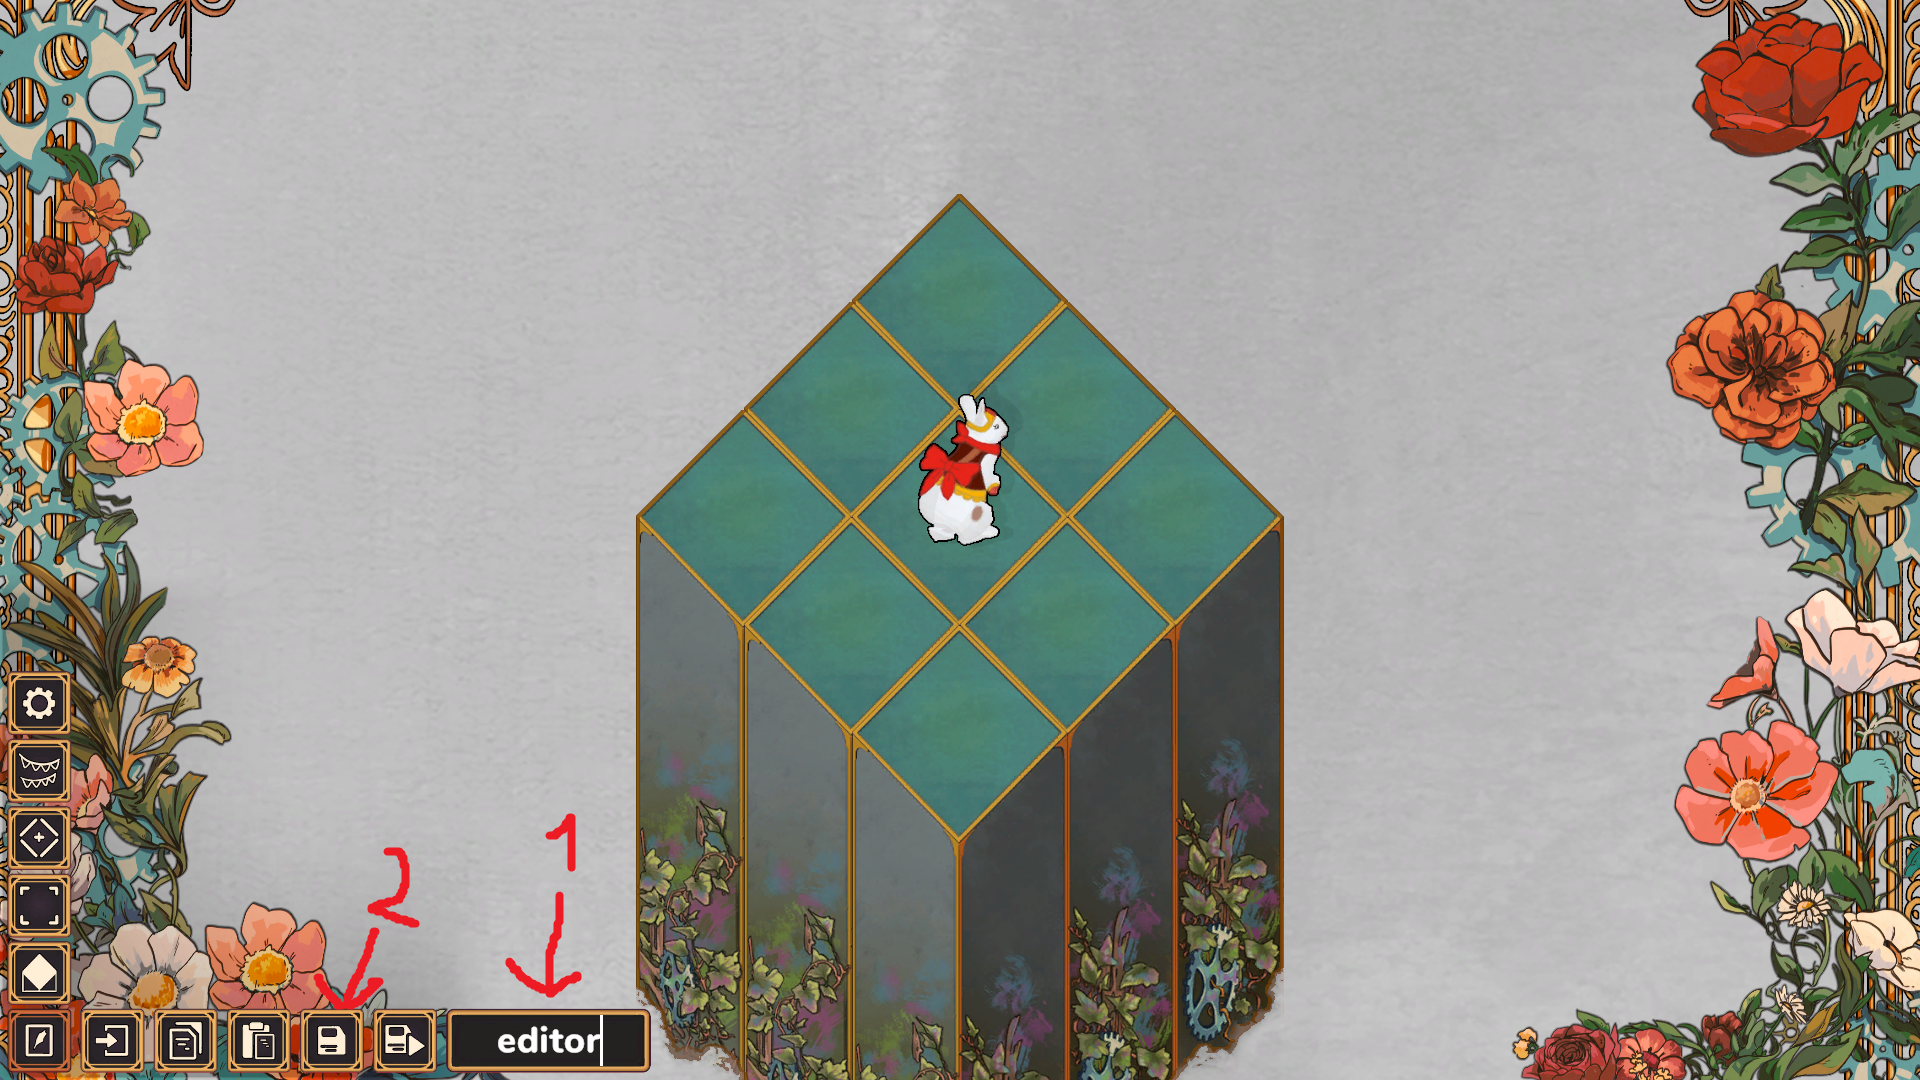
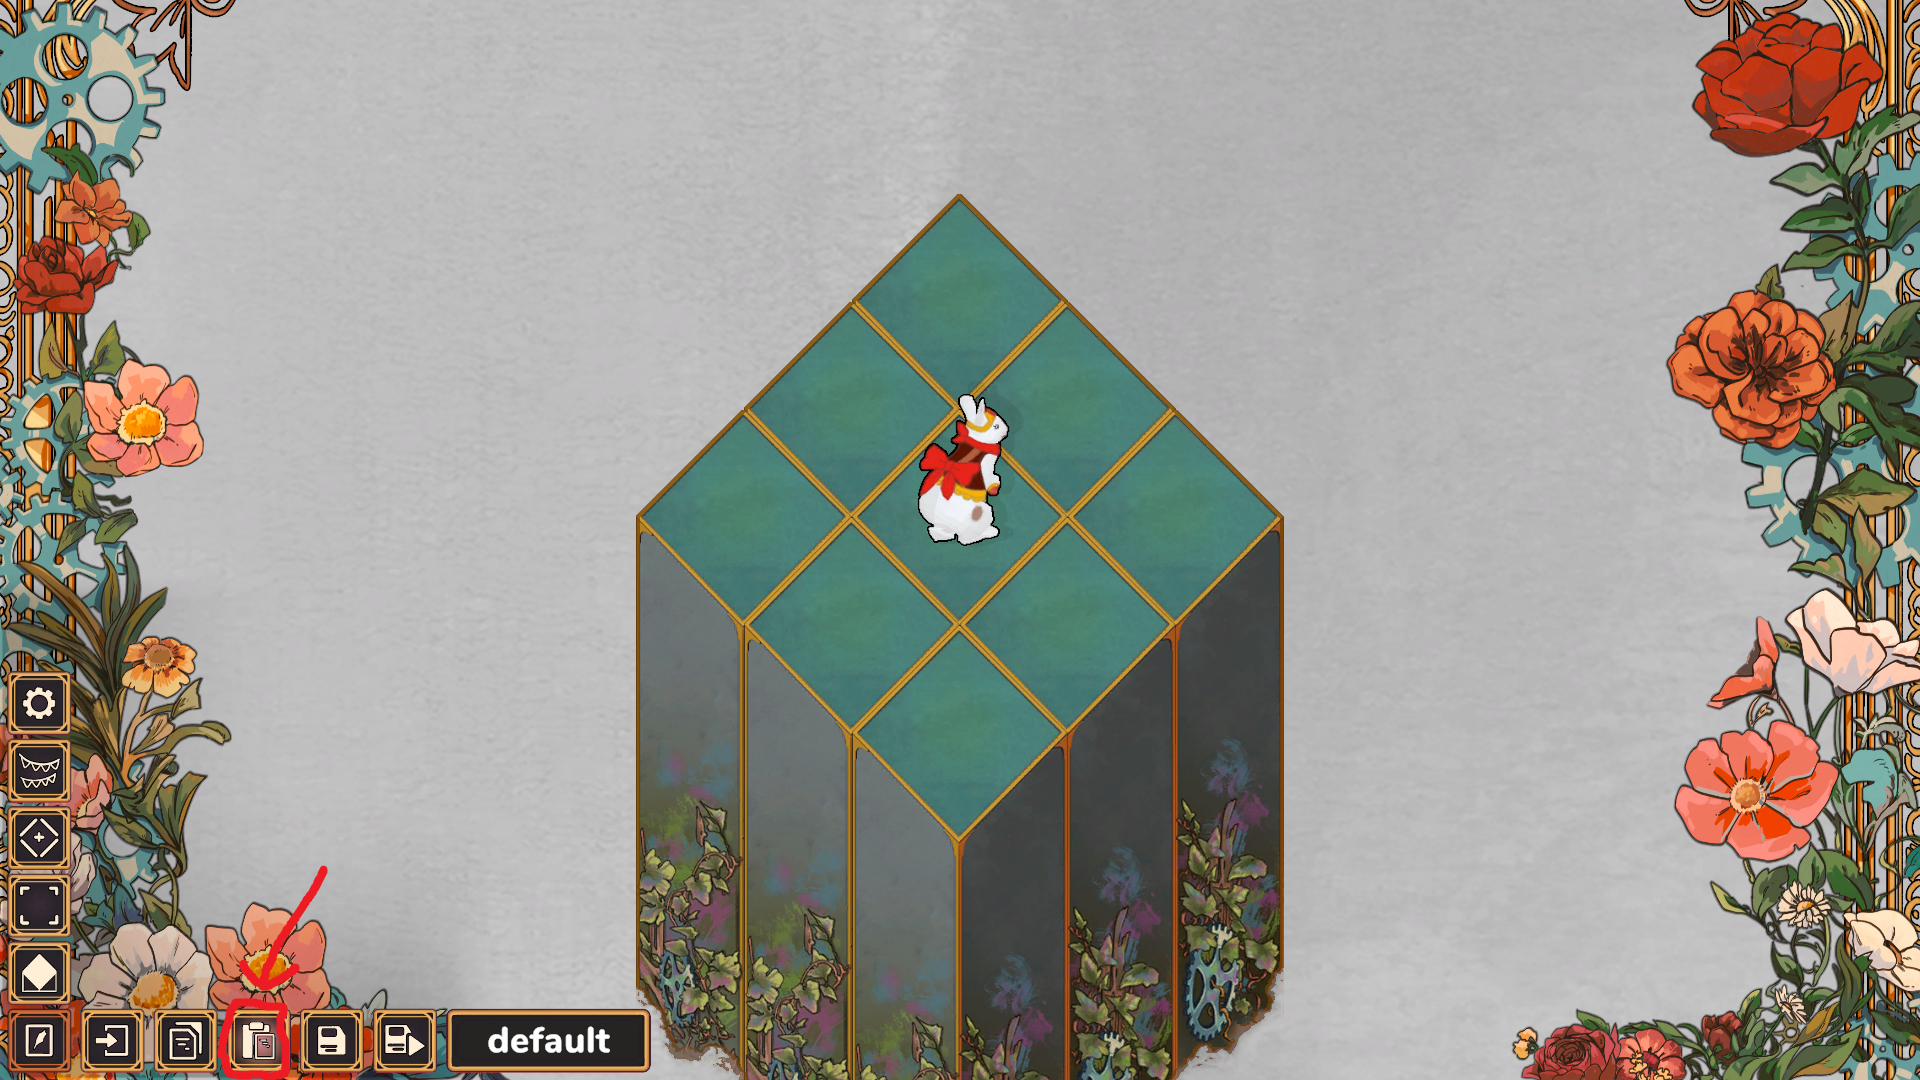
Default level o always a small 3 by 3 map with a rabbit in the middle. Change the name (1) and save the level (2). After renaming, a new level file will be created without deleting the old one.
If you want to connect some mechanical elements, you need to lay them out on the map. Most often you'll be connecting buttons or controllers to other elements like doors or smoke.
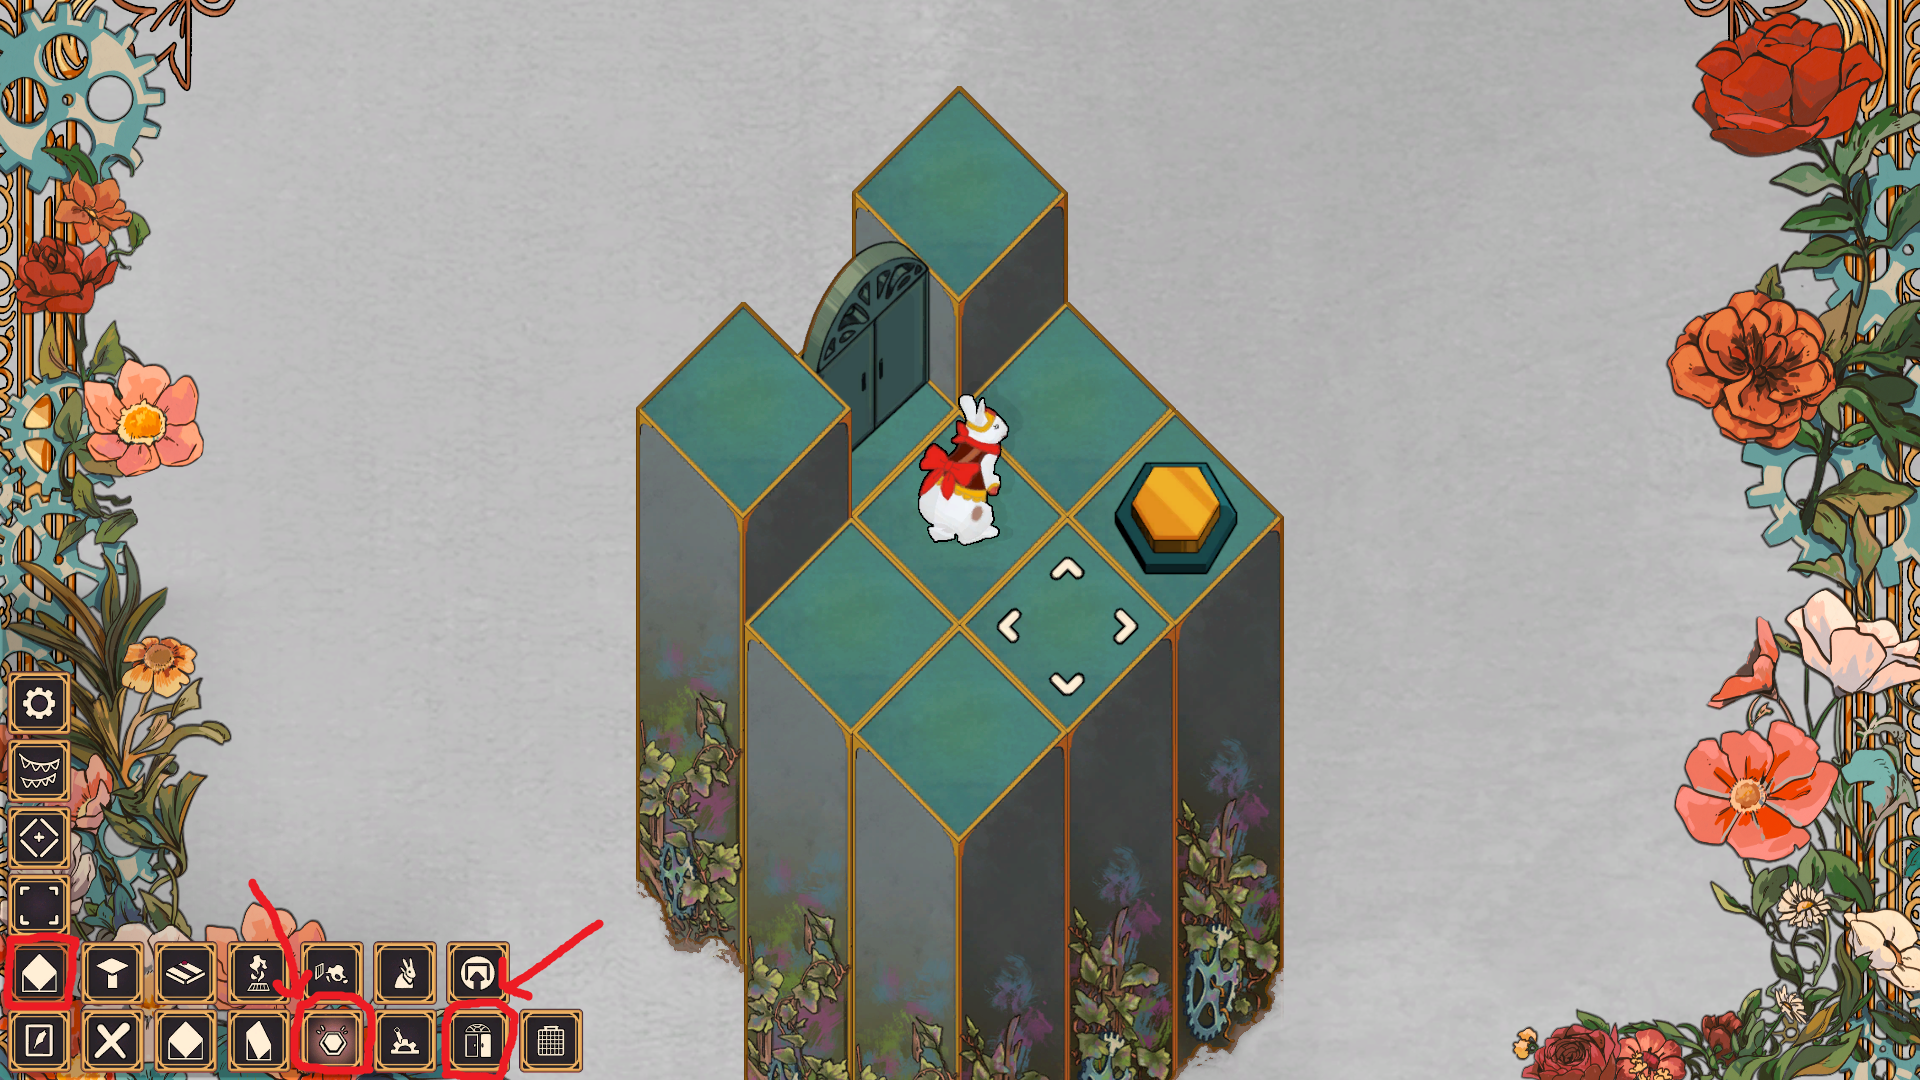
To connect elements to each other, go to the selection tab (1) and click on the box you want to select (2). All elements that can be connected and are not connected are highlighted in red.
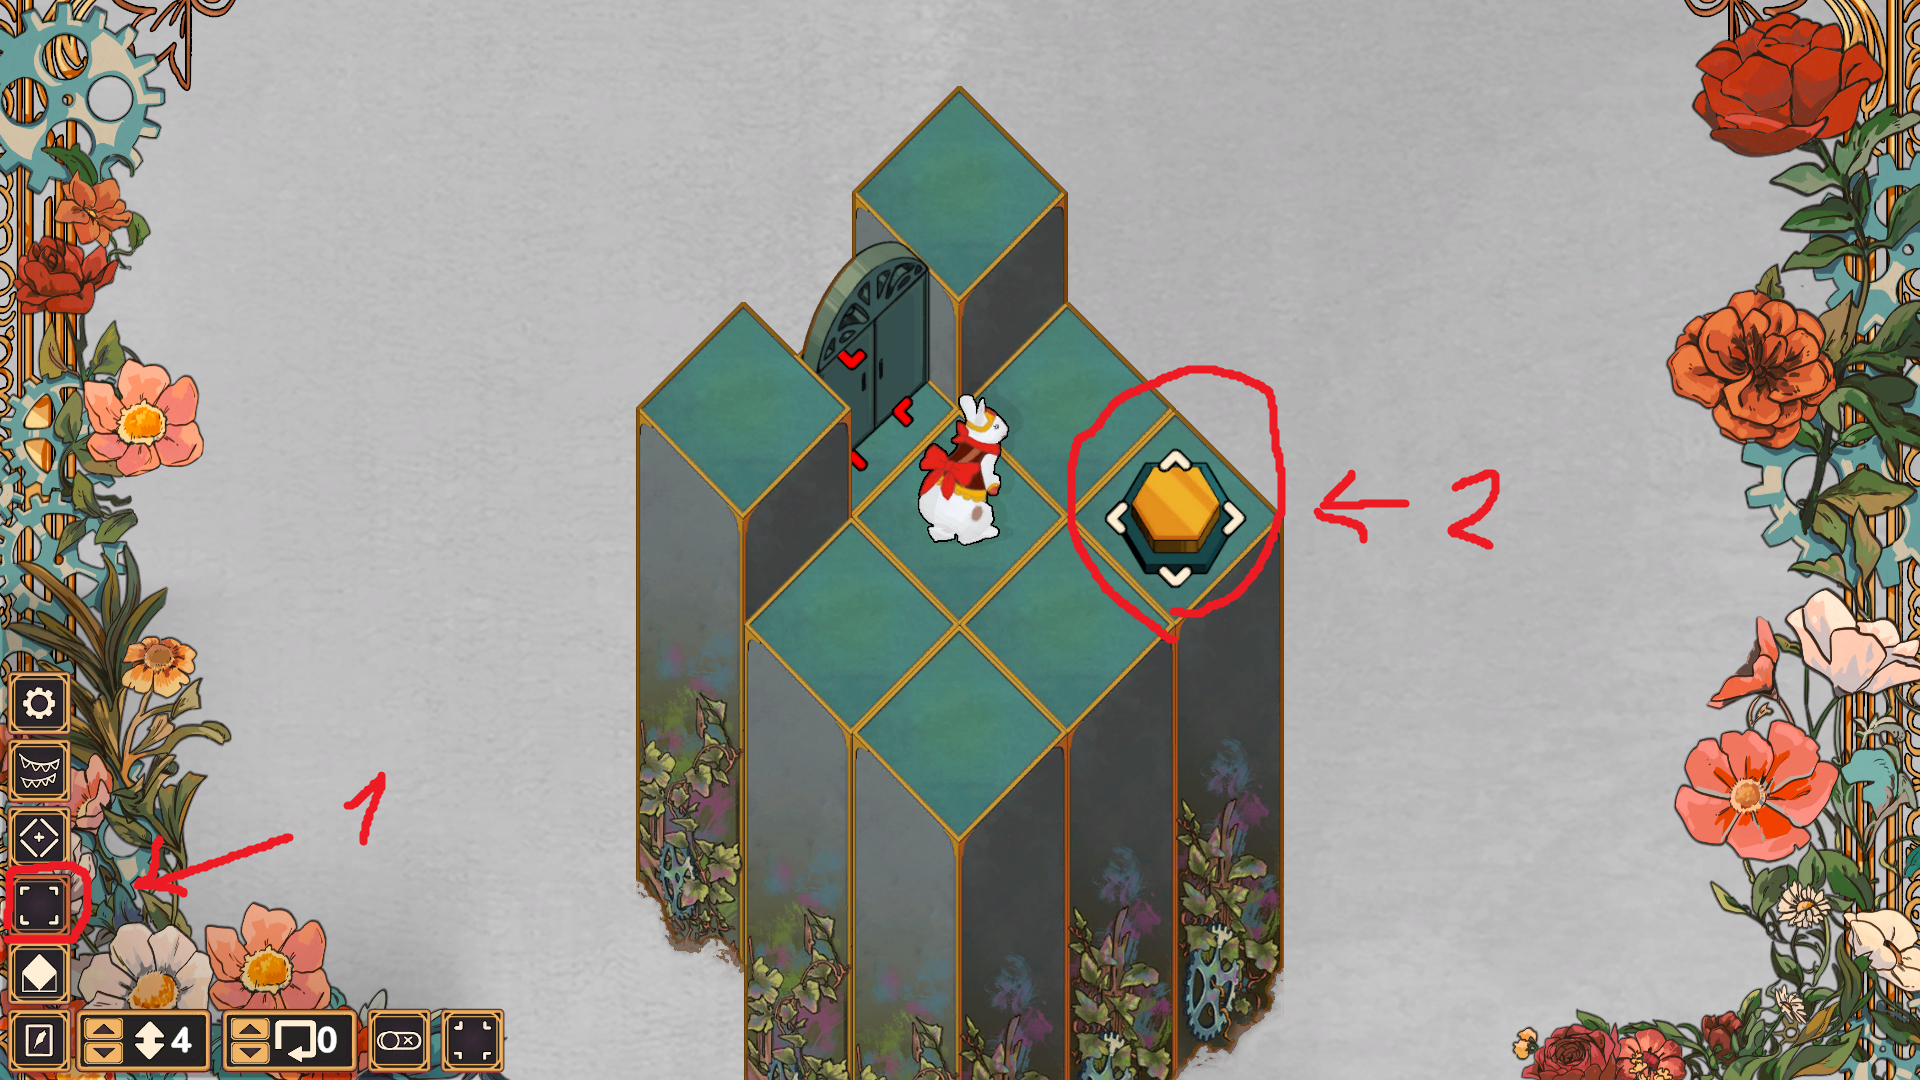
When you have a button selected on the map, click the link button in the menu
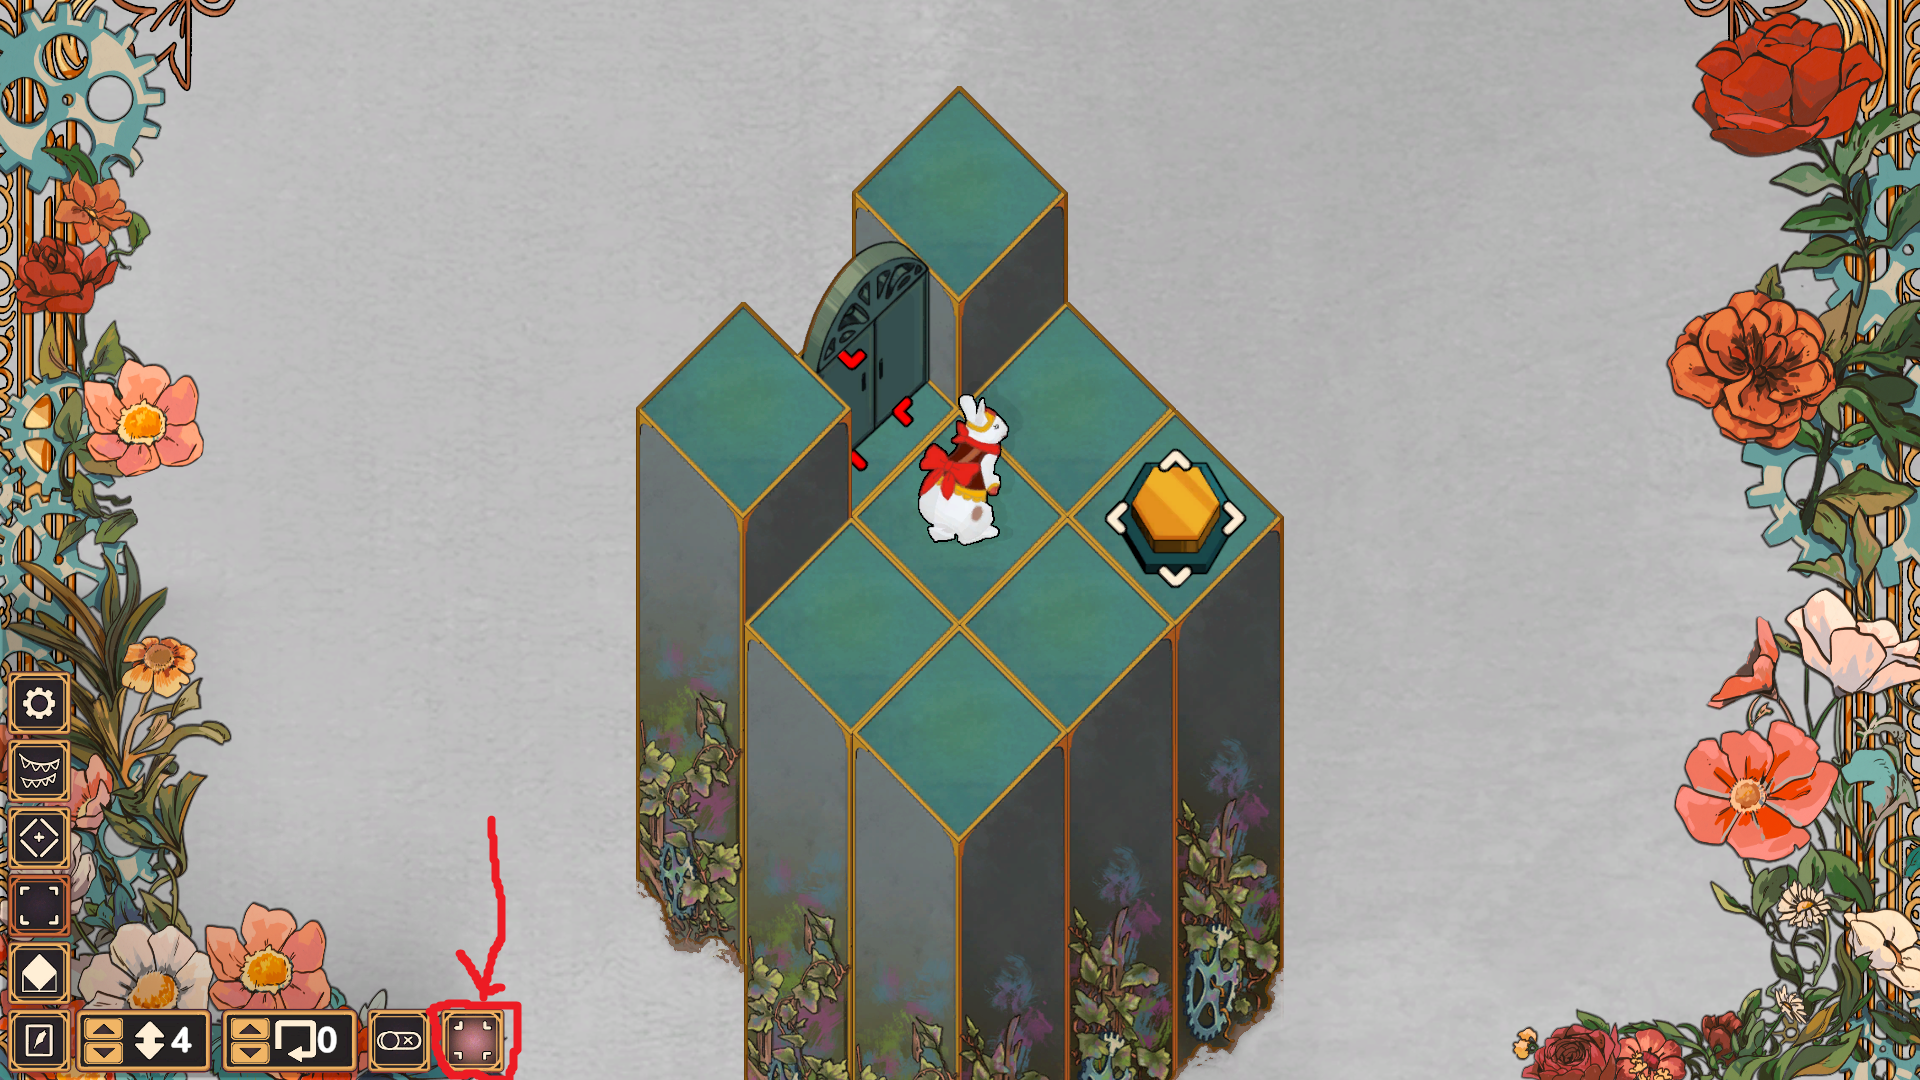
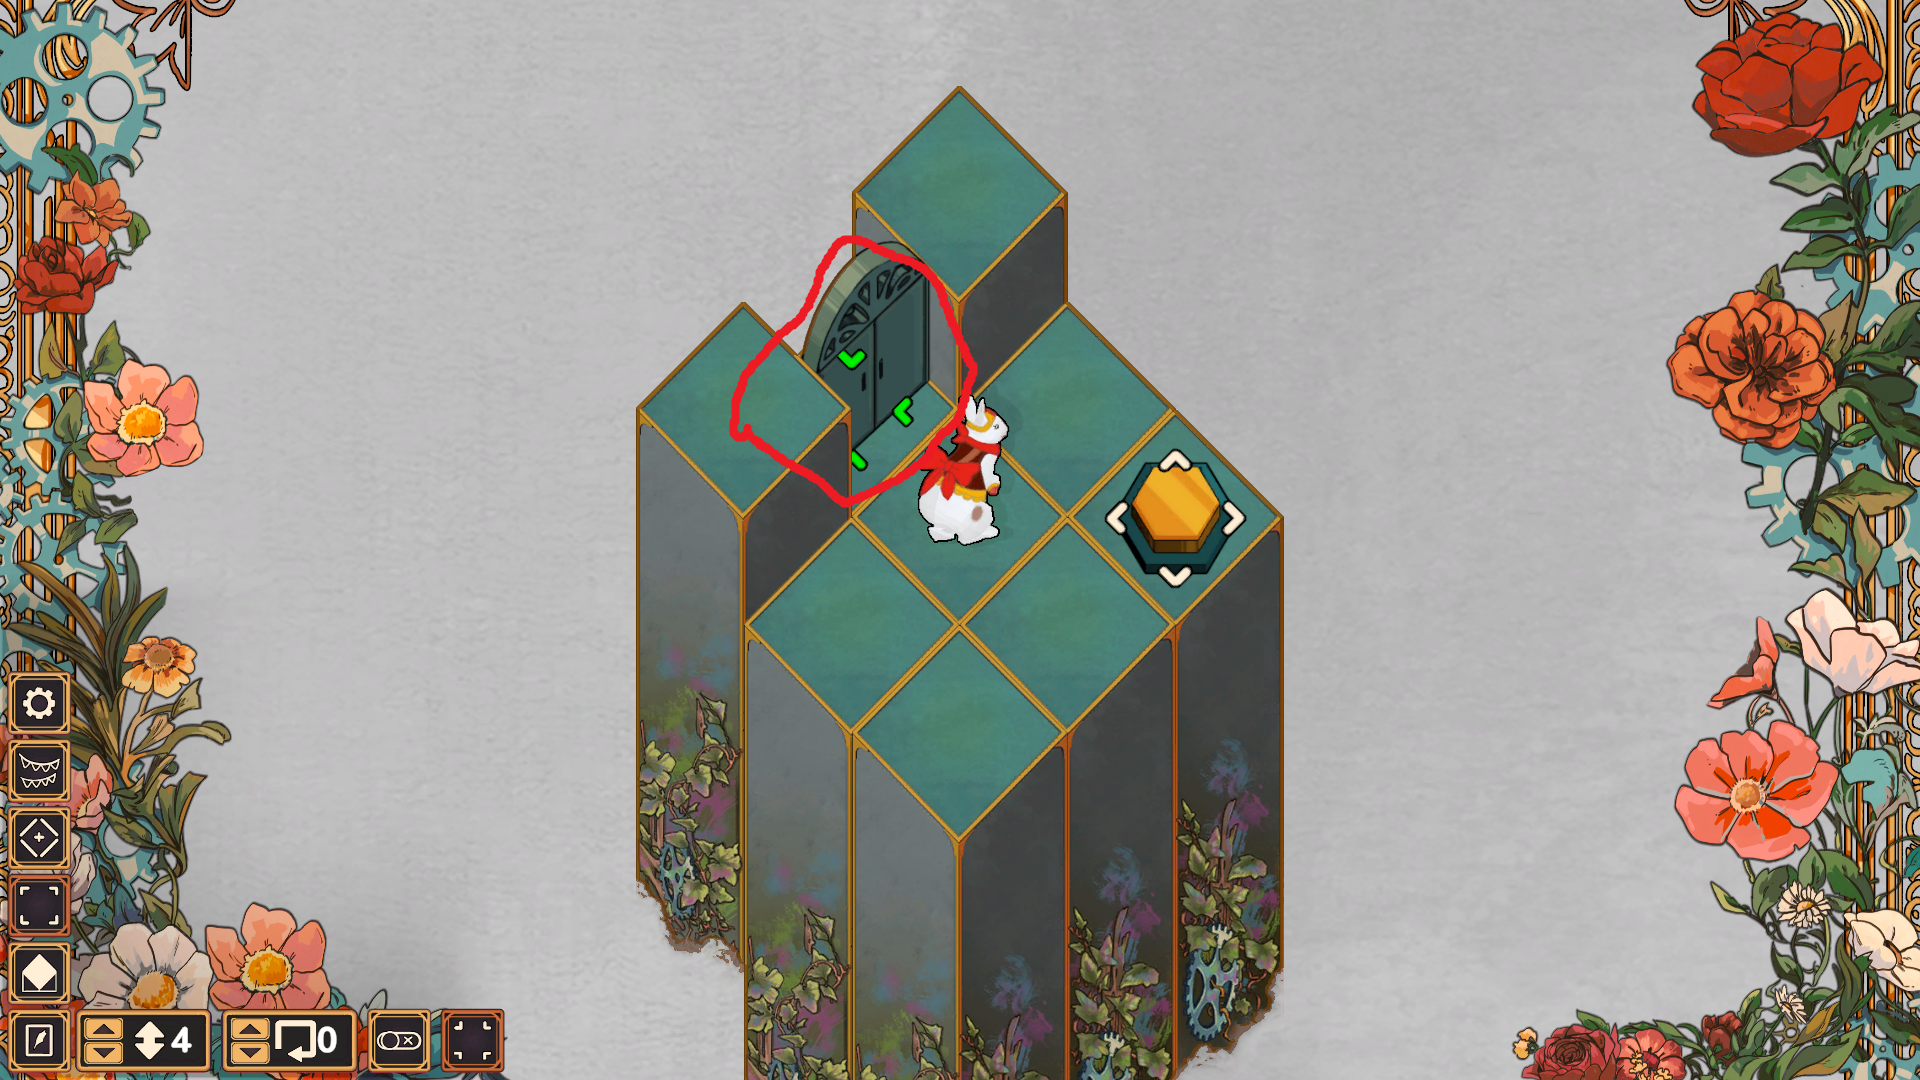
When you click on the door it will color green to indicate that it is connected. To return from connection mode to selection mode, click the button again.
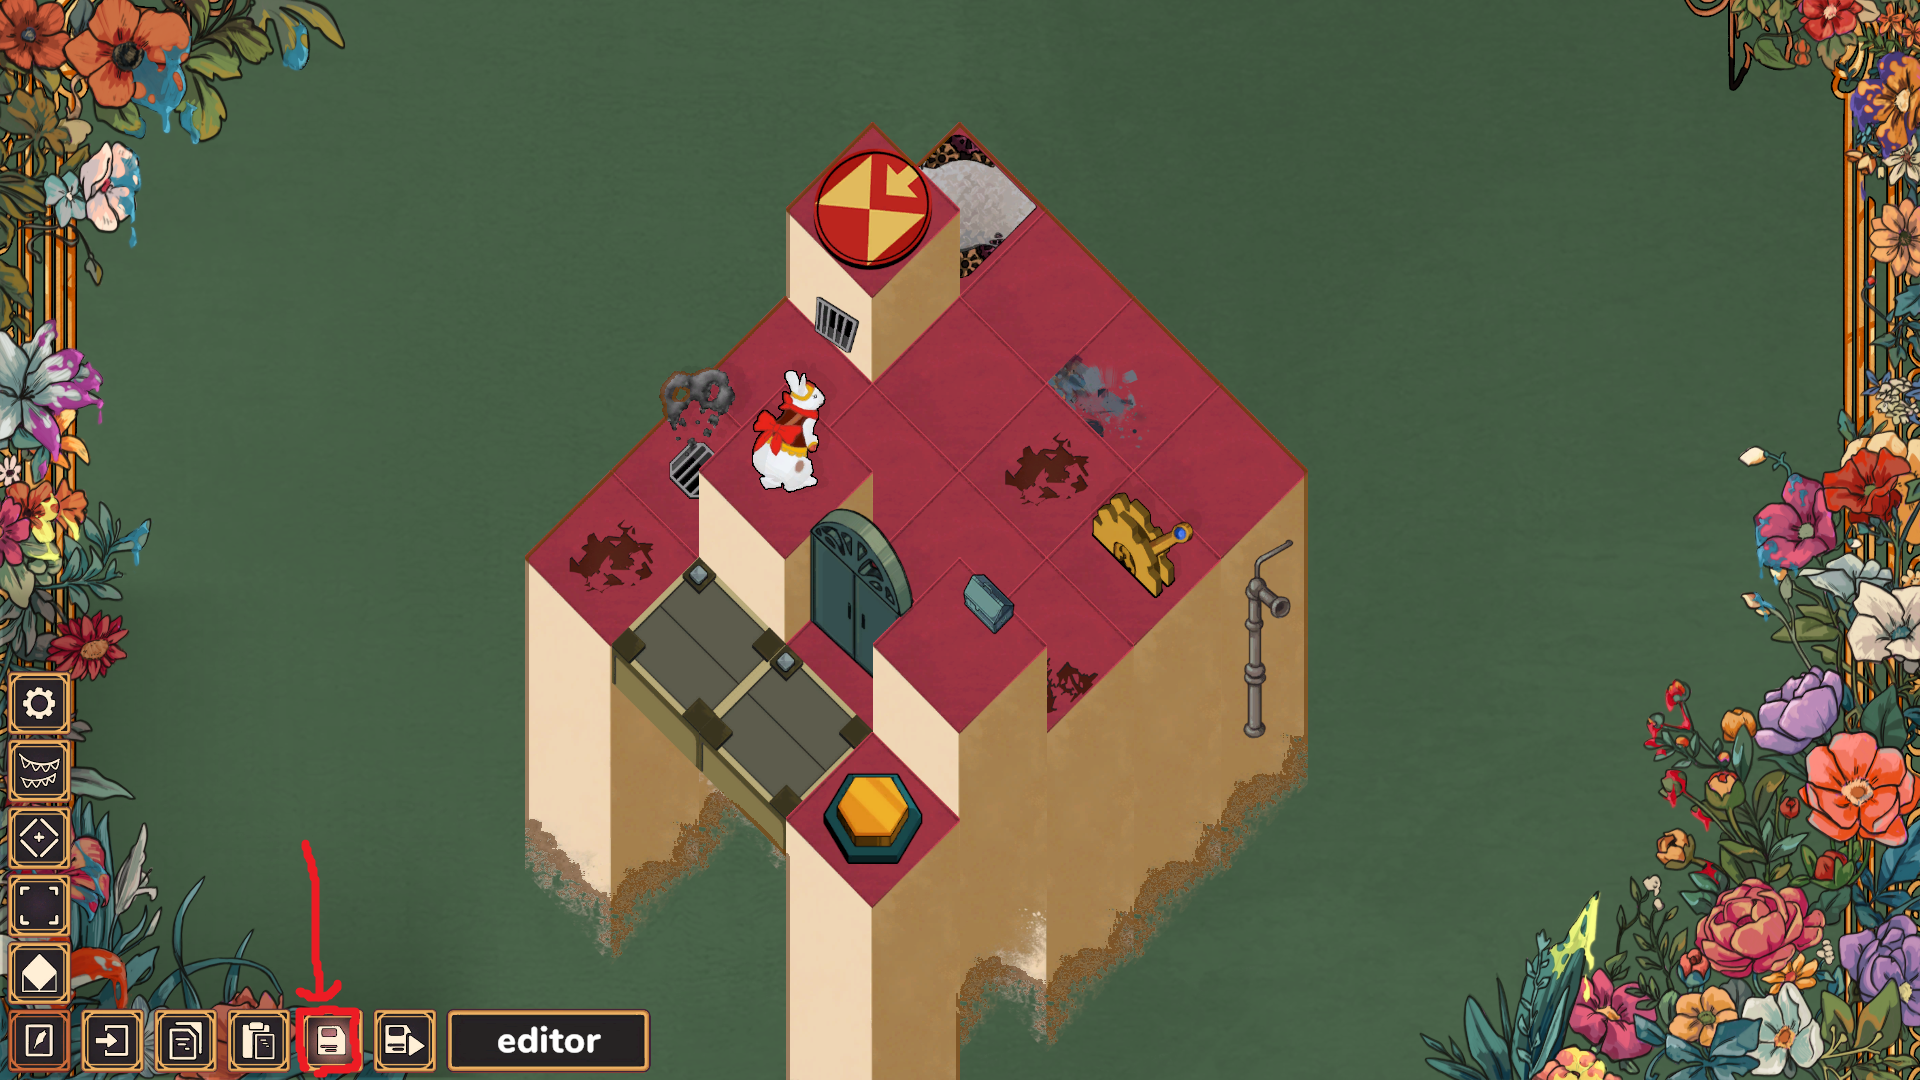
After you have created a level using the available tools, you should save it with the appropriate button.
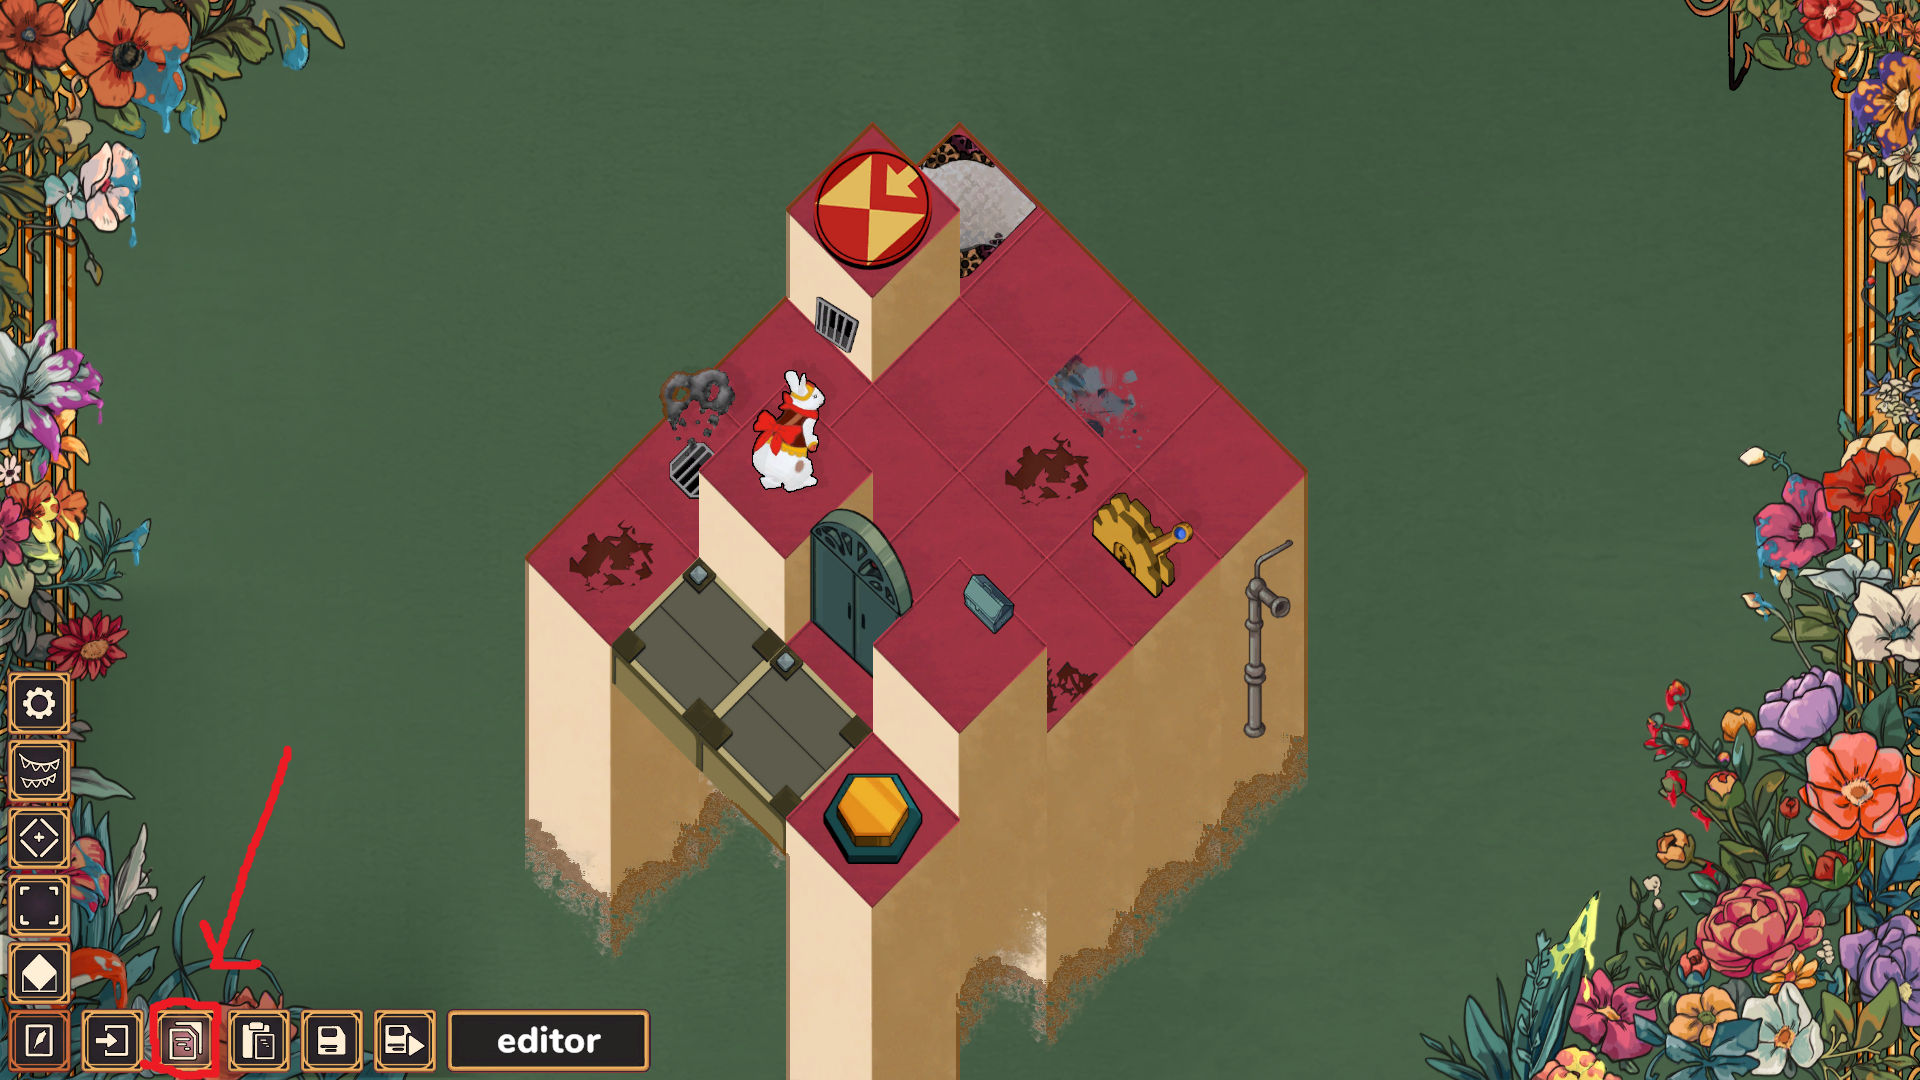
After saving, copy the level with the copy level button.
We can now back to the menu.
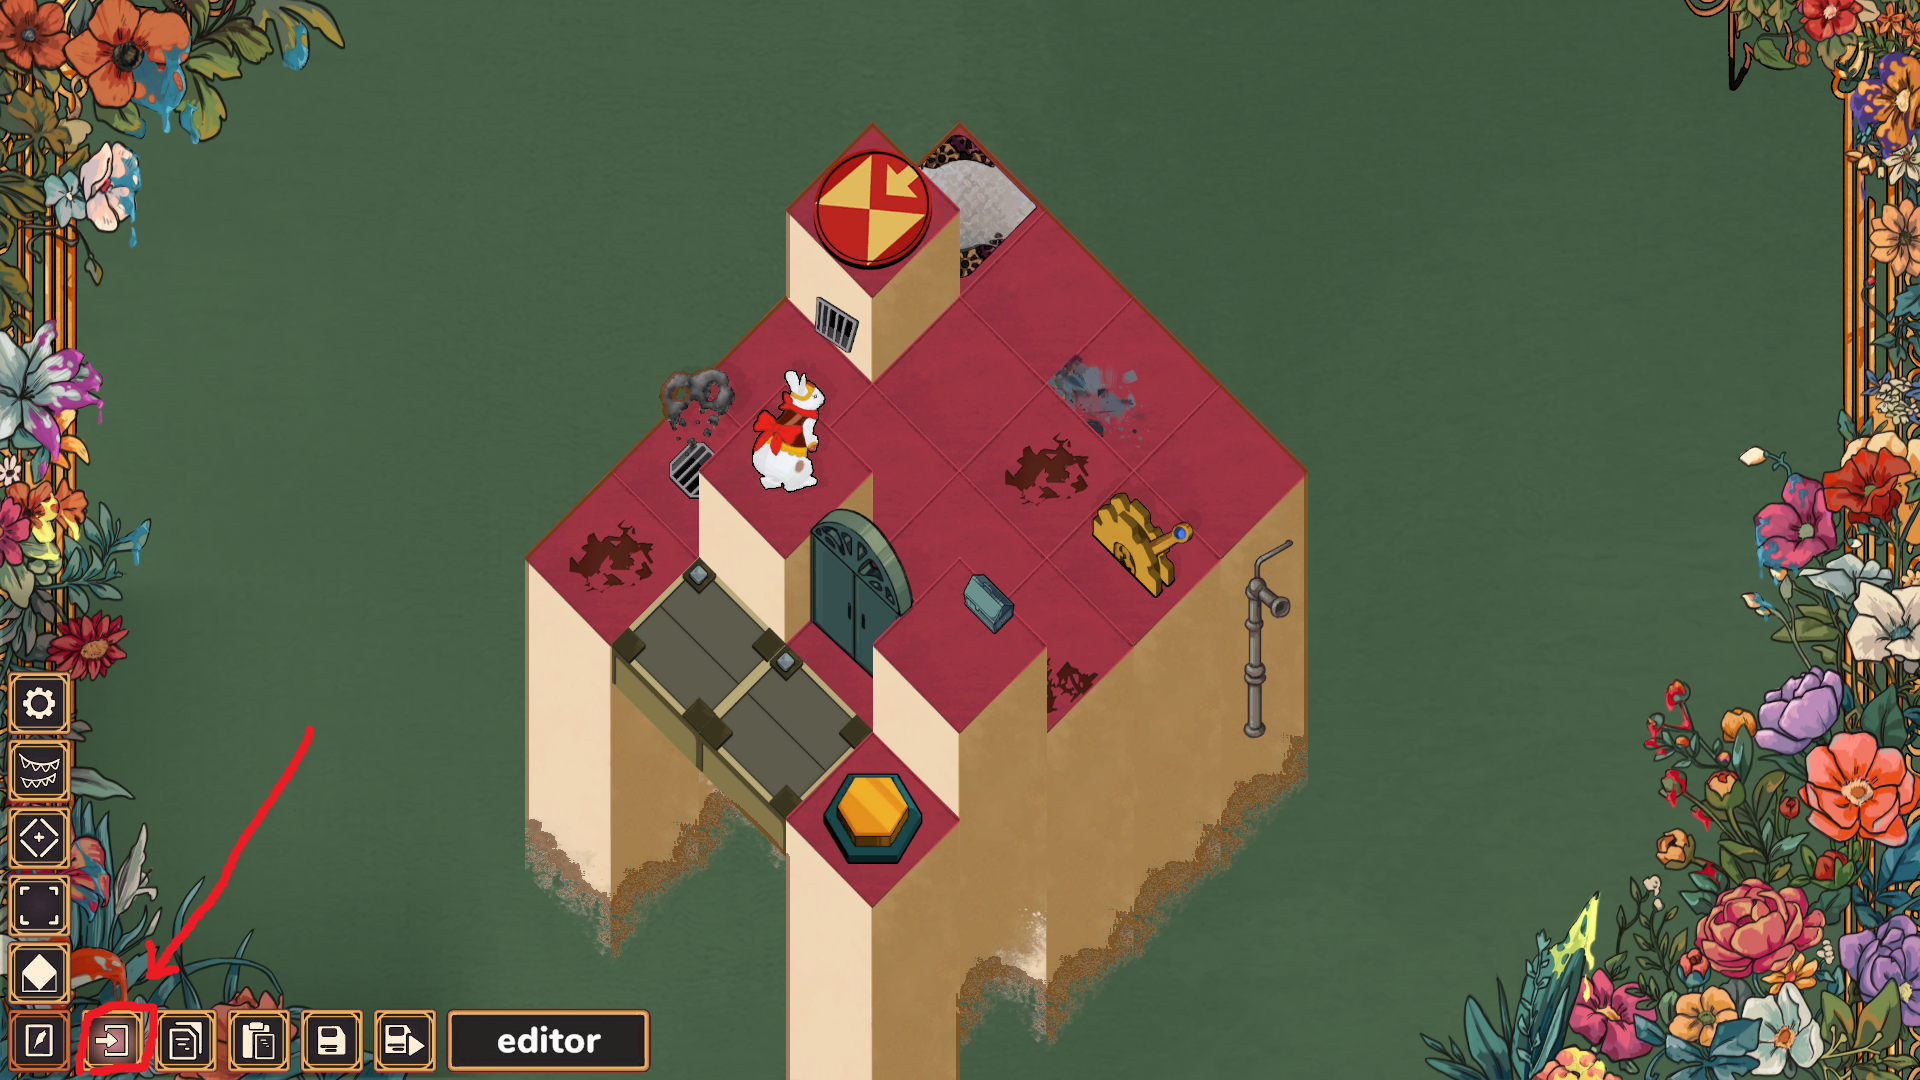
Let's create a default map for ourselves and proceed to edit it.
Use the paste button to have the one previously copied appear in place of the map.
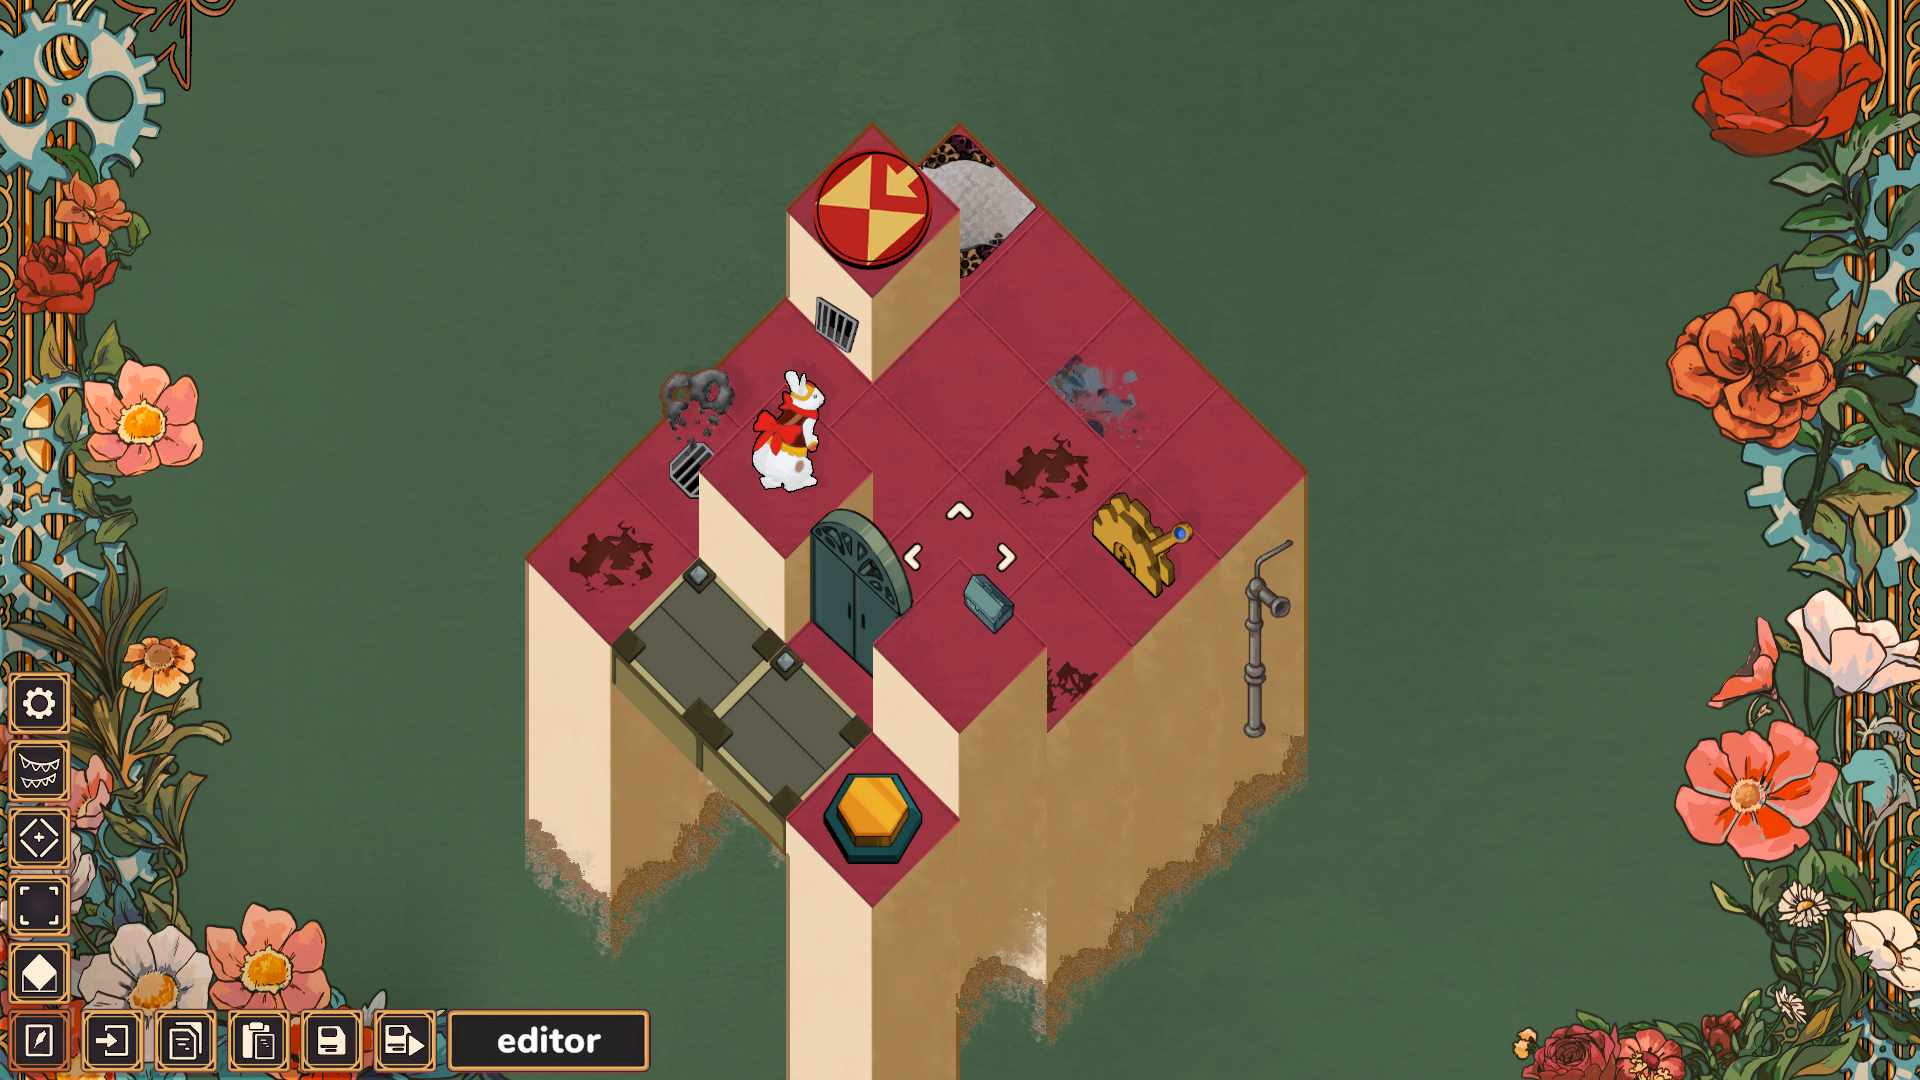
Such a level should be saved. Remember that maps with the same names may overwrite each other.
For more advanced players - map format
The next part is a little more advanced and is not needed for fun.
This is what the map file looks like:
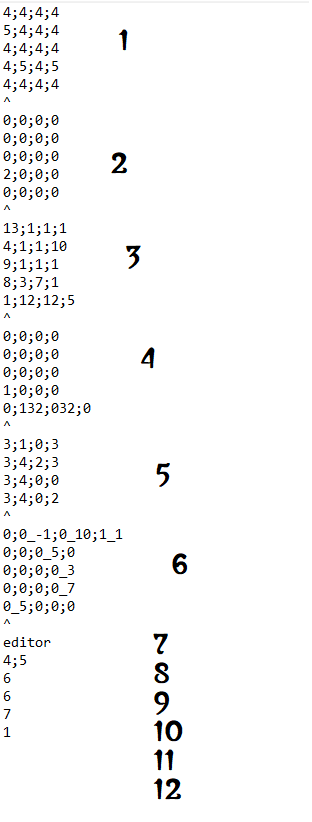
1 height
2 style/rotation
3 field type
4 mechanism properties like whether it is enabled
5 connections between fields
6 decorations
7 name
8 map size
9 background
10 ground style
11 music
12 music stage