Strategic Command: World War I – Empires in Turmoil – Dev Diary #2
Strategic Command: World War I · published
A new diary is here, and to celebrate, we want to show you the beautiful art we created for the DLC:

For our second Developer Diary for our Empires in Turmoil DLC, here’s a preview of two campaigns focused on two important battles of WWI: Tannenberg and the Siege of Kut.
1914 Hindenburg’s Glory
While the German army is advancing through Luxembourg and Belgium into France, a battle just as ferocious and decisive is about to be fought in the east.
Having mobilized faster than the Germans had predicted, two Russian armies stand poised to invade East Prussia. While von Rennenkampf’s First Army advances west from near Kovno towards Königsberg, Samsonov’s Second Army is preparing to advance north from the area east of Warsaw.
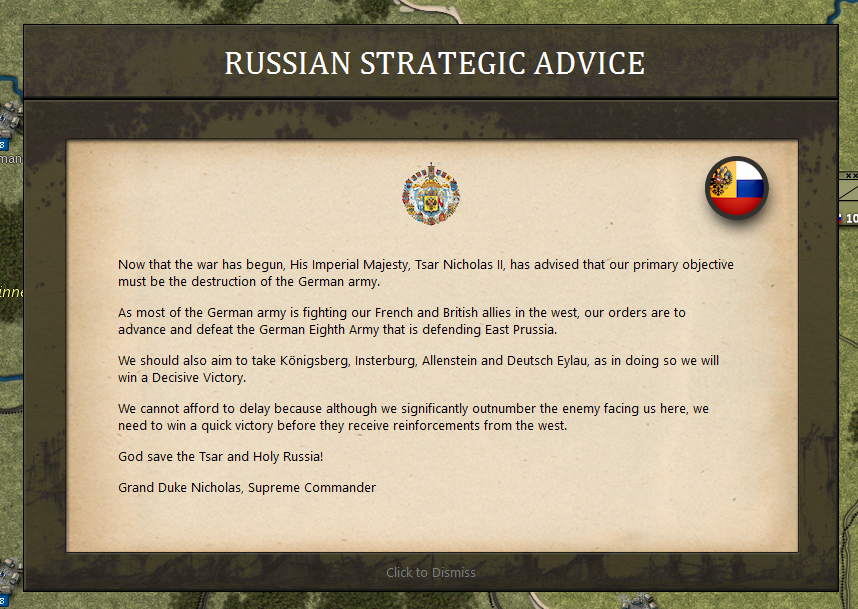
The Grand Duke Nicholas Sets The Scene
If both Russian forces can coordinate and exert significant pressure on the Germans, then they have the potential to win the war here in its first few weeks, as a victory here would force Germany to rush reinforcements to the east, thus prematurely ending her offensive in the west.
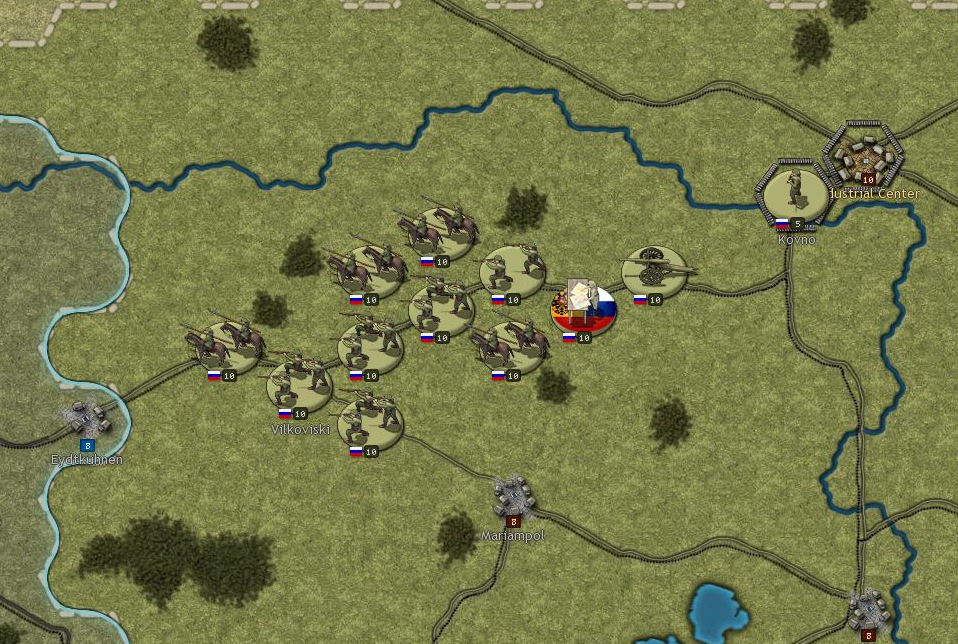
The Russian First Army Commences Its Advance
Facing the Russians stands the German Eighth Army, a composite mixture of front line and reservist units that is outnumbered by its Russian opponents. However, Germany’s hope lies in Hindenburg, soon to be recalled from retirement to lead this army to either victory or defeat. His skill is great, but will his leadership be enough?
Additionally, geography favours the defender, for there is a large gap between both Russian armies due to the Masurian Lakes. Consequently the Germans are operating on interior lines, and they also have an advantage in that operating troops by rail is much cheaper for them to do. Therefore a mobile defense, seeking opportunities and taking risks, will be a wise approach for Hindenburg to adopt. Remaining static and awaiting the Russian onslaught will not win the battle that is to come.
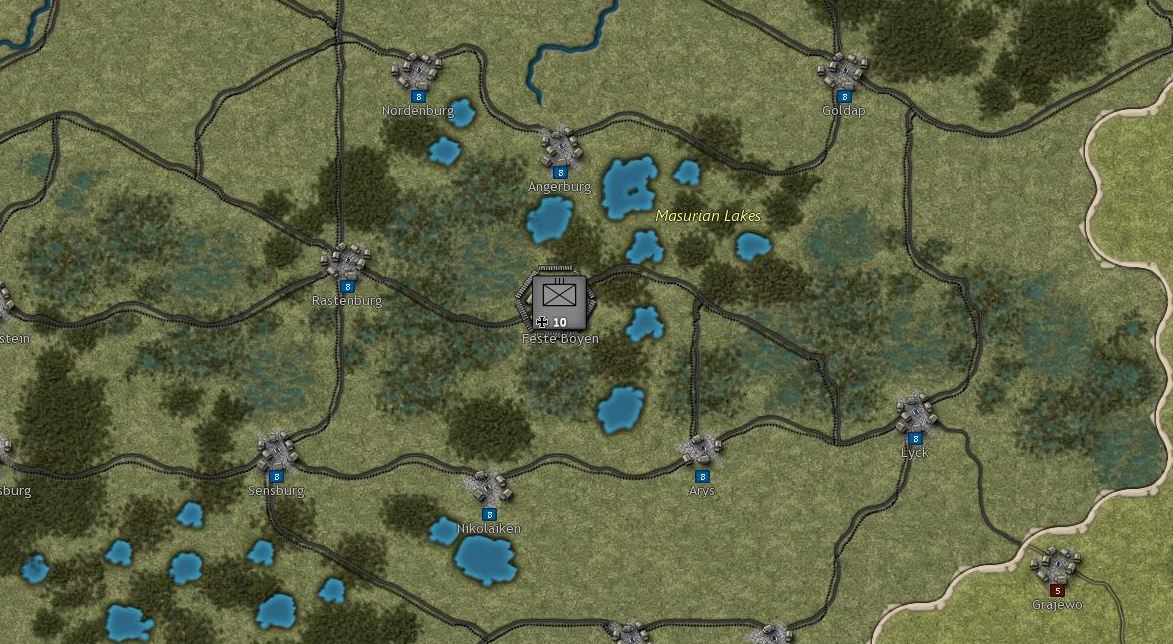
The Masurian Lakes
Germany wins a Major Victory by holding onto Königsberg, Insterburg, Allenstein and Deutsch Eylau, while also suffering few casualties, so that her National Morale remains above 85% on the 15th September 1914. Essentially, this requires defeating the Russian army, though the campaign does not prescribe where this needs to be done.
Germany wins a Minor Victory if it holds Königsberg, Insterburg, Allenstein and Deutsch Eylau, but has suffered such casualties in action to lower her National Morale below 85%. This represents a successful, albeit costly, defence of East Prussia.
Russia wins a Major Victory by capturing either Königsberg or holding all of Insterburg, Allenstein and Deutsch Eylau at any time. Russia’s National Morale does not matter, so suffering high losses in taking these objectives may be worthwhile – provided they are taken. In essence, Russia may need to be ruthless in pursuing a Major Victory.
Russia’s Minor Victory conditions require her holding one of Insterburg, Allenstein or Deutsch Eylau on the 15th September 1914, and having only suffered light casualties so that her National Morale remains above 85%. This means that they will have to have beaten off any German counter-attacks and avoided suffering any significant defeats – essentially gaining ground while not experiencing the shattering blows that the Russian army experienced in 1914.
History may not repeat itself, although as the image below from a test PBEM game shows, disaster can befall the Russian army, even if not necessarily in the same location as historically!
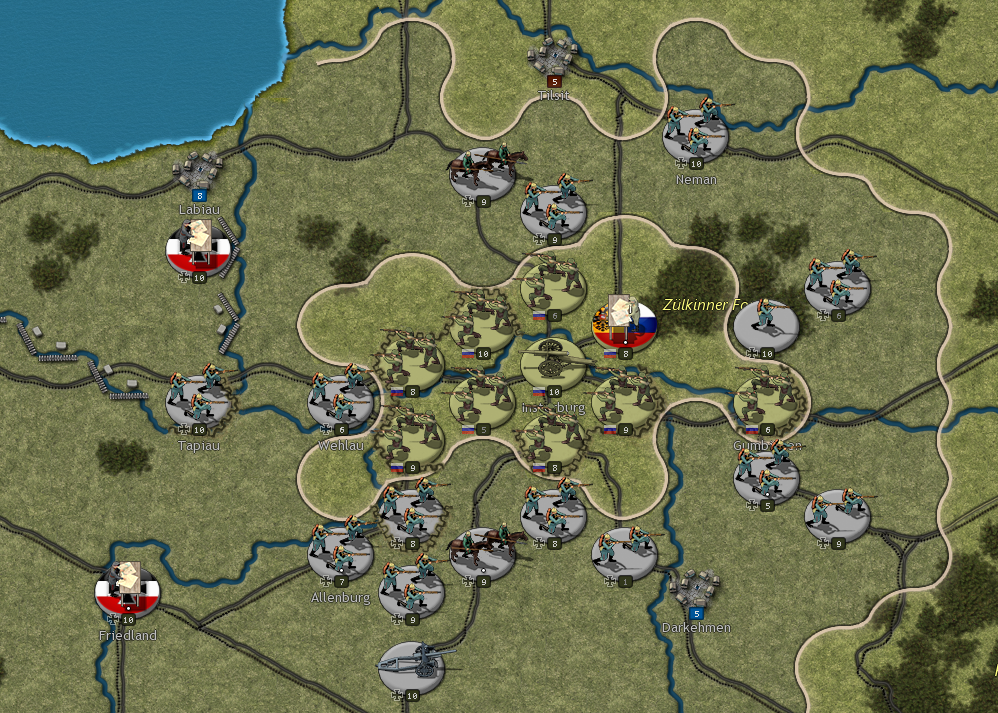
The Russian First Army Is Surrounded
1915 Disaster in Mesopotamia
‘You have added a brilliant page to the glorious battle roll of the Army in India at the Battle of Ctesiphon, and no doubt you are about to add another’ - Major-General Townshend’s first Communiqué to the defenders of Kut.
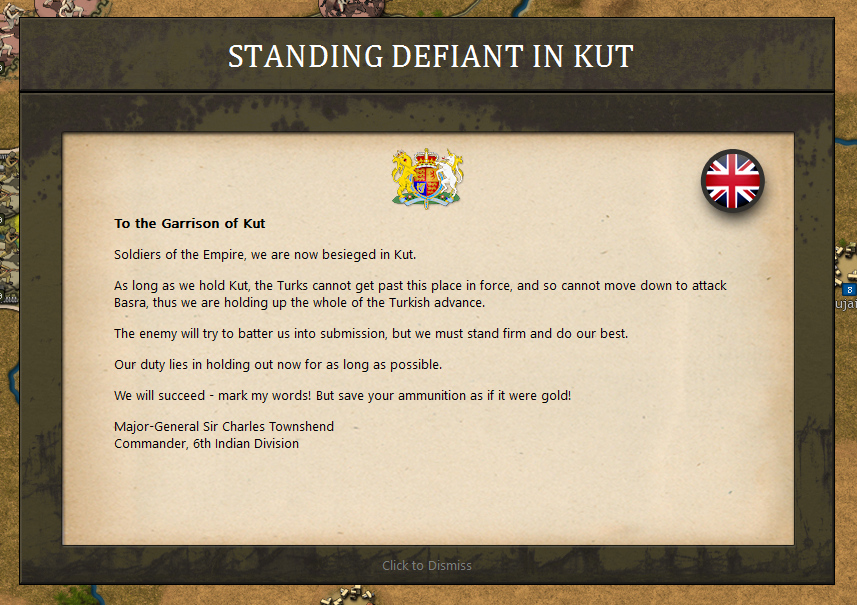
Townshend Stands Defiant
Having had their hope of capturing Baghdad from the Ottomans frustrated at the Battle of Ctesiphon in November 1915, Major-General Charles Townshend’s 6th (Poona) Division has been forced to withdraw to Kut-al-Amara on the river Tigris in southern Mesopotamia.
Townshend’s men are tired and in need of food and drink, having just marched 44 miles in less than 2 days. Hence it has been decided to make a stand here at Kut-al-Amara in order to rest the men and halt the Ottoman advance on Basra.
The position is strong, reinforcements are expected, and there are significant stockpiles of food and ammunition in the town. Abandoning these stores would be unthinkable, consequently a stand has to be made here to halt the Ottoman advance.
‘I mean to defend Kut as I did Chitral’ Townshend wrote in his diary, a reference to his successful defence of this town on Indian’s North-West Frontier 20 years before. The experience had boosted his reputation and made him confident that he could successfully hold out again, pending relief.
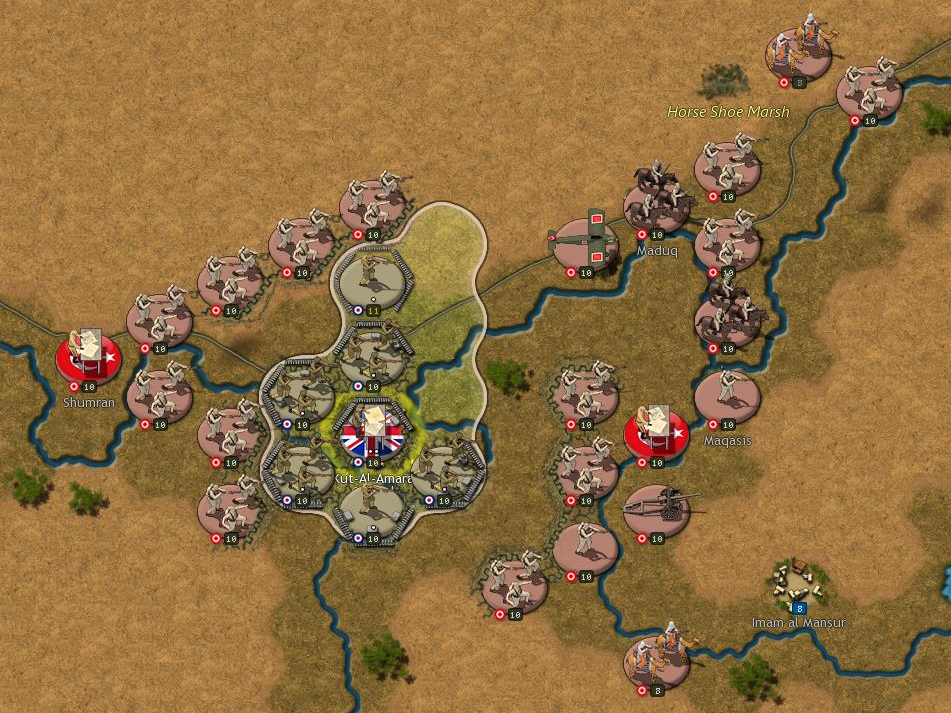
Ottoman Forces Surround Kut
Cut off in hostile territory, with no supplies coming in and little hope of relief, General Townshend’s stand at Kut-al-Amara with his 6th (Poona) division of the Indian Army lasted almost five months and ended in an embarrassing and costly defeat for the British.
The siege saw great heroics and innovation, particularly in the air as in a last ditch effort to feed the garrison, the Royal Flying Corps carried out the world’s first ever attempt to supply a besieged force from the air. Just as at Stalingrad in the next war, the results did not meet the needs of the garrison.
Yet failure was not guaranteed and in this campaign you will have the possibility to change the course of history and save thousands of men from the torments of imprisonment in Ottoman hands. Or, if you play the other side, to put them there even sooner!
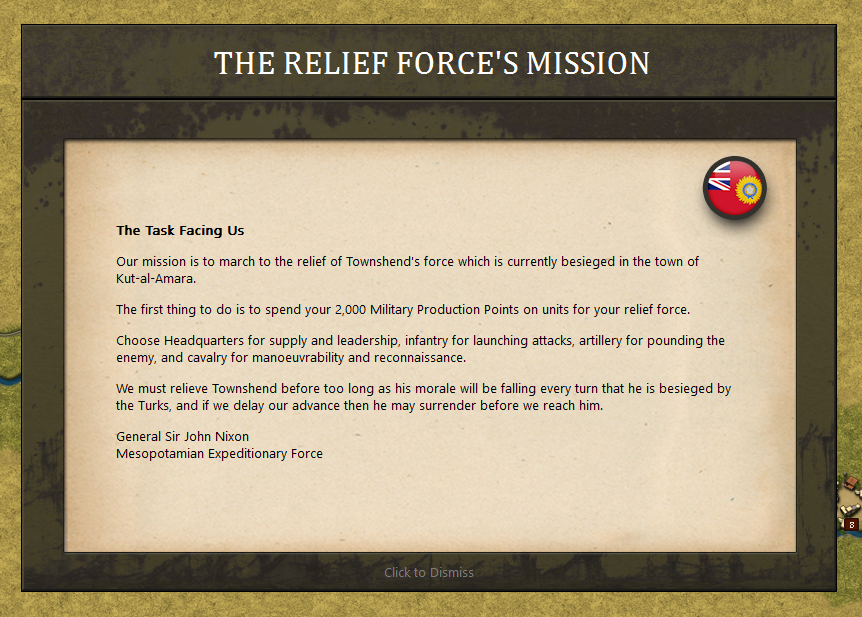
The Relief Force Receives Some Advice
In this campaign, both the Ottomans and the Relief Force start with a supply of Military Production Points that can be used to immediately buy new units. This means that no two games are likely to be exactly alike, and all purchased units will become immediately available for deployment.
Victory Conditions are very simple: the Ottomans win a Major Victory be capturing either Kut-al-Amara or Ali-al-Garbi, or alternatively by reducing Townshend’s Fighting Spirit below 1%.
The Fighting Spirit of Townshend’s Force in Kut-al-Amara will fall every turn as the stockpile of food is steadily eaten up. There may be increases to it too, not only as more food is found in the town, but also because the Relief Force will have the option to risk sending supplies via a steamer, and also via aircraft.
Ultimately, the Relief Force needs to invest most of its strength into winning the land battle in order to reach Townshend, for the British-led forces will win a Major Victory if one land unit belonging to the Relief Force makes it to within 2 hexes of Kut-Al-Amara.
This is all that is required for the siege of Kut to be deemed to have been lifted. It may sound easy, but war rarely is.