Strategic Command: World War I - Empires in Turmoil - Dev Diary #1
Strategic Command: World War I · published
Last year, after the release of American Civil War brought the Strategic Command series well and truly into the 19th century, we received a great amount of community feedback asking us to revisit the Franco-Prussian War, a conflict first included in Strategic Command 2’s WWI release. With the American Civil War engine being designed for that period of history, we agreed that it would be the perfect time to explore this conflict again, and thus the 1870 Blood and Iron campaign was born.
However, the Franco-Prussian War is far from the only conflict included in Strategic Command 2 that would be interesting to revisit. Five of these campaigns, as well as one covering a conflict we’ve never covered before in the Second Balkan War, will make up our new DLC for Strategic Command WWI: Empires in Turmoil.
1912 The Balkan League
The first of these, and one that we have received many requests for over the years, is the First Balkan War of 1912-13.
This campaign begins with Montenegro’s declaration of war on October 8th, 1912. While Montenegro will be able to launch some initial attacks around Scutari, playing as the Balkan League your first priority will be the preparation of your opening offensive: while all three armies begin deployed on the map, you will have two turns to position your forces and make any last-minute adjustments to your battle plan before the war begins in earnest with the entry of Serbia, Greece and Montenegro.
While these turns may seem quiet, they will be nonetheless extremely important to ensuring a successful beginning to the campaign: by declaring war halfway through the autumn, the Balkan League has given itself precious little time to achieve victory before the onset of winter will freeze your campaigns in their tracks. But it may also be the best opportunity they would get: October 1912 also marked the end of the Ottoman Empire’s war with Italy.
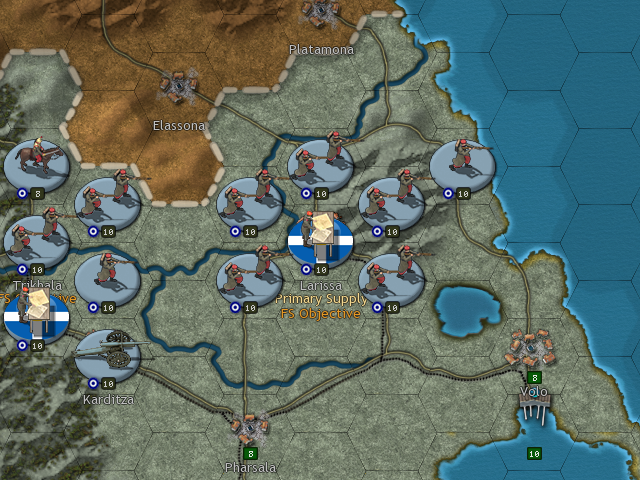
Their continuing war with Italy will be a great hindrance to the Ottoman Empire’s plans in the earliest turns of the campaign, greatly reducing both their Fighting Spirit and MPP income. Adding to their difficulties is the state of their army, which is severely undermanned, and long borders that are almost indefensible: “the sick man of Europe” faces a dire situation.
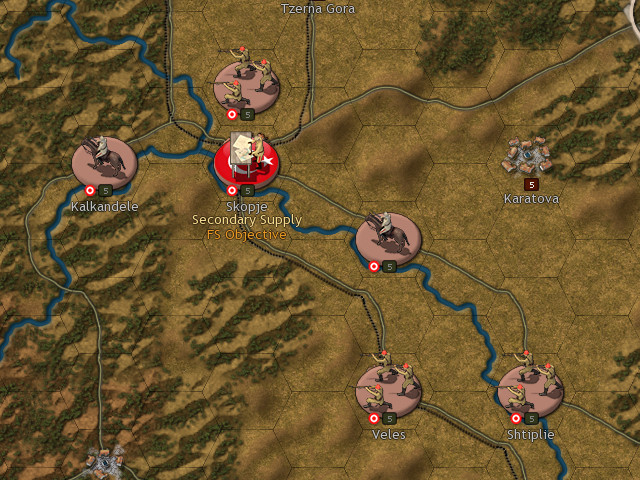
Indeed it may be advisable for the Ottomans to instead pull back from the border and concentrate on defending key positions in the interior for the short term. The difficult terrain of the southern Balkans offers many positions well-suited for defence, including the fortresses of Janina and Scutari. The mountains of Albania are home to a significant Muslim population that will fight alongside the Ottoman Army, and it will take a significant commitment of forces by the Balkan League to prevent partisan bands from continuing the fight. In the east, the defences of Adrianople form one of the strongest fortresses in the world, a position almost certain to require a long and costly siege to subdue.
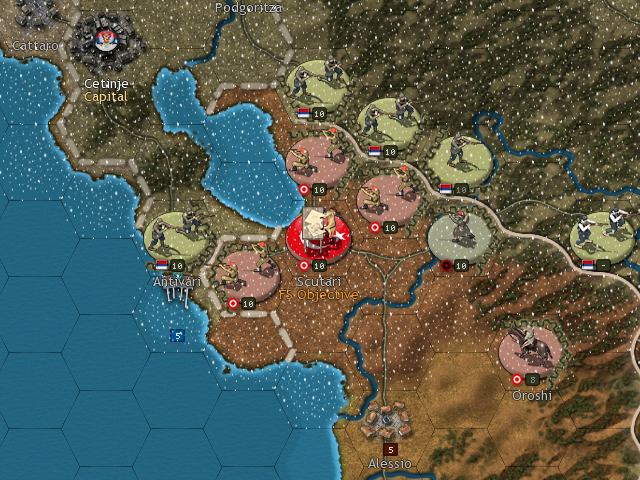
The longer the war continues, the greater hope the Ottomans have of turning the tide: with the war against Italy concluded, thousands of soldiers will be available to transfer to the Balkans, while the small population of the Balkan League nations means that they will be limited in the reinforcements that they can receive. In time, the Sultan’s generals will be able to assemble a new army, ready to launch a counter-attack and relieve the besieged fortresses.
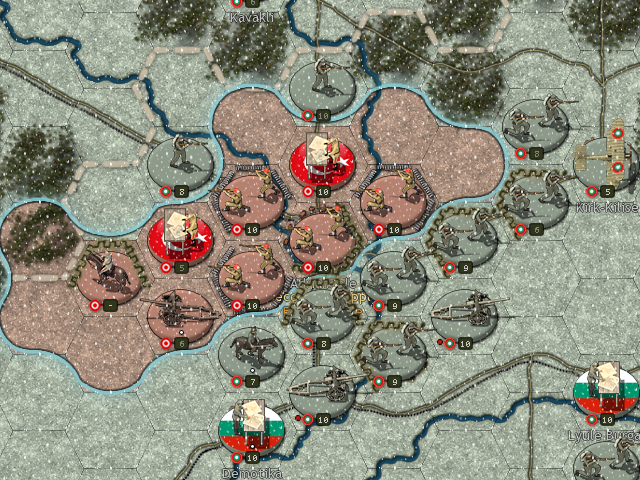
Yet this may not be the greatest threat to the Balkan League as the war continues into early 1913, but rather the League itself. Serbia, Bulgaria and Greece each have competing claims to Ottoman territory and distrust the intentions of their allies, yet the strength of all three will be needed to defeat the Ottomans. If the Ottomans can reduce the Fighting Spirit of just one of the three powers, to the point that they seek a separate peace, the Balkan League is sure to disintegrate entirely.
1913 The Broken League
Historically, the Balkan League held together long enough to declare victory in May 1913, but only just. When peace was declared, the new borders were drawn largely where each army stood. No member of the Balkan League received all of the territory they had hoped for, but Bulgaria proved to be the least satisfied of all. At the close of the First Balkan War, Bulgaria was the single strongest nation of the region, and hoped to gain all of the territory promised them in the 1878 Treaty of San Stefano. As the Balkan armies prepared to demobilise, Bulgaria sensed that, as in the case of the First Balkan War, a rare opportunity had come where they would have the upper hand. On June 29th, 1913, Bulgaria betrayed the Balkan League and attacked their former allies.
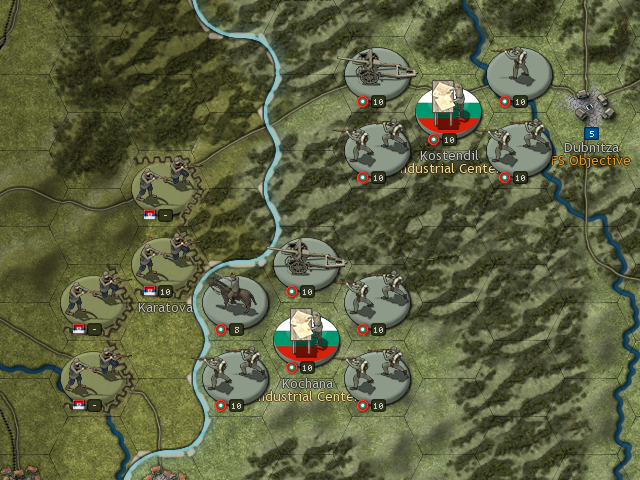
In so doing, Bulgaria has embarked on an enormous gamble. Bulgaria’s three major objectives, Monastir, Skopje and Salonika, are all located in territories recently seized from the Ottoman Empire, and remain occupied by the bulk of the Serbian and Greek armies (as well as a Montenegrin detachment).
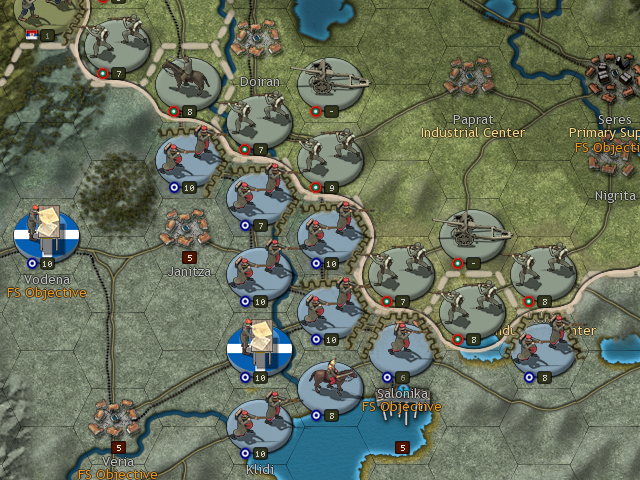
Nor can Bulgaria afford to ignore her other two neighbours. The Ottoman Empire has recovered its strength after the losses of the previous year, and is determined to reclaim the city of Adrianople and Eastern Thrace. Romania meanwhile seeks control of Southern Dobruja, which was promised to it in exchange for their neutrality during the First Balkan War. Bulgaria may have the strength to fight both Serbia and Greece, but the combination of old allies and new enemies, with more than a million men between them, is certain to prove calamitous.
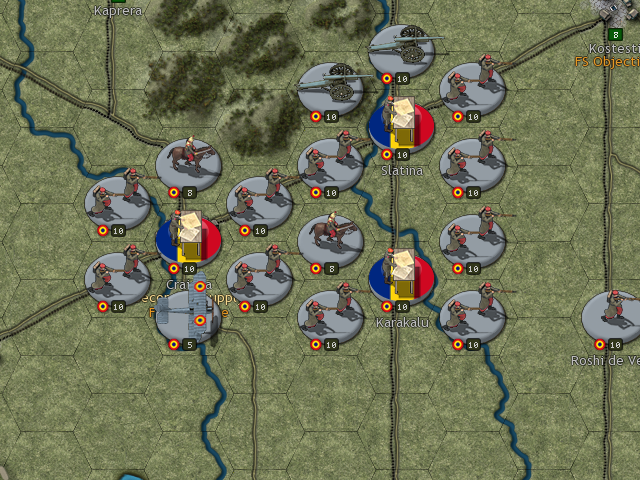
As neither Romania nor the Ottomans are yet fully mobilised, Bulgaria will have a short window of opportunity in order to achieve victory, and careful preparations before war is declared will be essential. At the beginning of the campaign, Bulgaria will have a deployment phase, during which they will be able to position the entire strength of their army (save a few garrison detachments).
Will you opt for a broad front strategy, or concentrate your forces in key areas in the hope that this will break the Opposition’s already fragile Fighting Spirit, exhausted by the costs of the last war?
Will you leave forces on the northern and southern borders to deter Romania and the Ottomans, or concentrate everything in the west in an all-or-nothing attempt to achieve victory before either nation can enter the war?
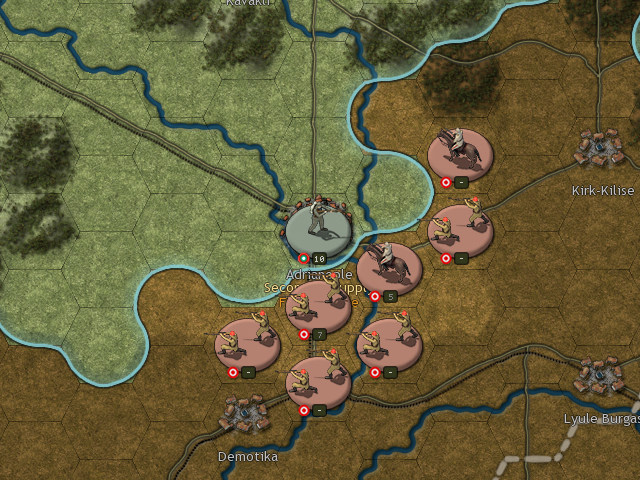
Battlefield success represents Bulgaria’s best hope at preventing the Opposition from uniting against it: each time a town is captured, that victory will deter Romania and the Ottoman Empire from intervening, buying time for the Bulgarian army in a war where even a day’s delay could prove fatal.
Yet there remains a diplomatic alternative to a four-front war: both Romania and the Ottoman Empire have made their territorial demands clear. As a last resort, Bulgaria may voluntarily surrender these territories in order to buy peace. This course of action will improve their chances of obtaining gains in Macedonia, but at substantial cost to the nation’s Fighting Spirit.
After all, in a war fought for territory, is a victory bought with the nation’s soil really a victory at all?