Tutorial guide of "Rev To Vertex Prologue" controller setting
major updateR2V Rev to Vertex · published
Tutorial guide of "Rev To Vertex Prologue" controller setting
1. Select “SETUP” from the main menu to enter setup page.
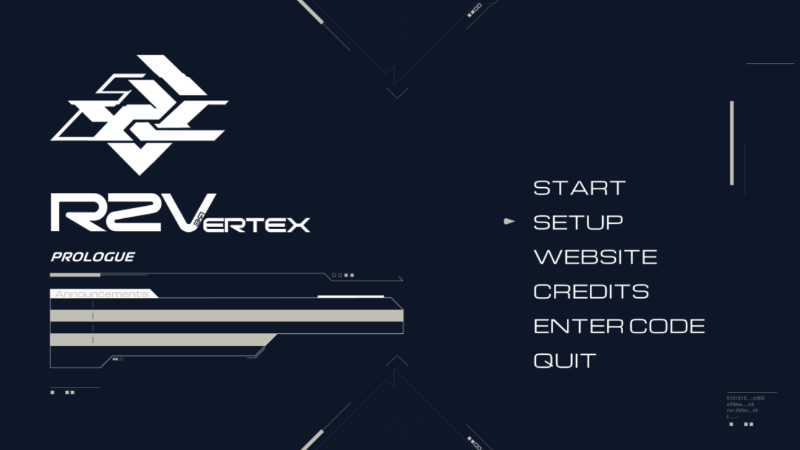
2. Select “CONTROL” to start control configuration.

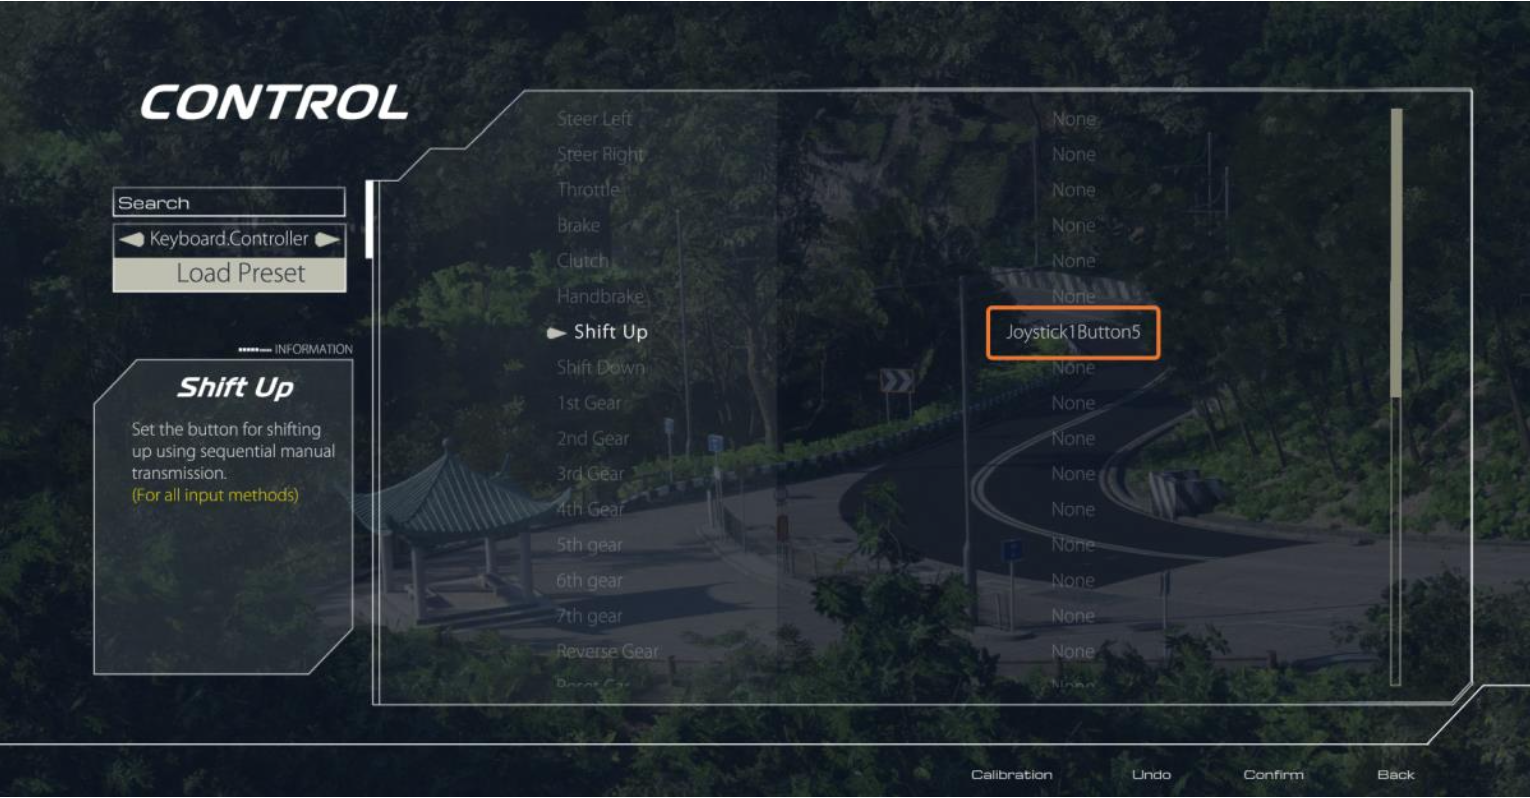
3. On the left side of the “CONTROL” menu, use the arrow button to choose between “Keyboard, Controller” or “Racing Wheel” as your input method.

4. Left click on any function to start binding and press your preferred button to bind it to that function. (This page is for binding key presses only, axis such as wheel, paddle and bumpers are configured in the “Calibration” menu)
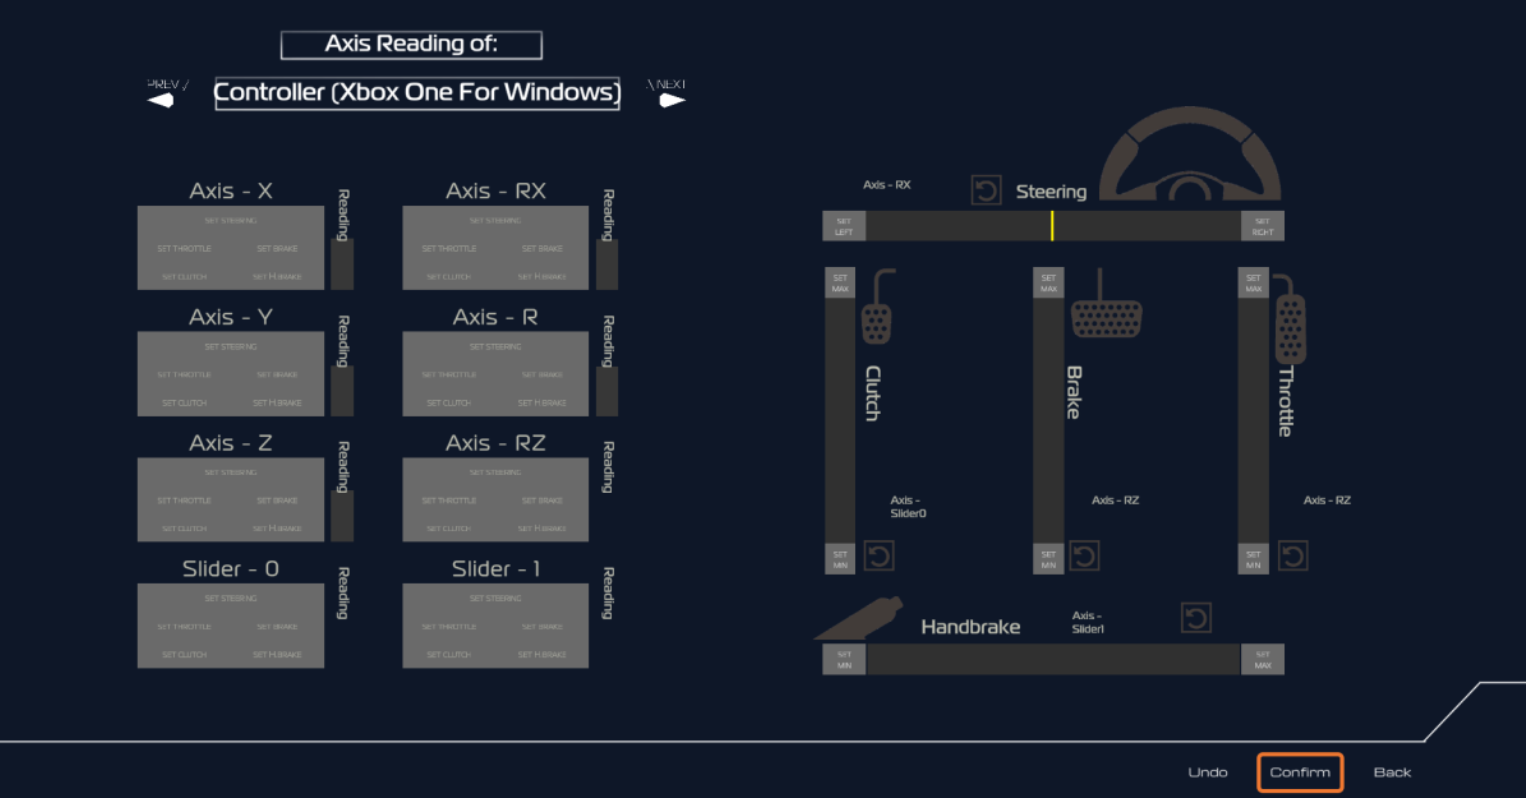
5. The “Calibration” menu is located at the bottom of the screen, click it to enter Axis Calibration menu.
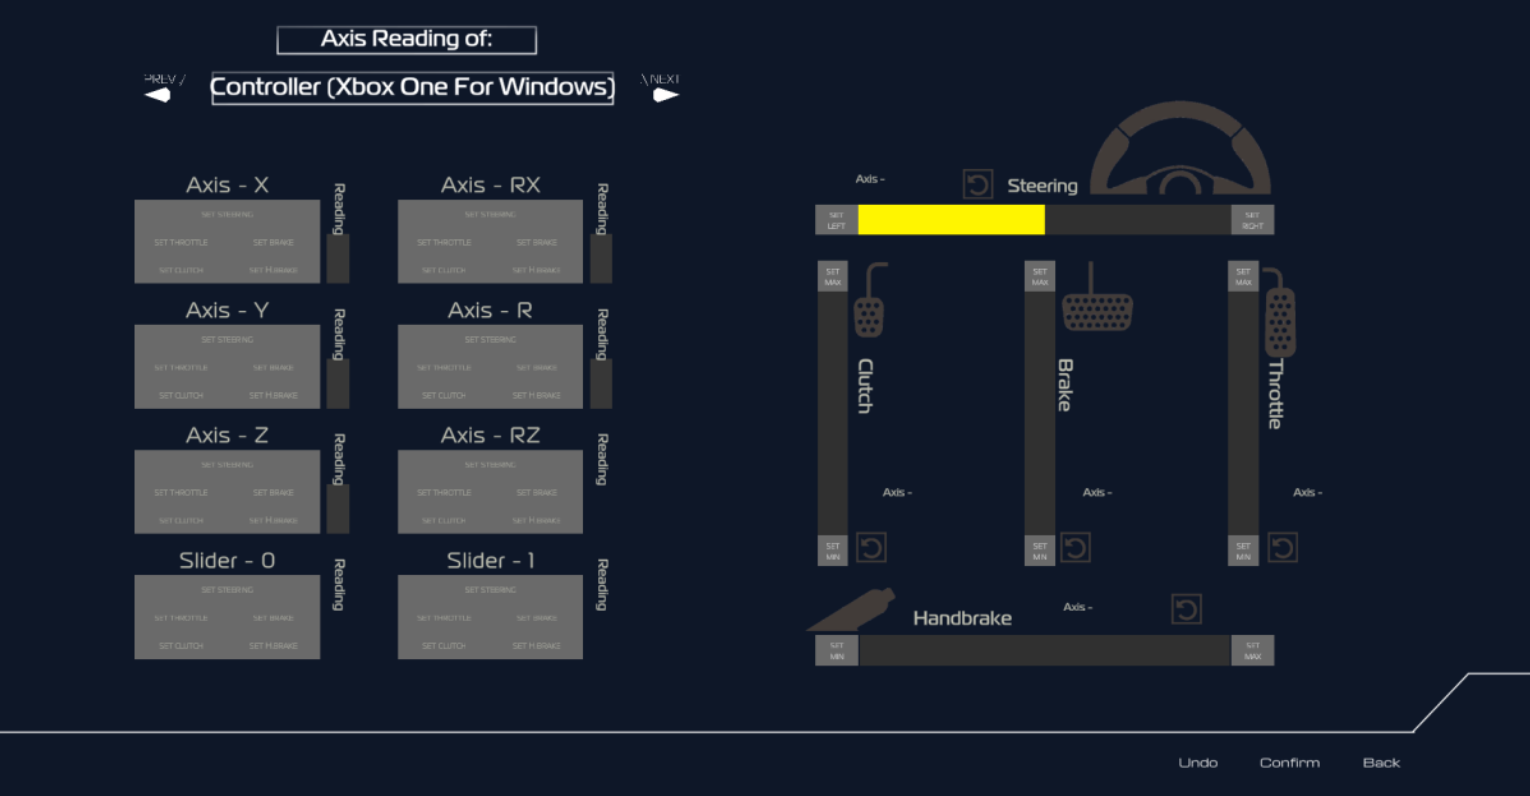
6. In “Calibration”, you can try to move or press your input axis and examine the difference in the white “Reading” bar to determine what input axis is in use.
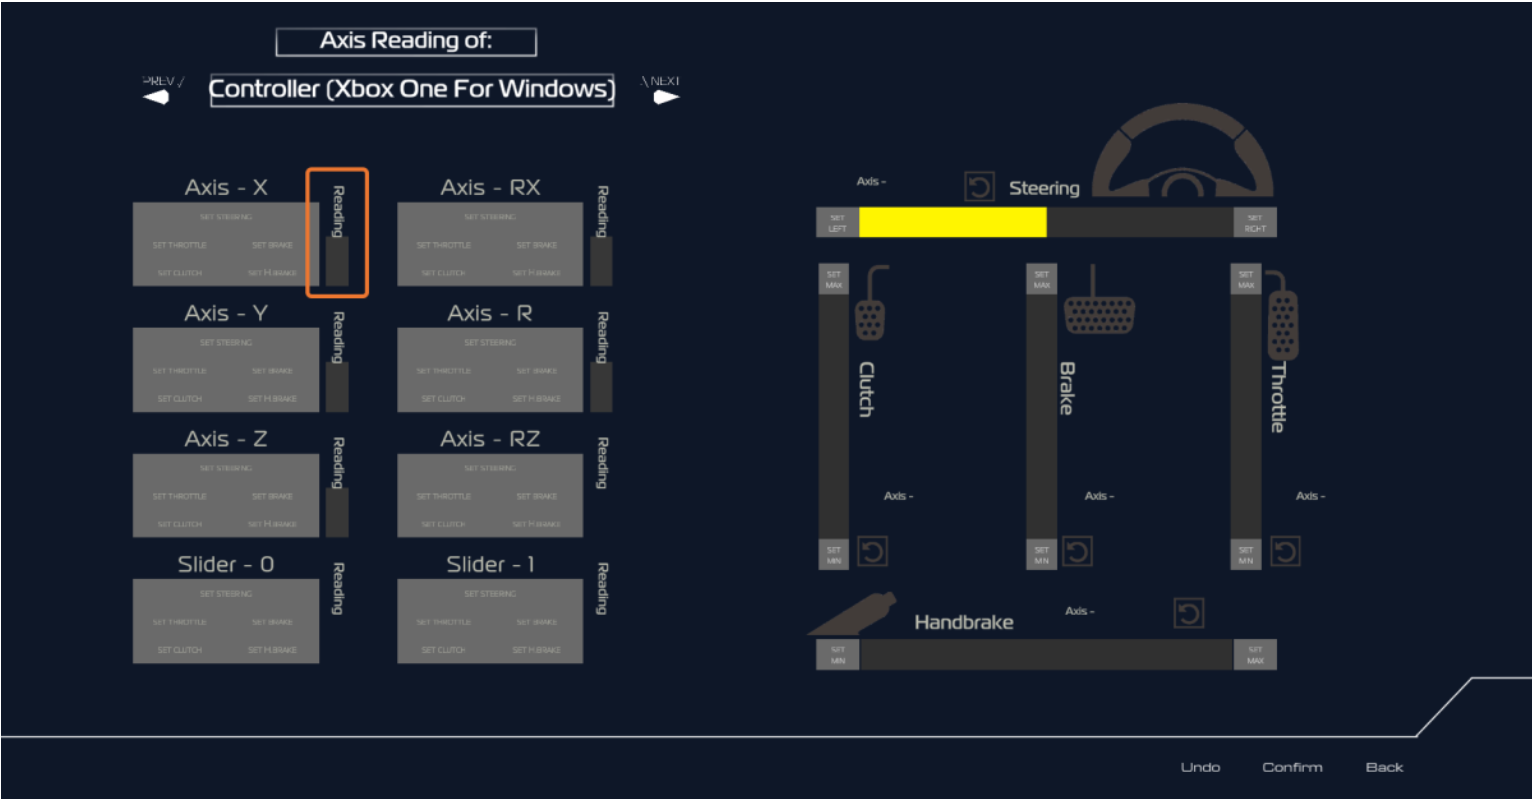
7. Press the buttons under the “Axis” title to bind that axis to the function.

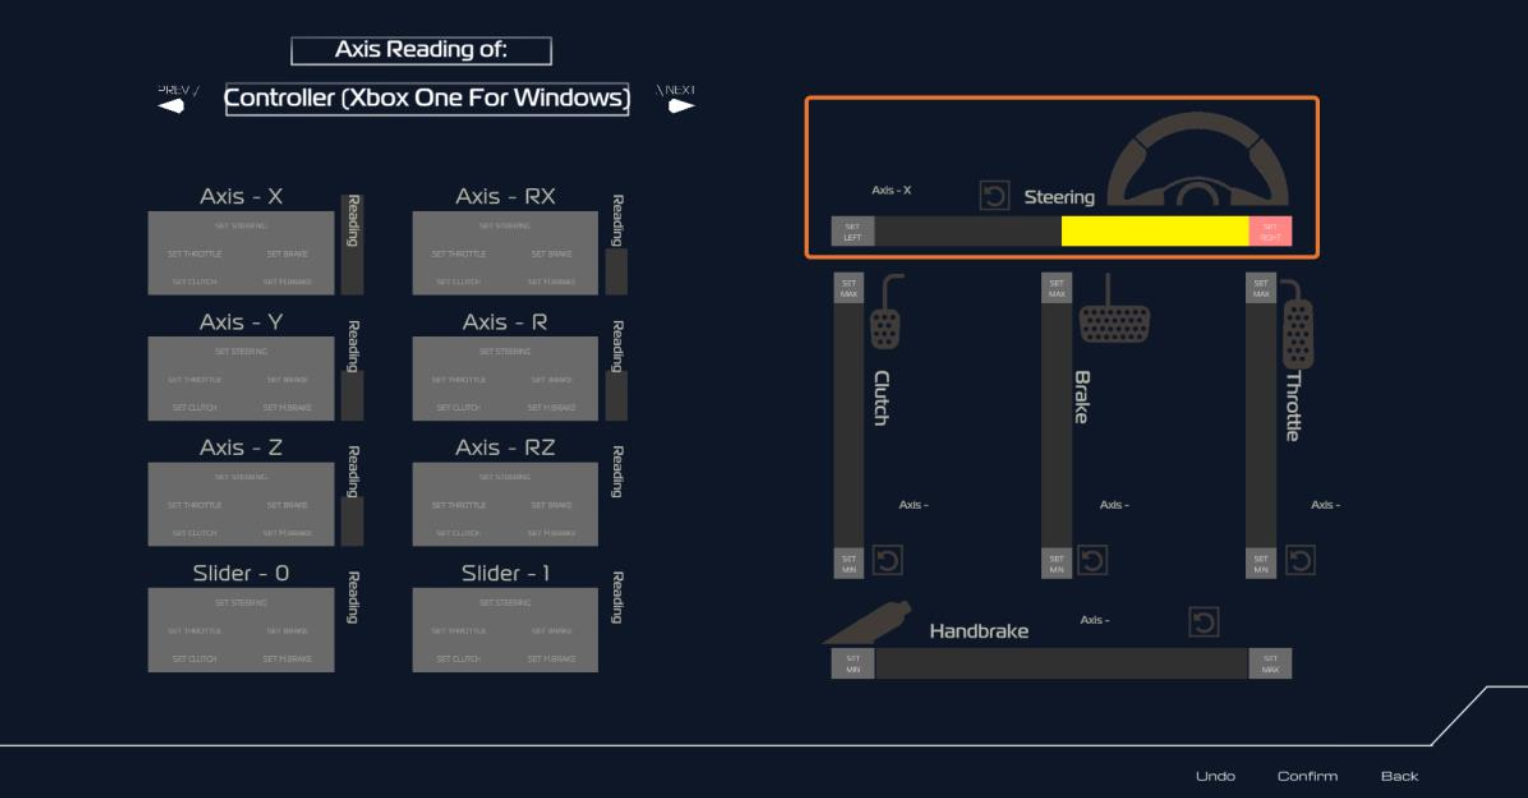
8. You can fine-tune the input with the panel on the right with 3 simple steps.
> Let go the axis and click “SET MIN” to set the minimal threshold.
> Push the axis to the bottom and click “SET MAX” to set the maximum threshold.
> Try out the axis and see if it feels right.
9. Some controller setups will use the same axis on different input, for example the Xbox controller’s triggers are all shown as Axis-Z.
In this scenario, you can set both throttle and brake to Axis-Z and adjust with the right panel.
> Set both throttle and brake on Axis-Z
> Let go both trigger and press “SET MIN” on throttle

> Hold right bumper to the bottom and press “SET MAX” on the throttle

> Let go both trigger and press “SET MIN” on brake.
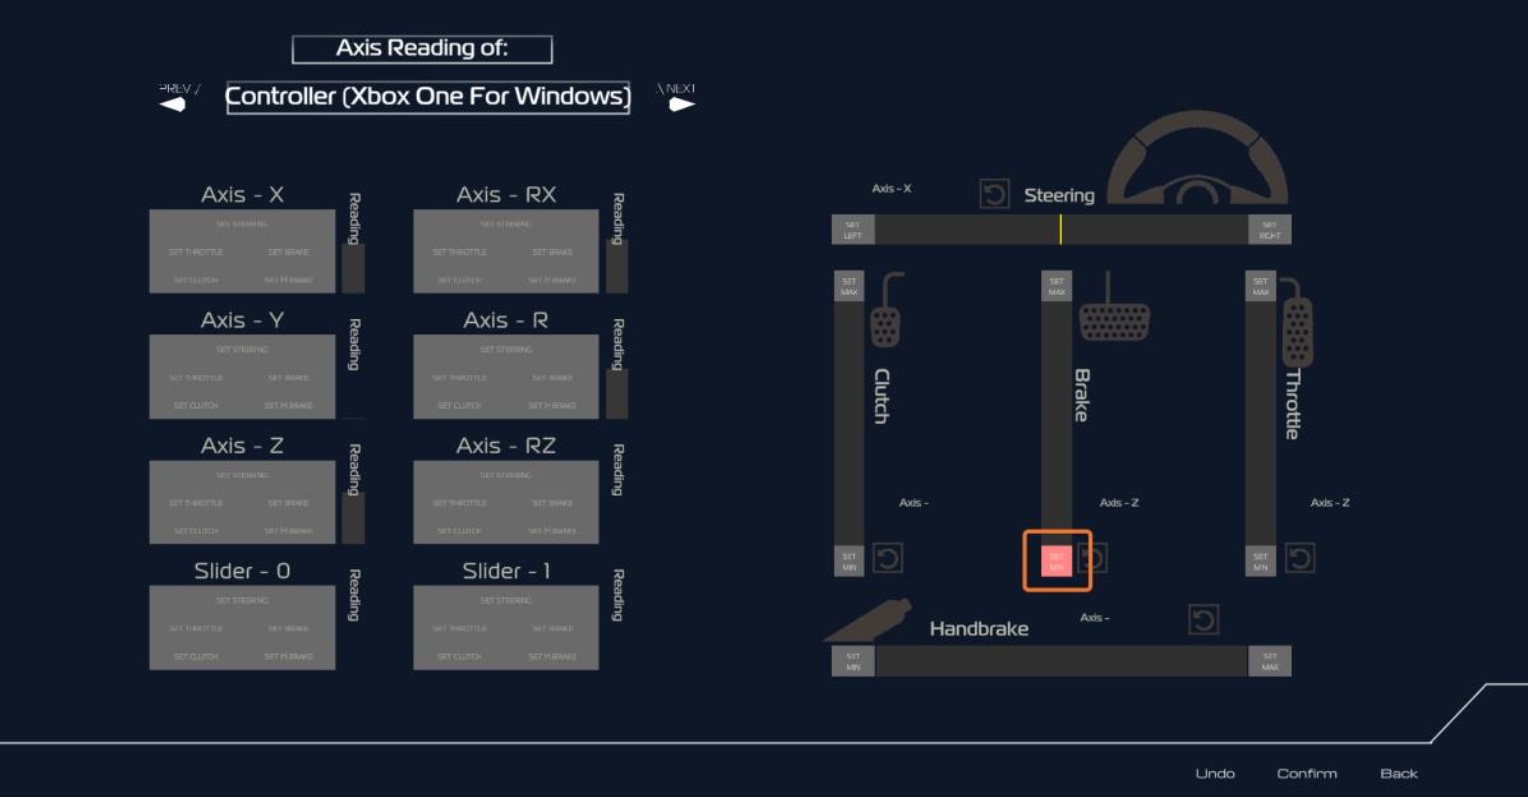
> Hold left bumper to the bottom and press “SET MAX” on the brake.

10. After all settings are complete, please remember to press “Confirm” to save your settings.